Razer BlackWidow 2013: from dustbin to desktop


I found this keyboard in the flea market. To my surprise, it was a very expensive mechanical keyboard: the Razer BlackWidow 2013.
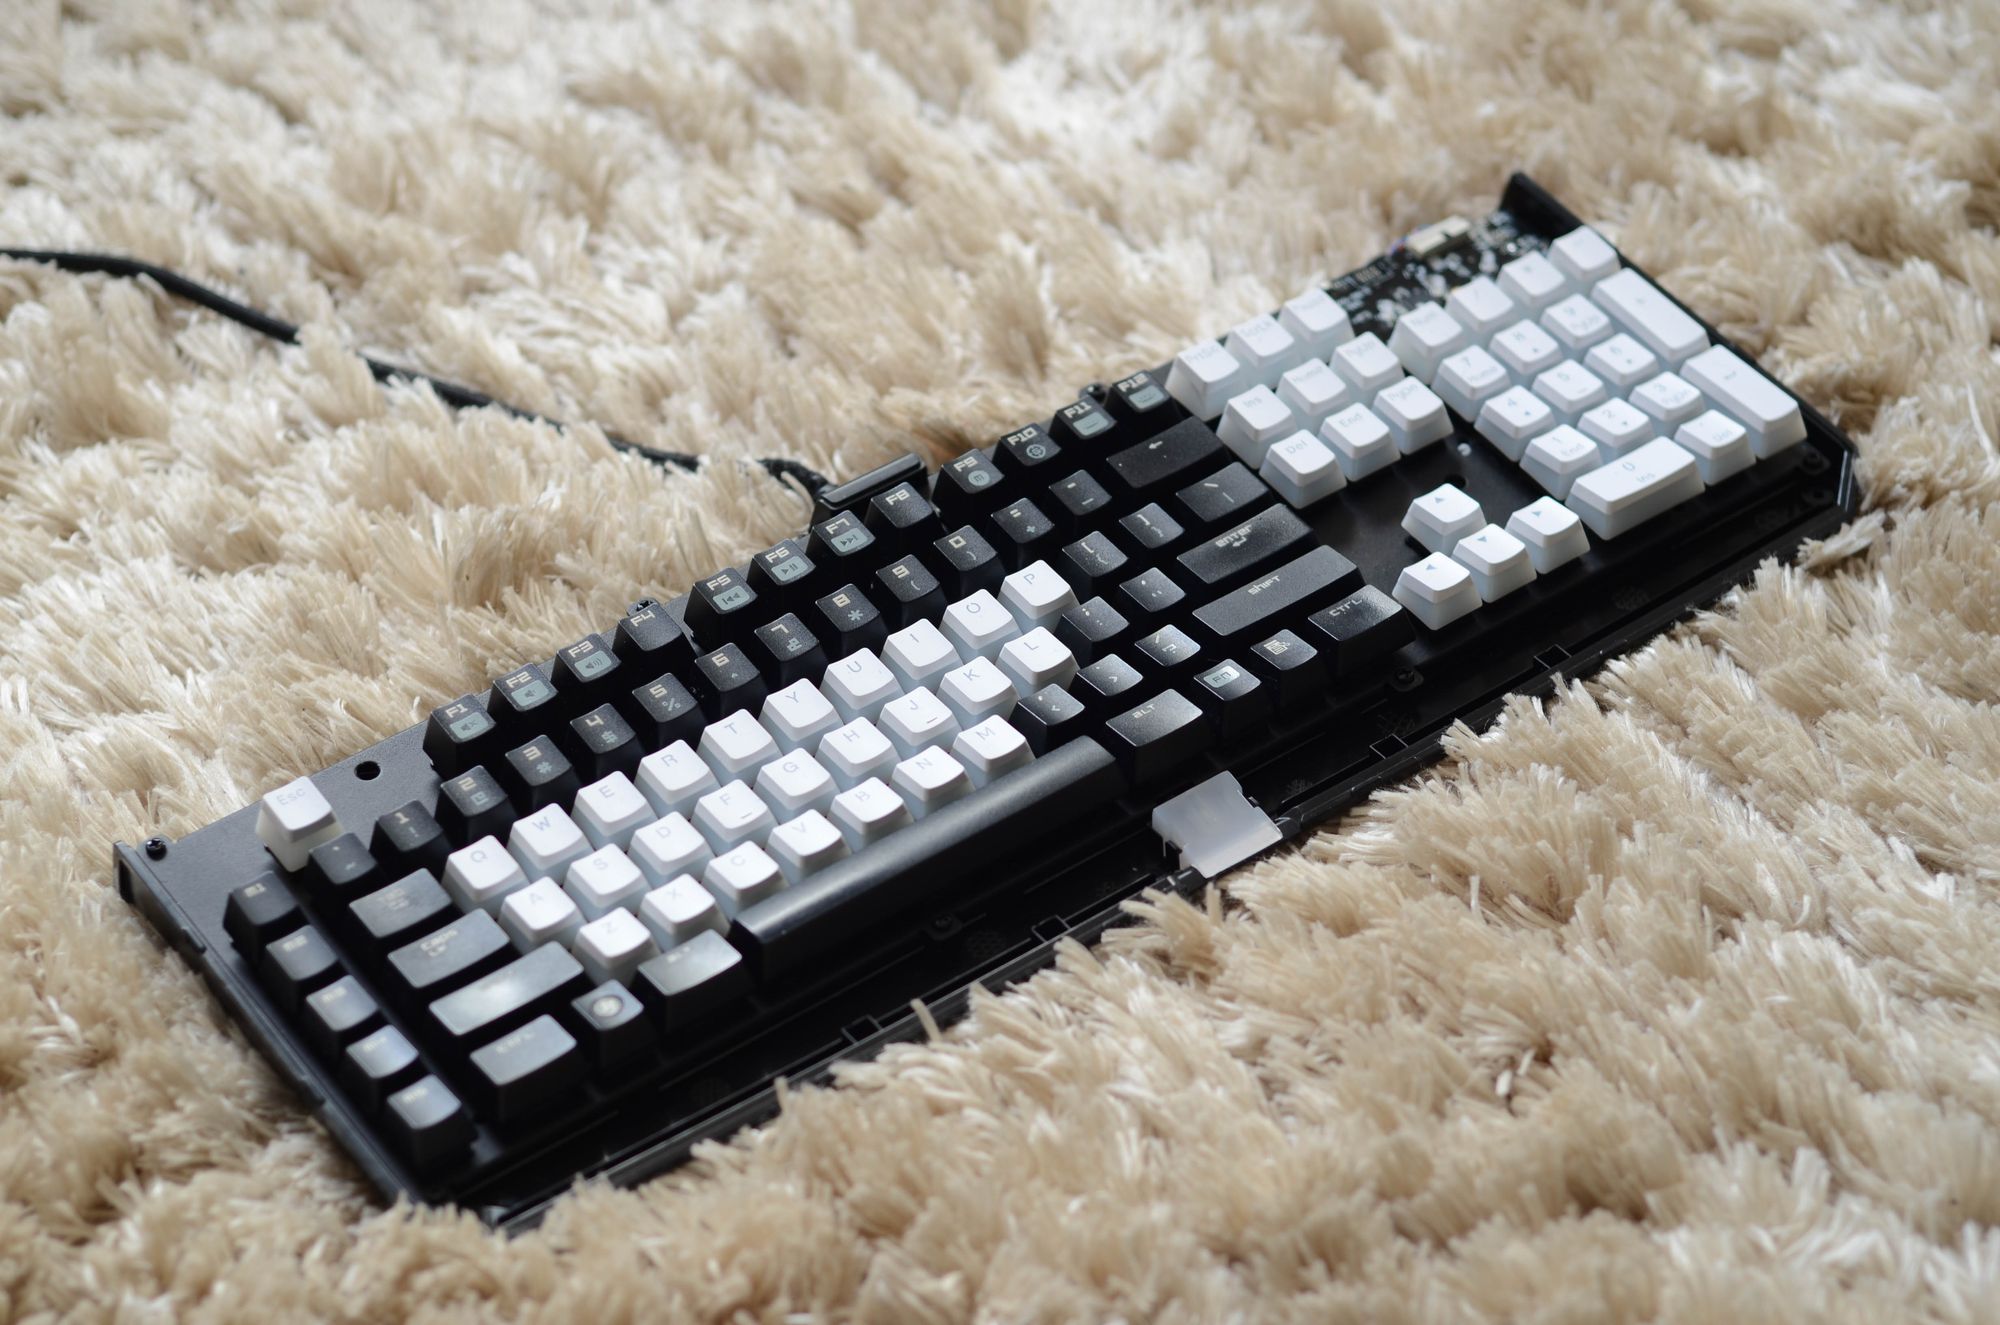
Unfortunately, it was in a very bad shape. Some buttons were missing, and others were damaged. It looks like that this keyboard was exposed to heat source. The case was melted and deformed around the affected area.
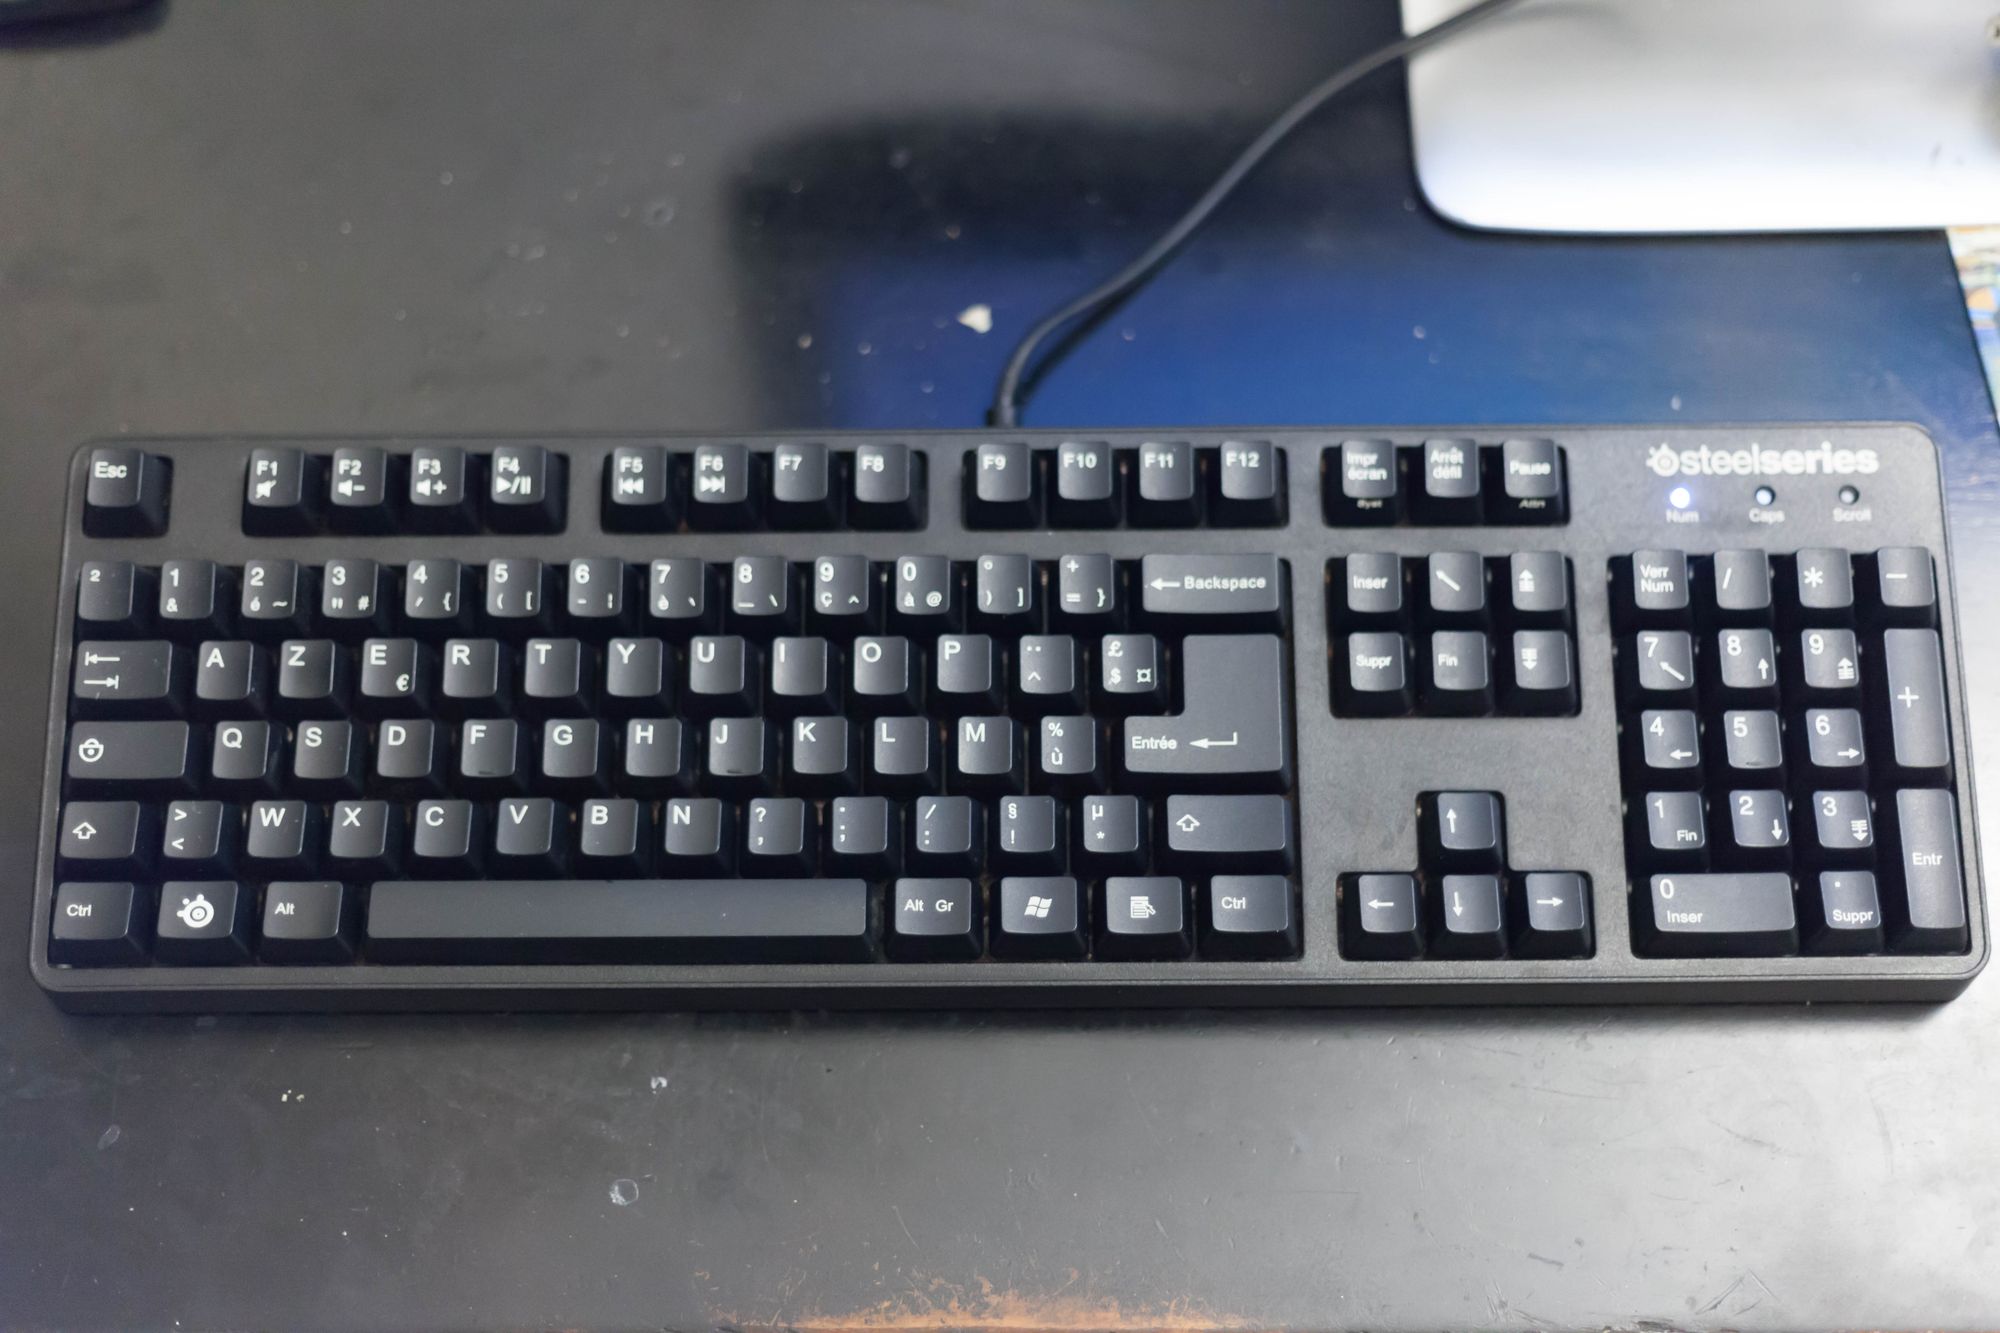
The last time I saw a mechanical keyboard lying around was back in 2018, although it needed fixing, You can check the article I wrote about that keyboard in the link below.
Despite having slim hopes for this keyboard to be fully restored, I went ahead and bought it for 8 TND (around $2.5). I can make profit by solely salvaging those Cherry MX Blue switches.
In this article, I will share how I managed to restore this excellent keyboard, and give it a second life.
Keyboard specification
- Model: Razer BlackWidow 2013
- Type: Mechanical
- Switches: Cherry MX Blue
- 1000Hz Ultrapolling
- Audio and USB pass-through
- Weight: 1500g
Fixing the keyboard
Step 1: Disassembly
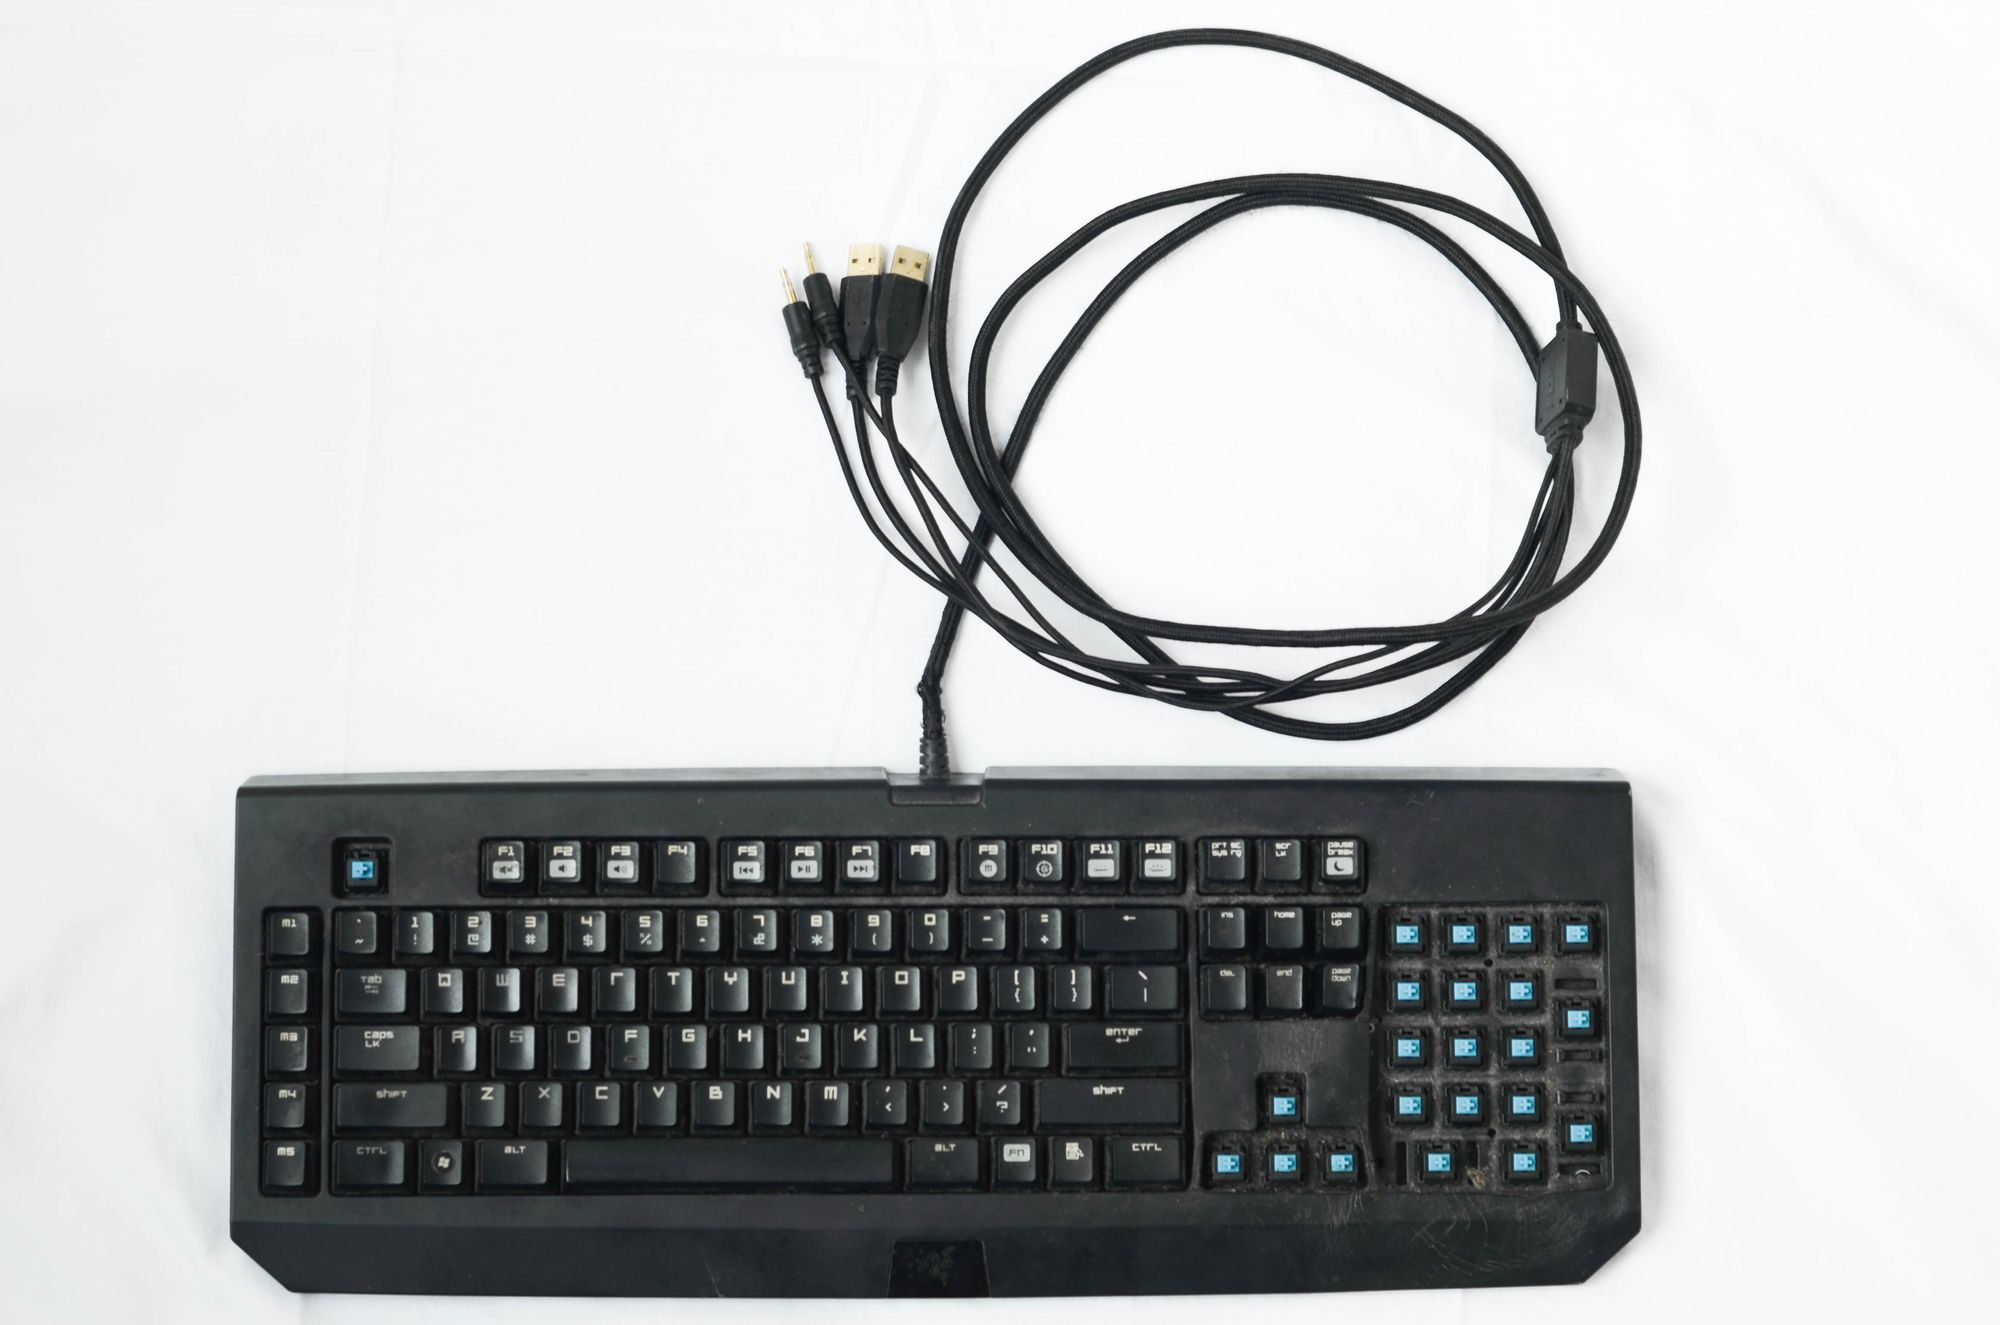
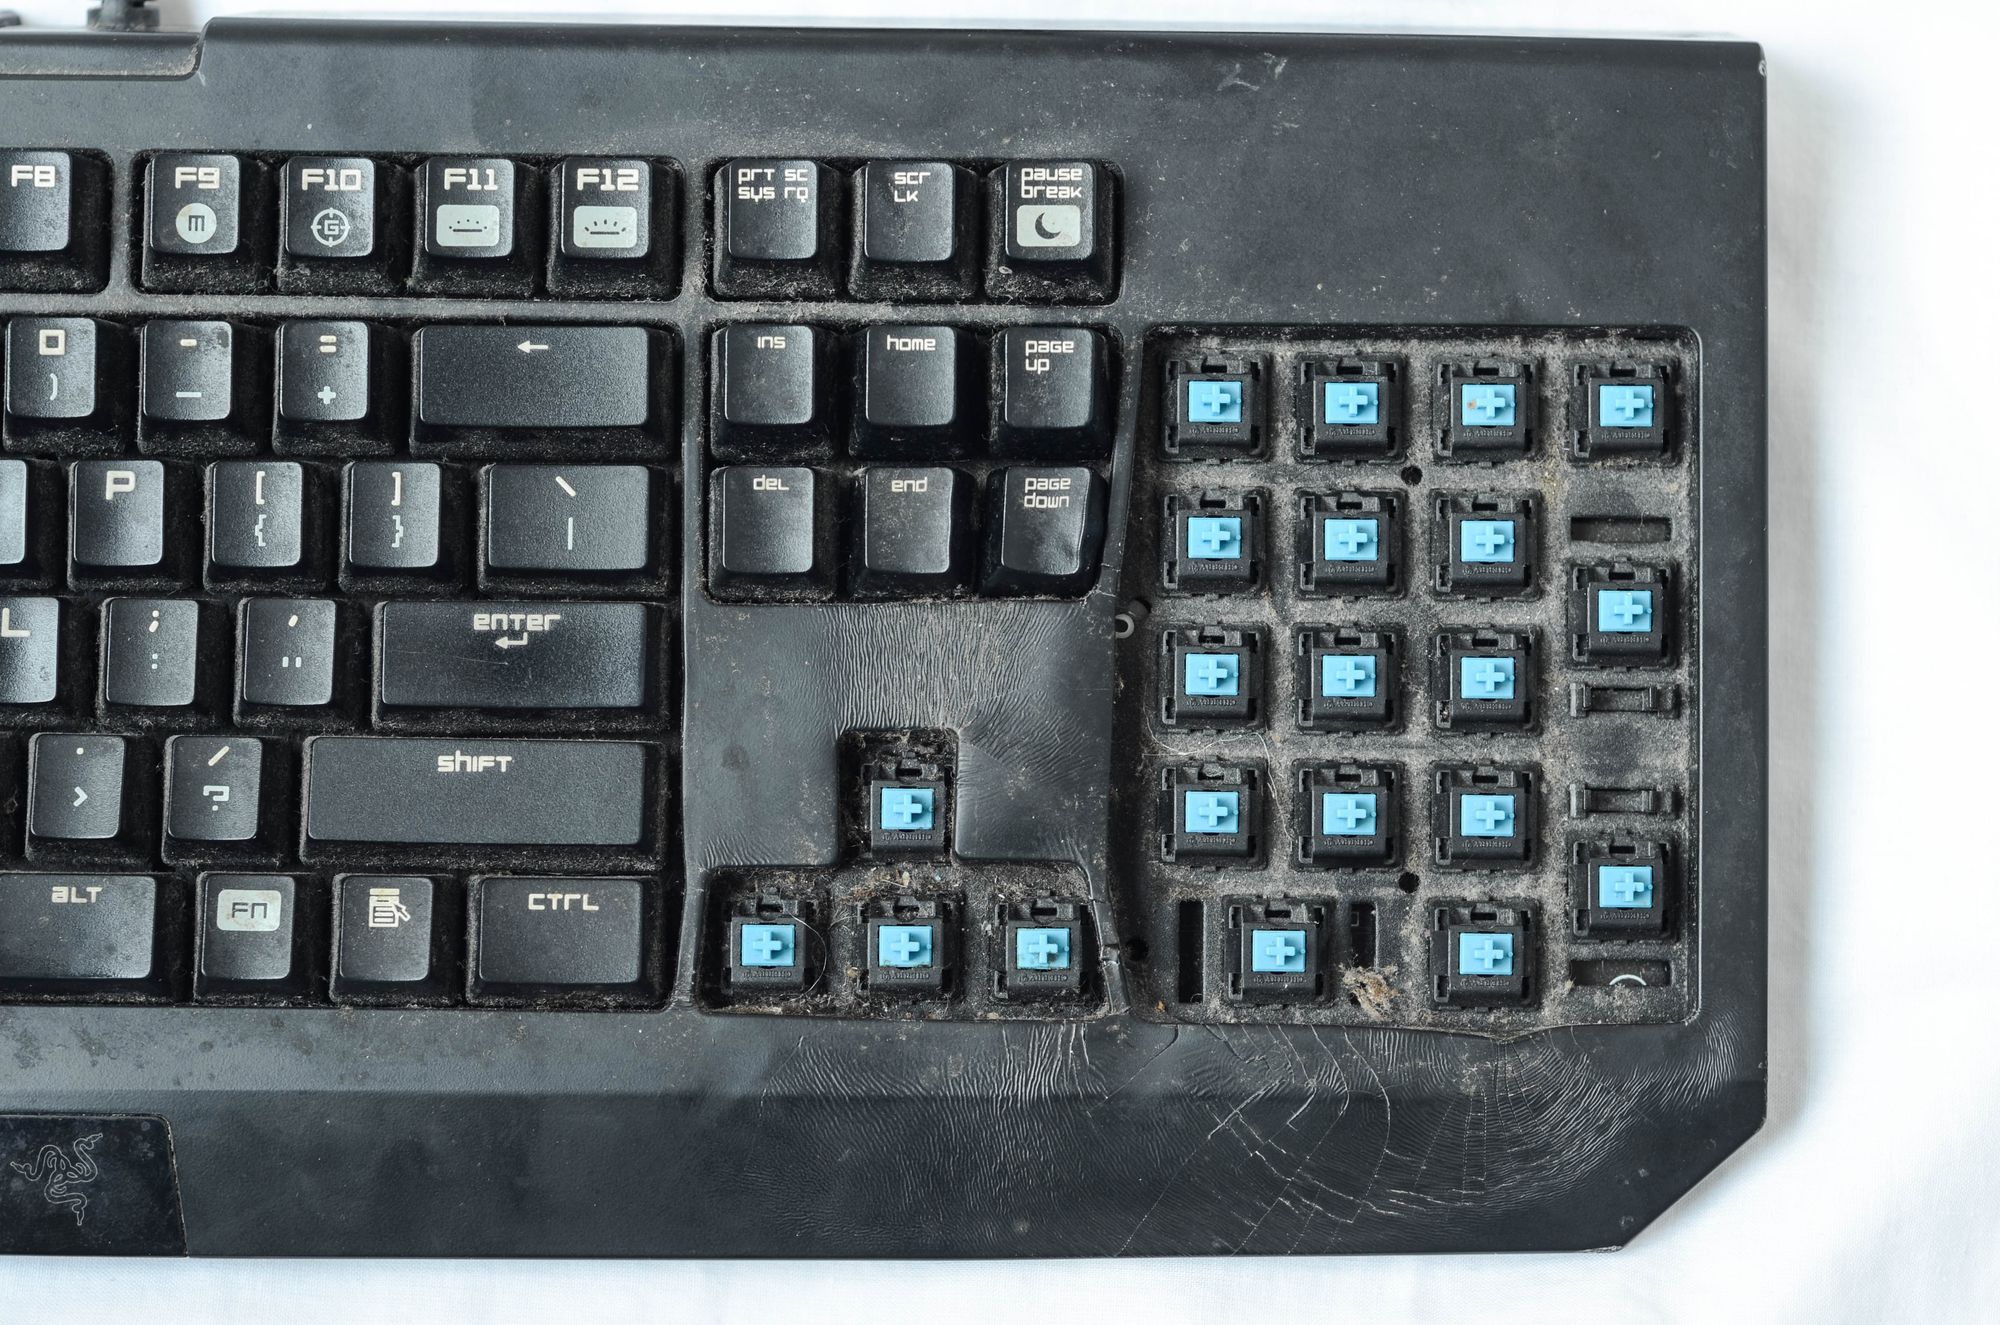
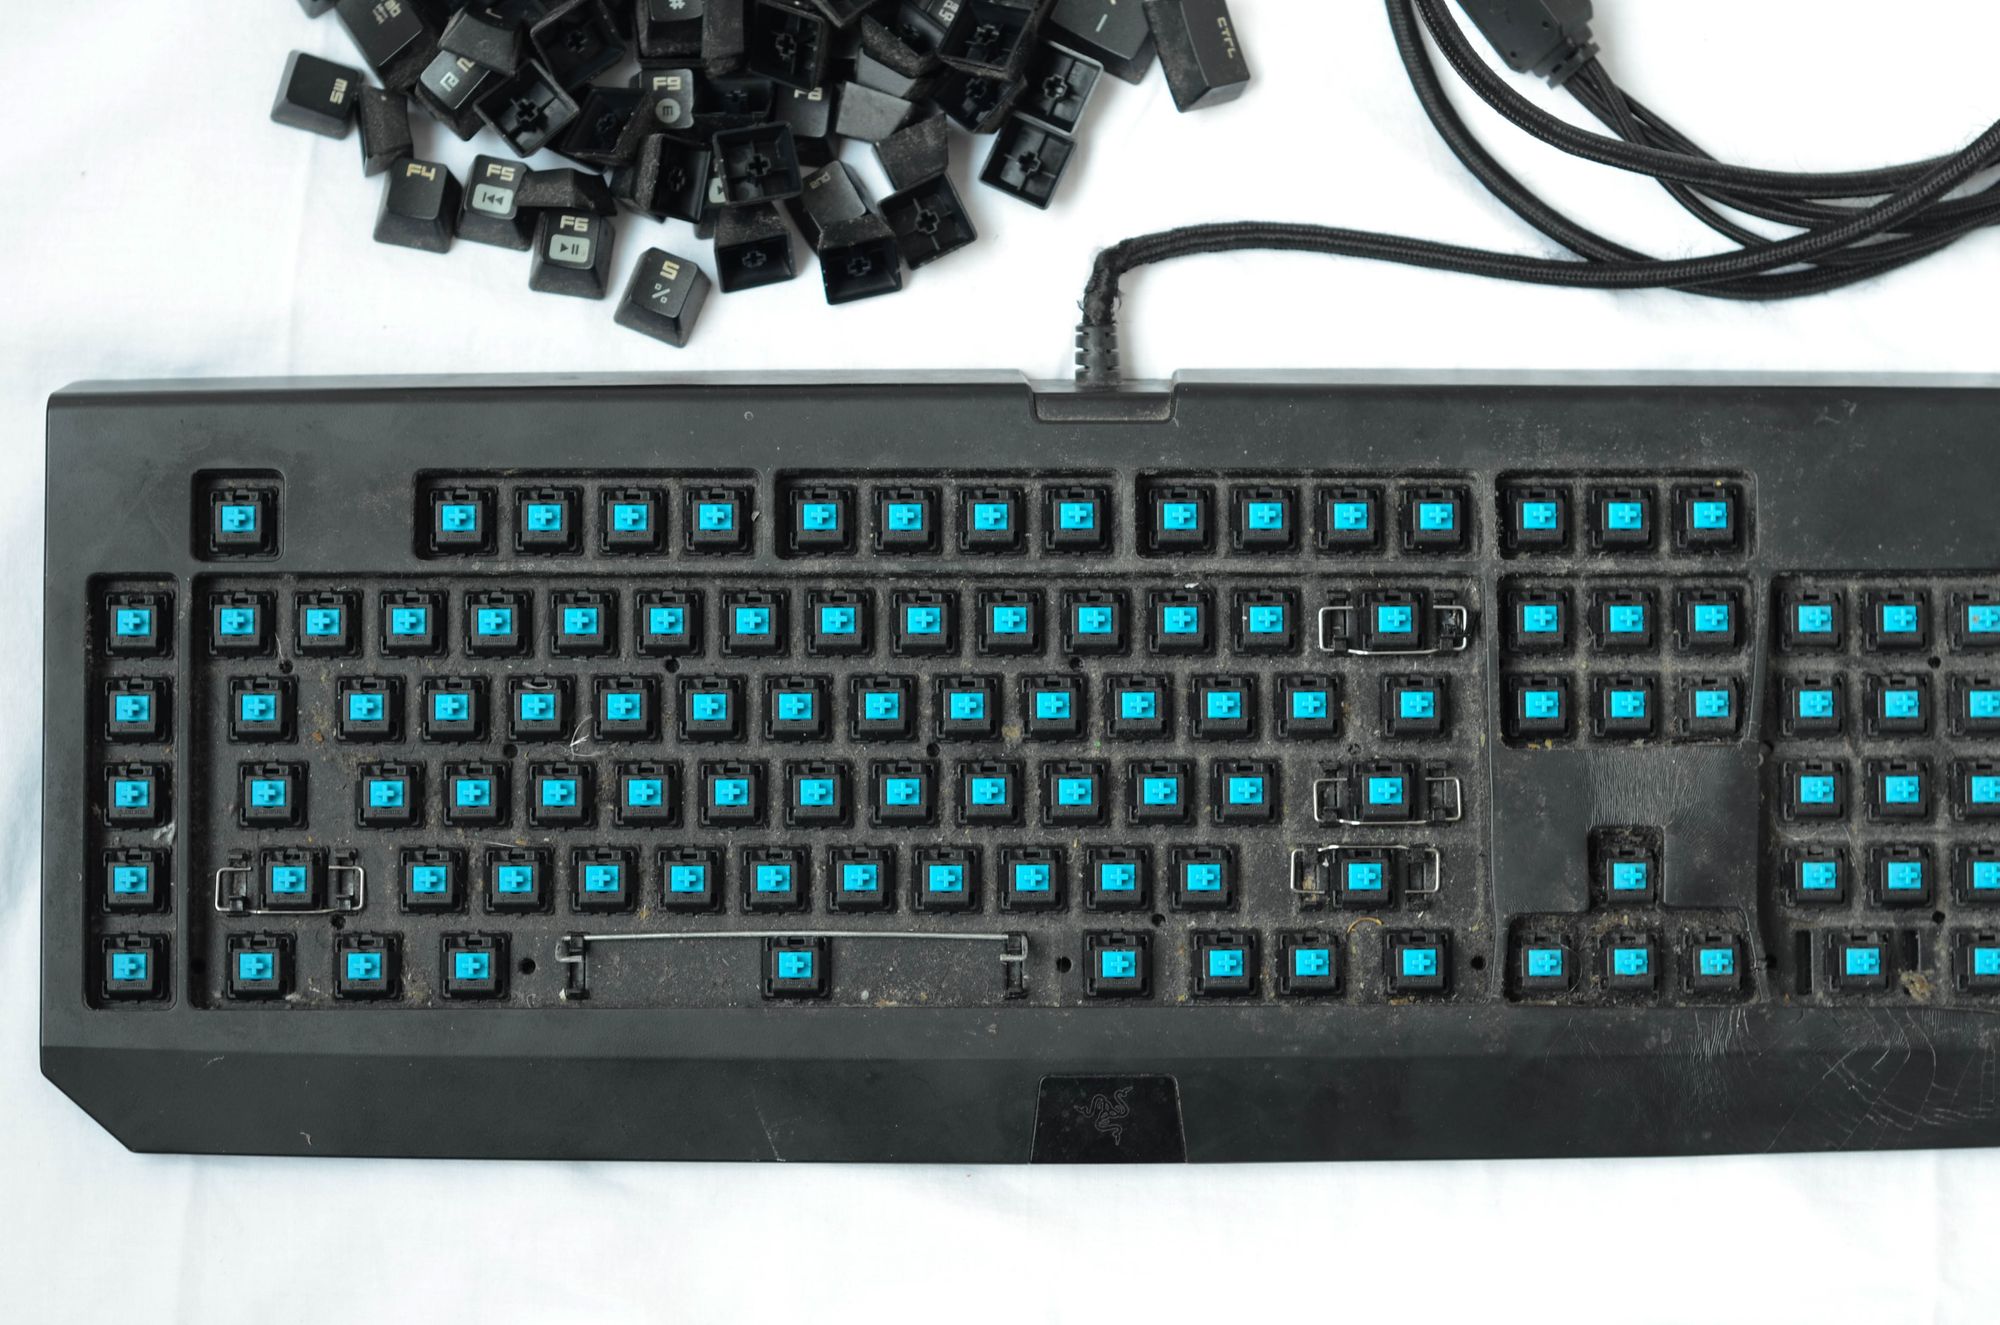
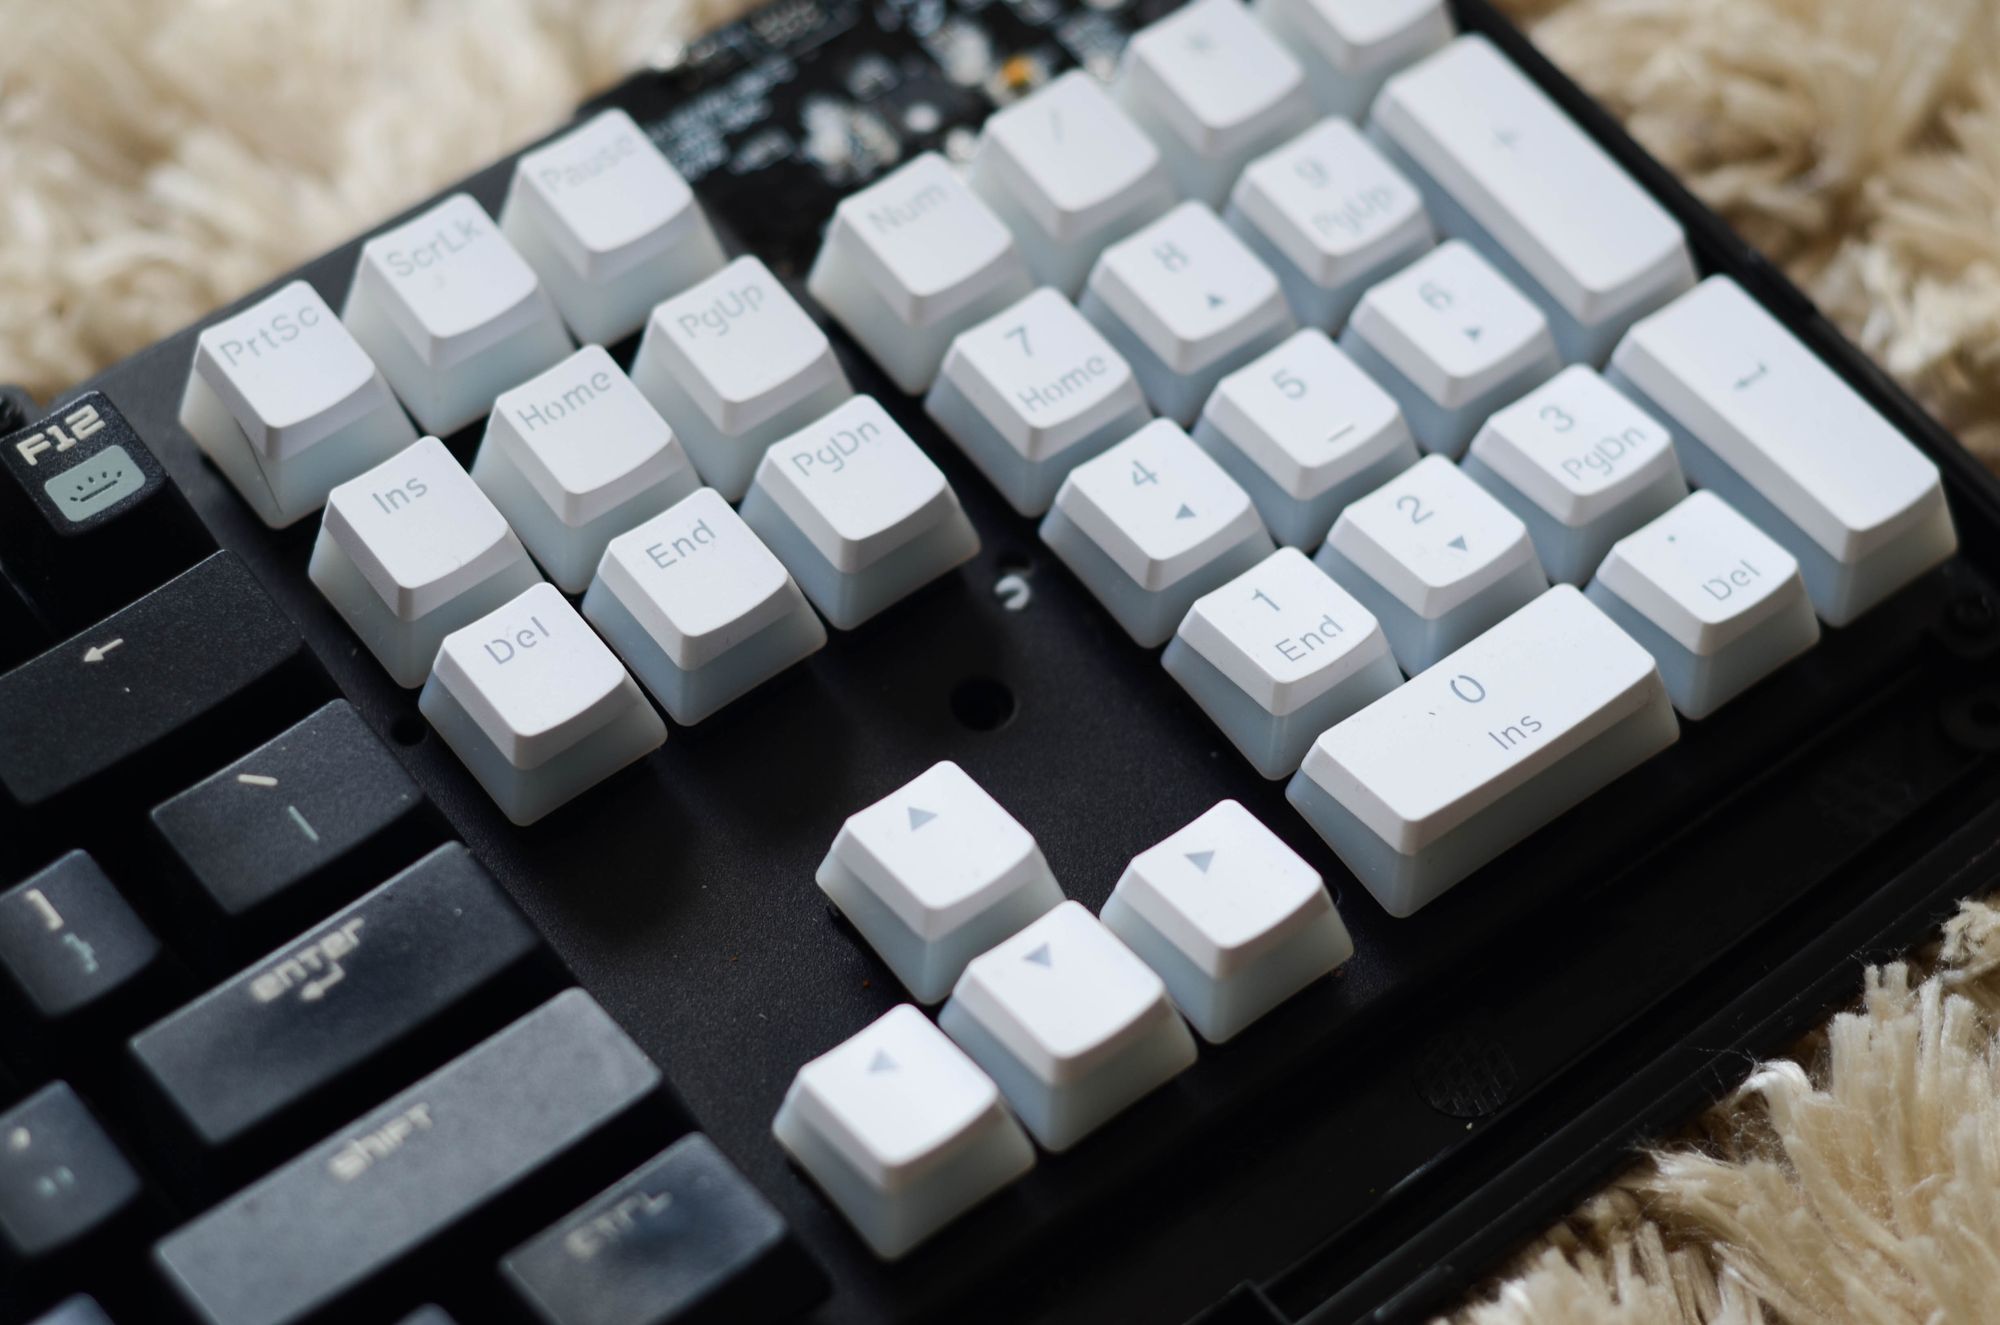
I started by removing all the keycaps. As I mentioned, some of the keycaps were missing, and others deformed. Luckily the switches below them are fully functional. The missing blocks were the numpad, arrow keys, and the escape key.
The keyboard was very dirty, and that could be explained by the duration it was exposed to the elements.
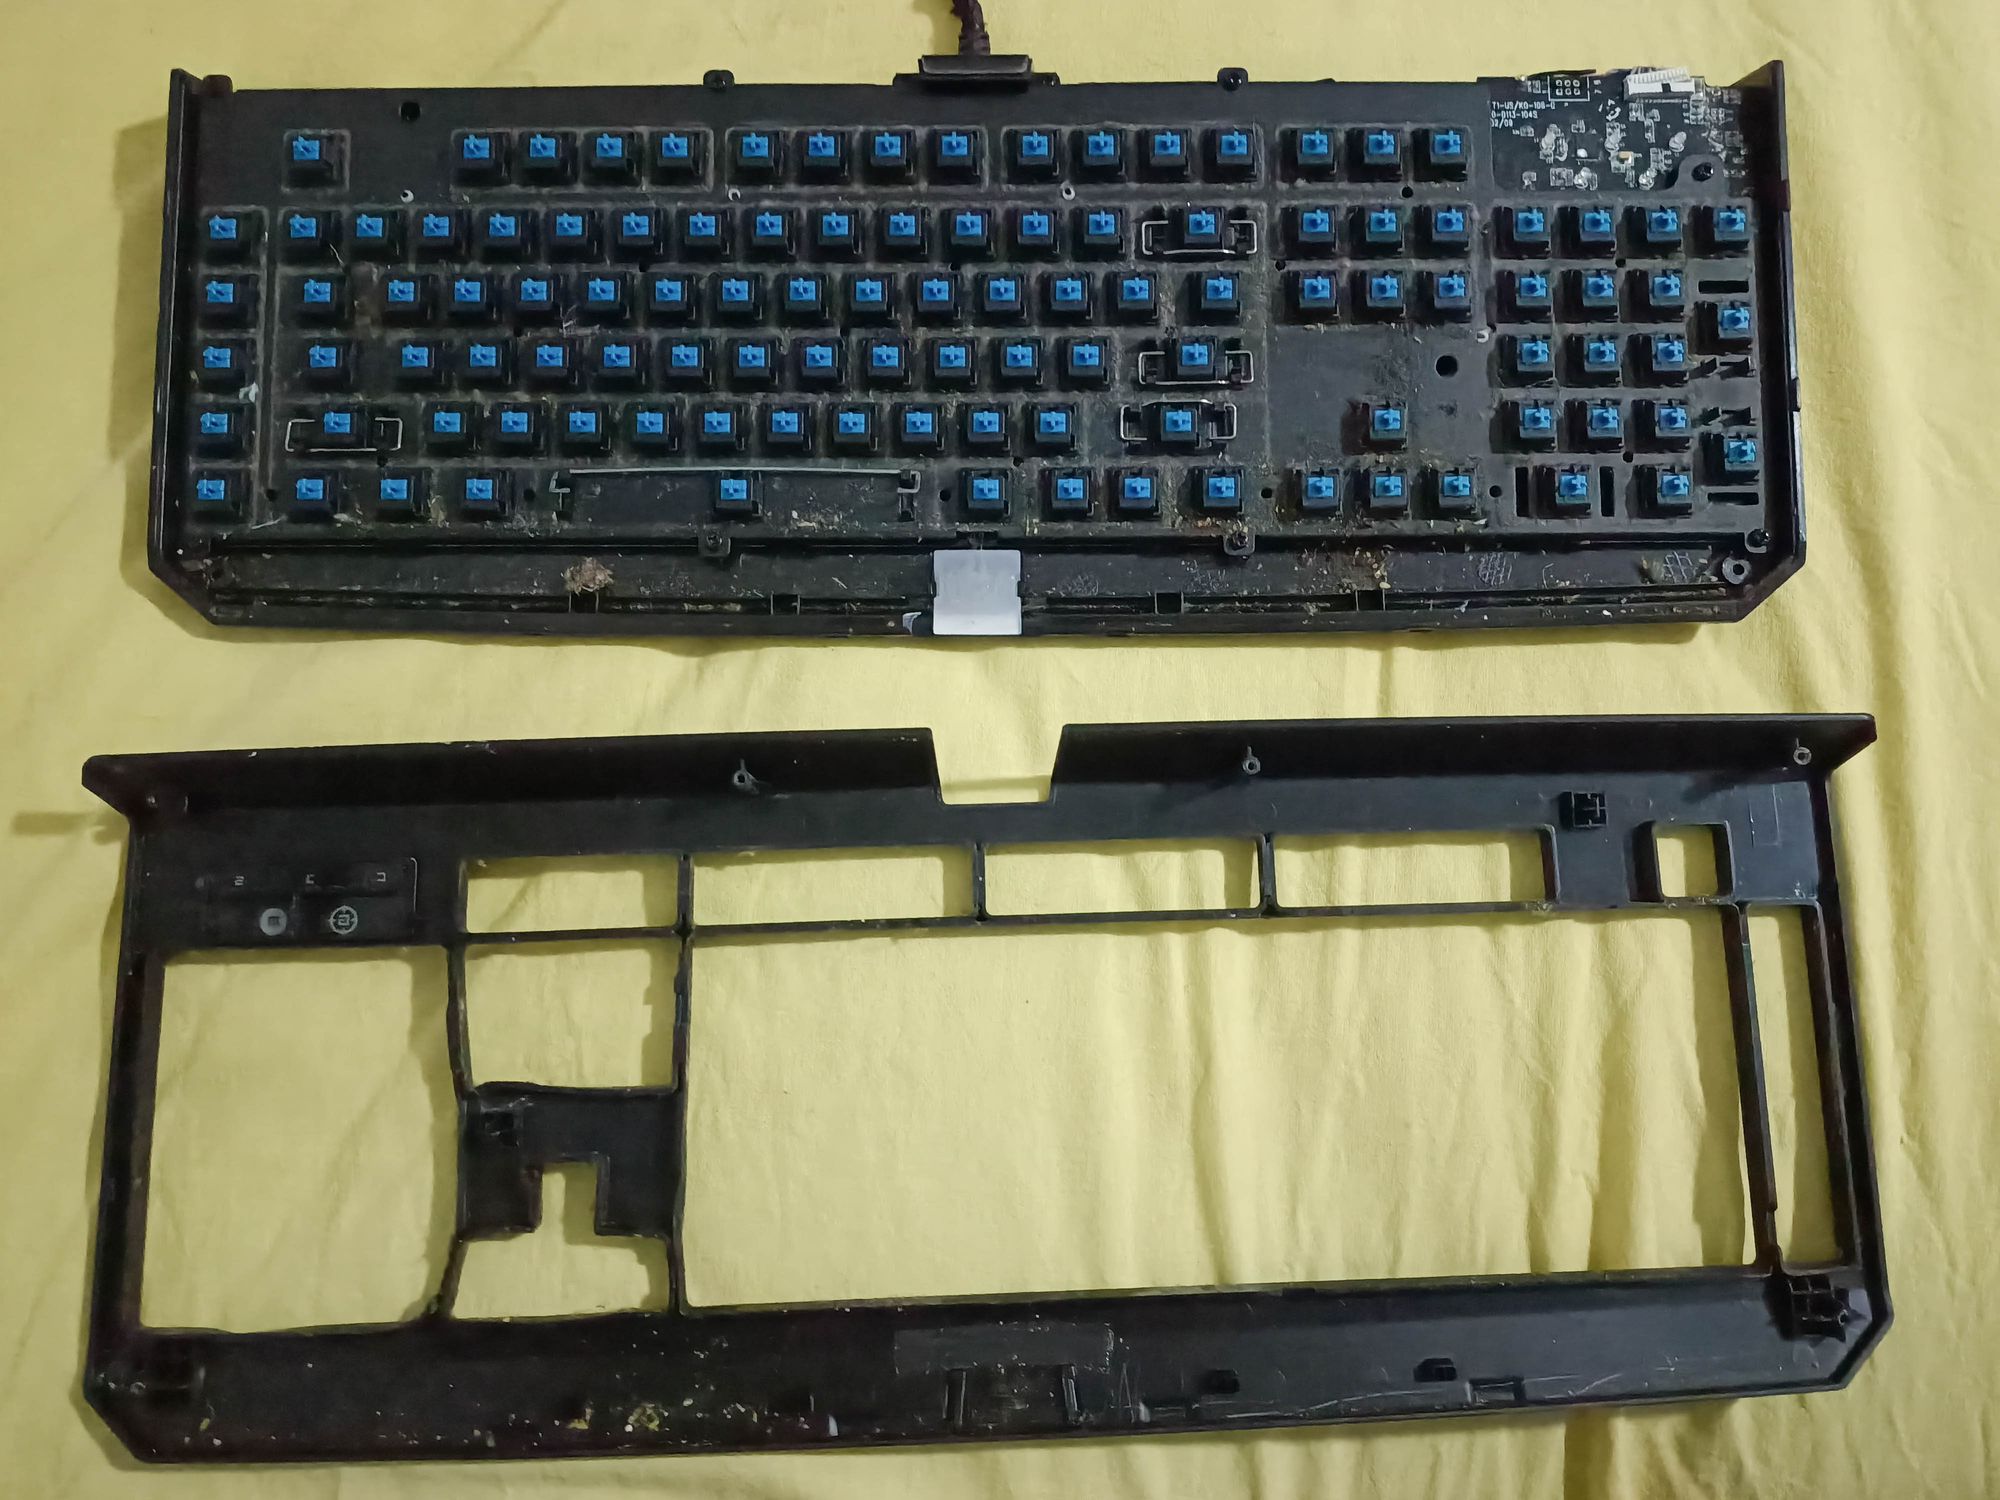
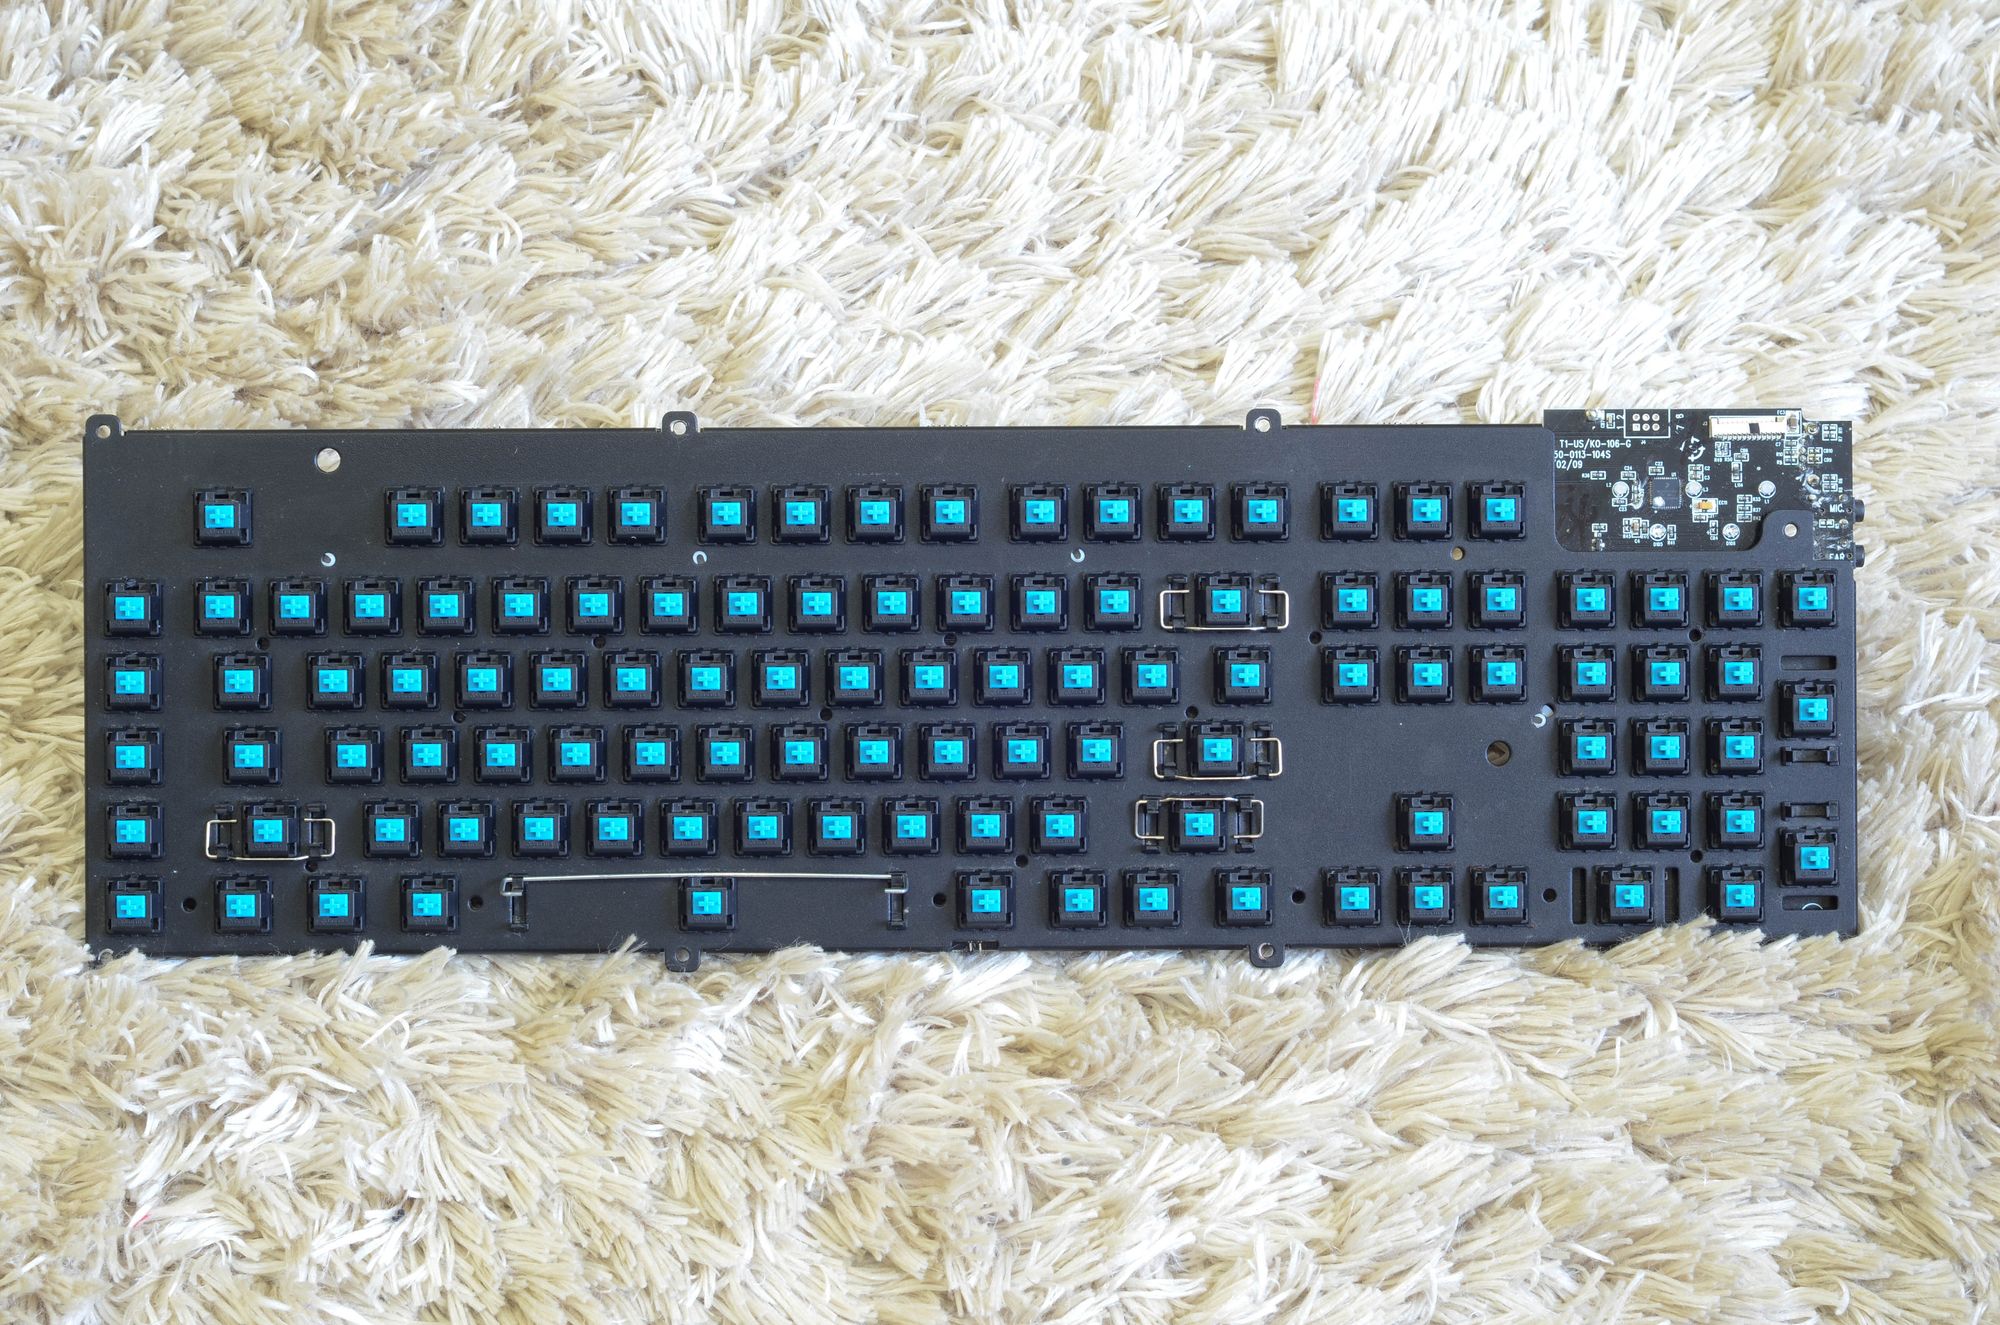
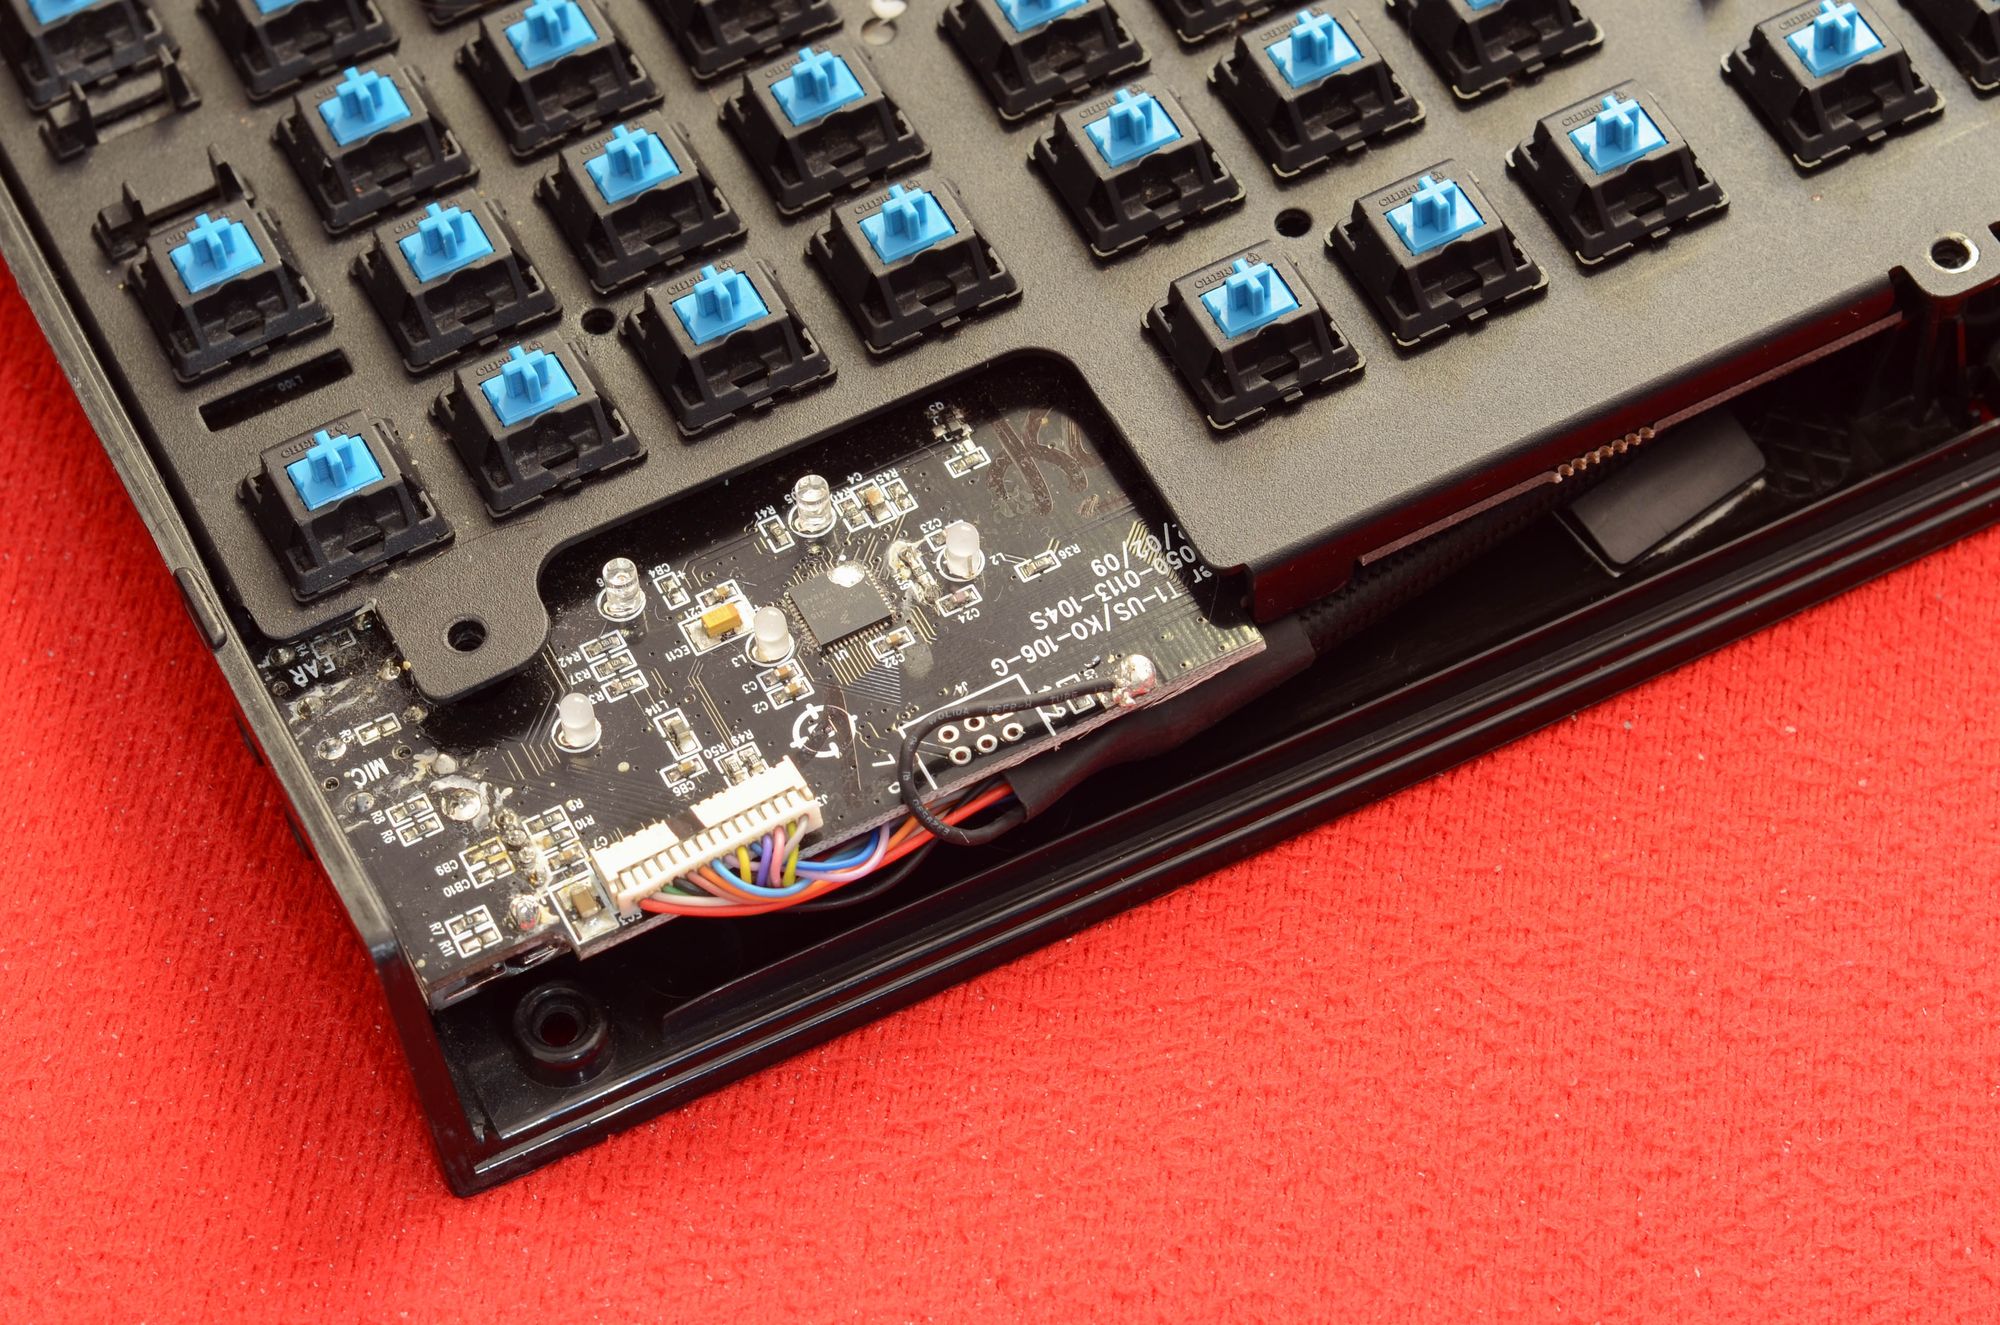
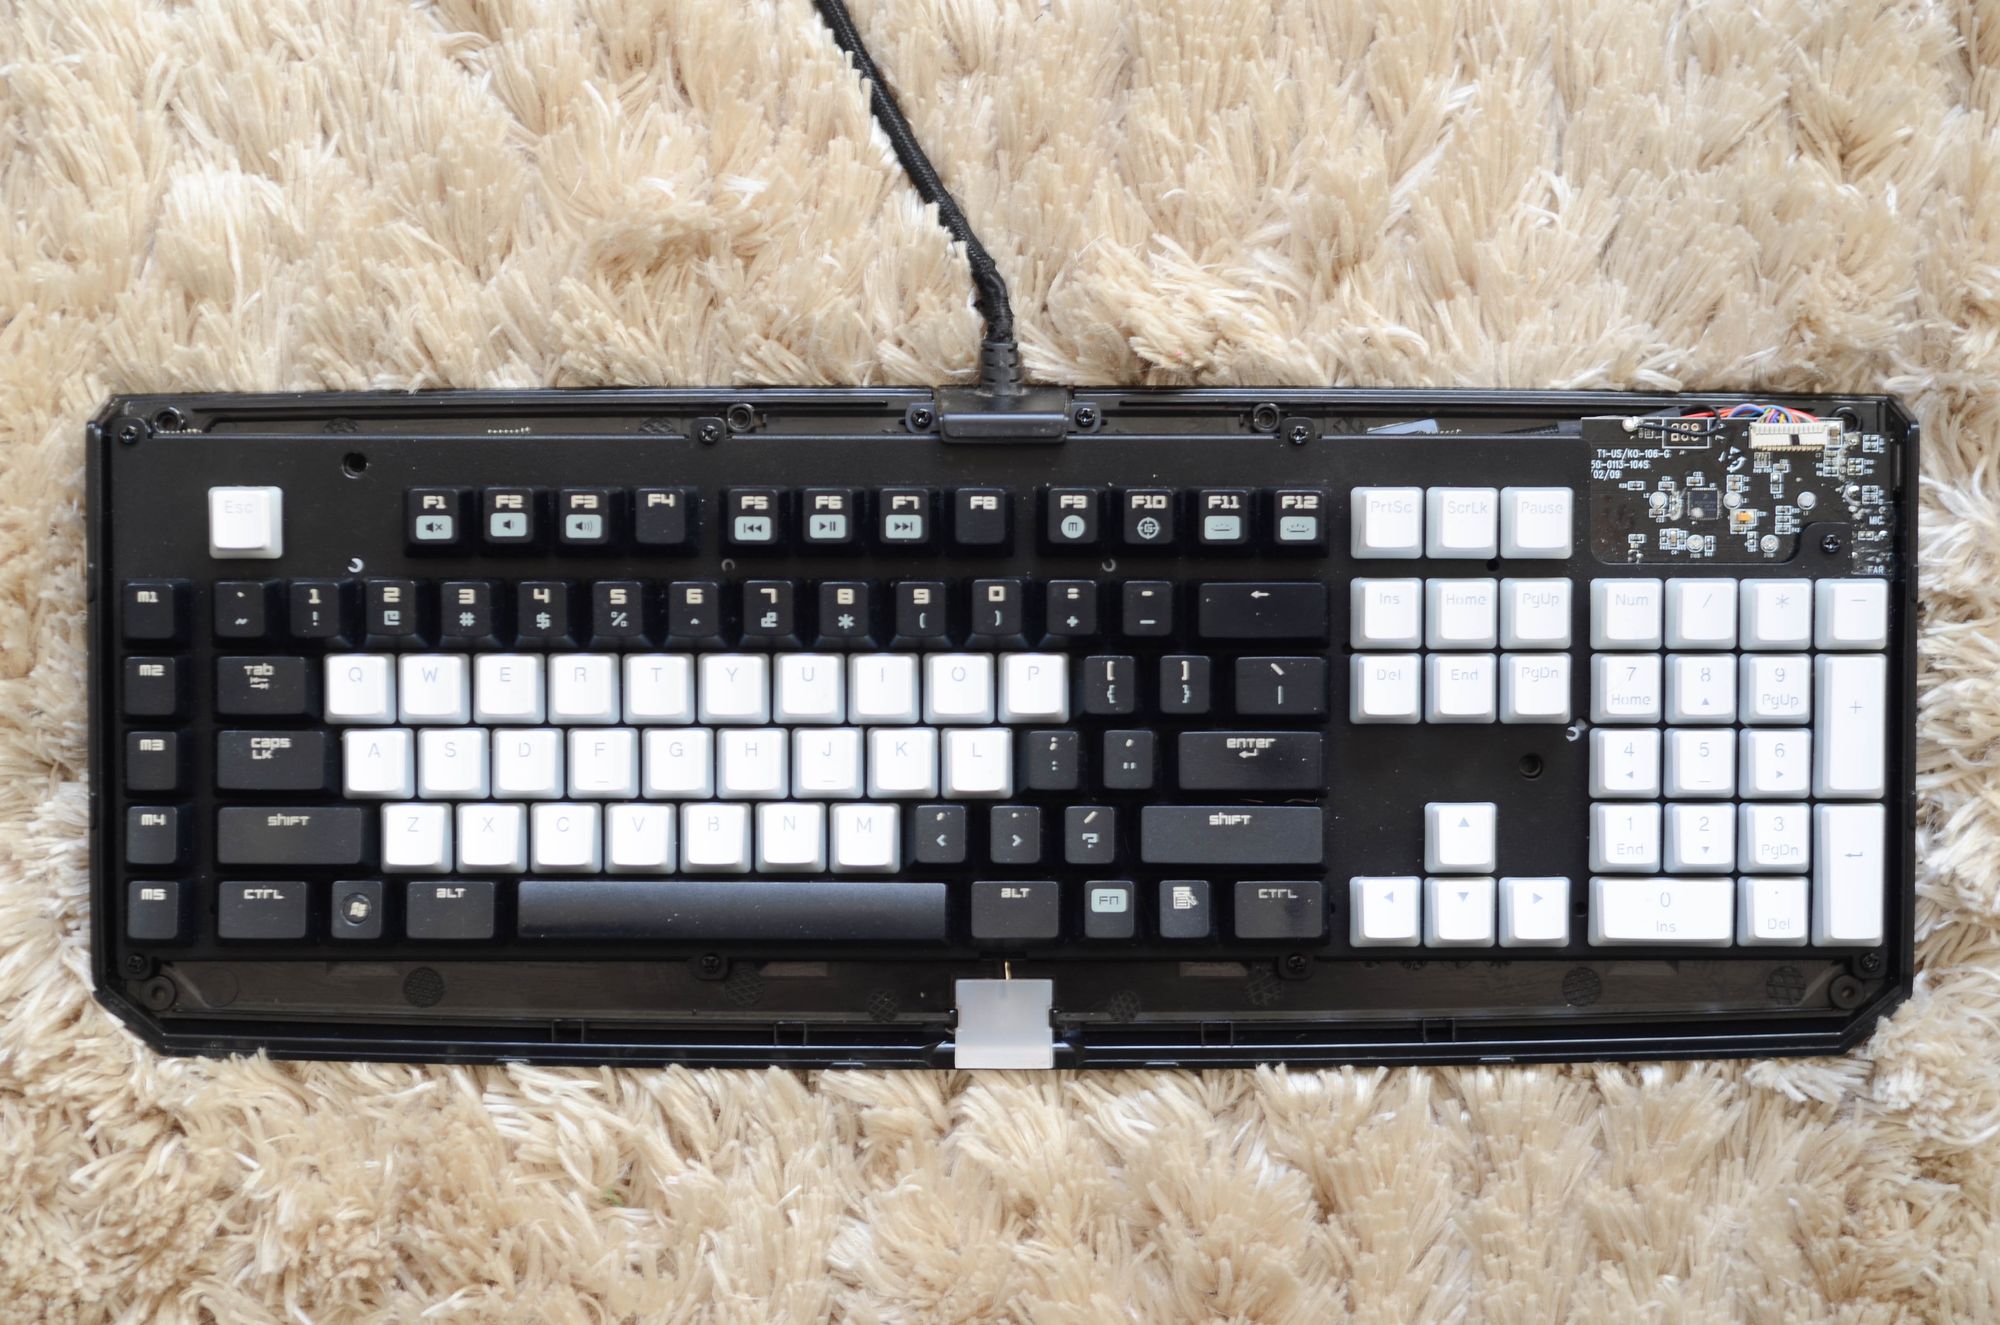
After that, I proceeded to remove the cover, exposing the circuit board. The more I go deeper the more I discover more dirt. There were even insects inside.
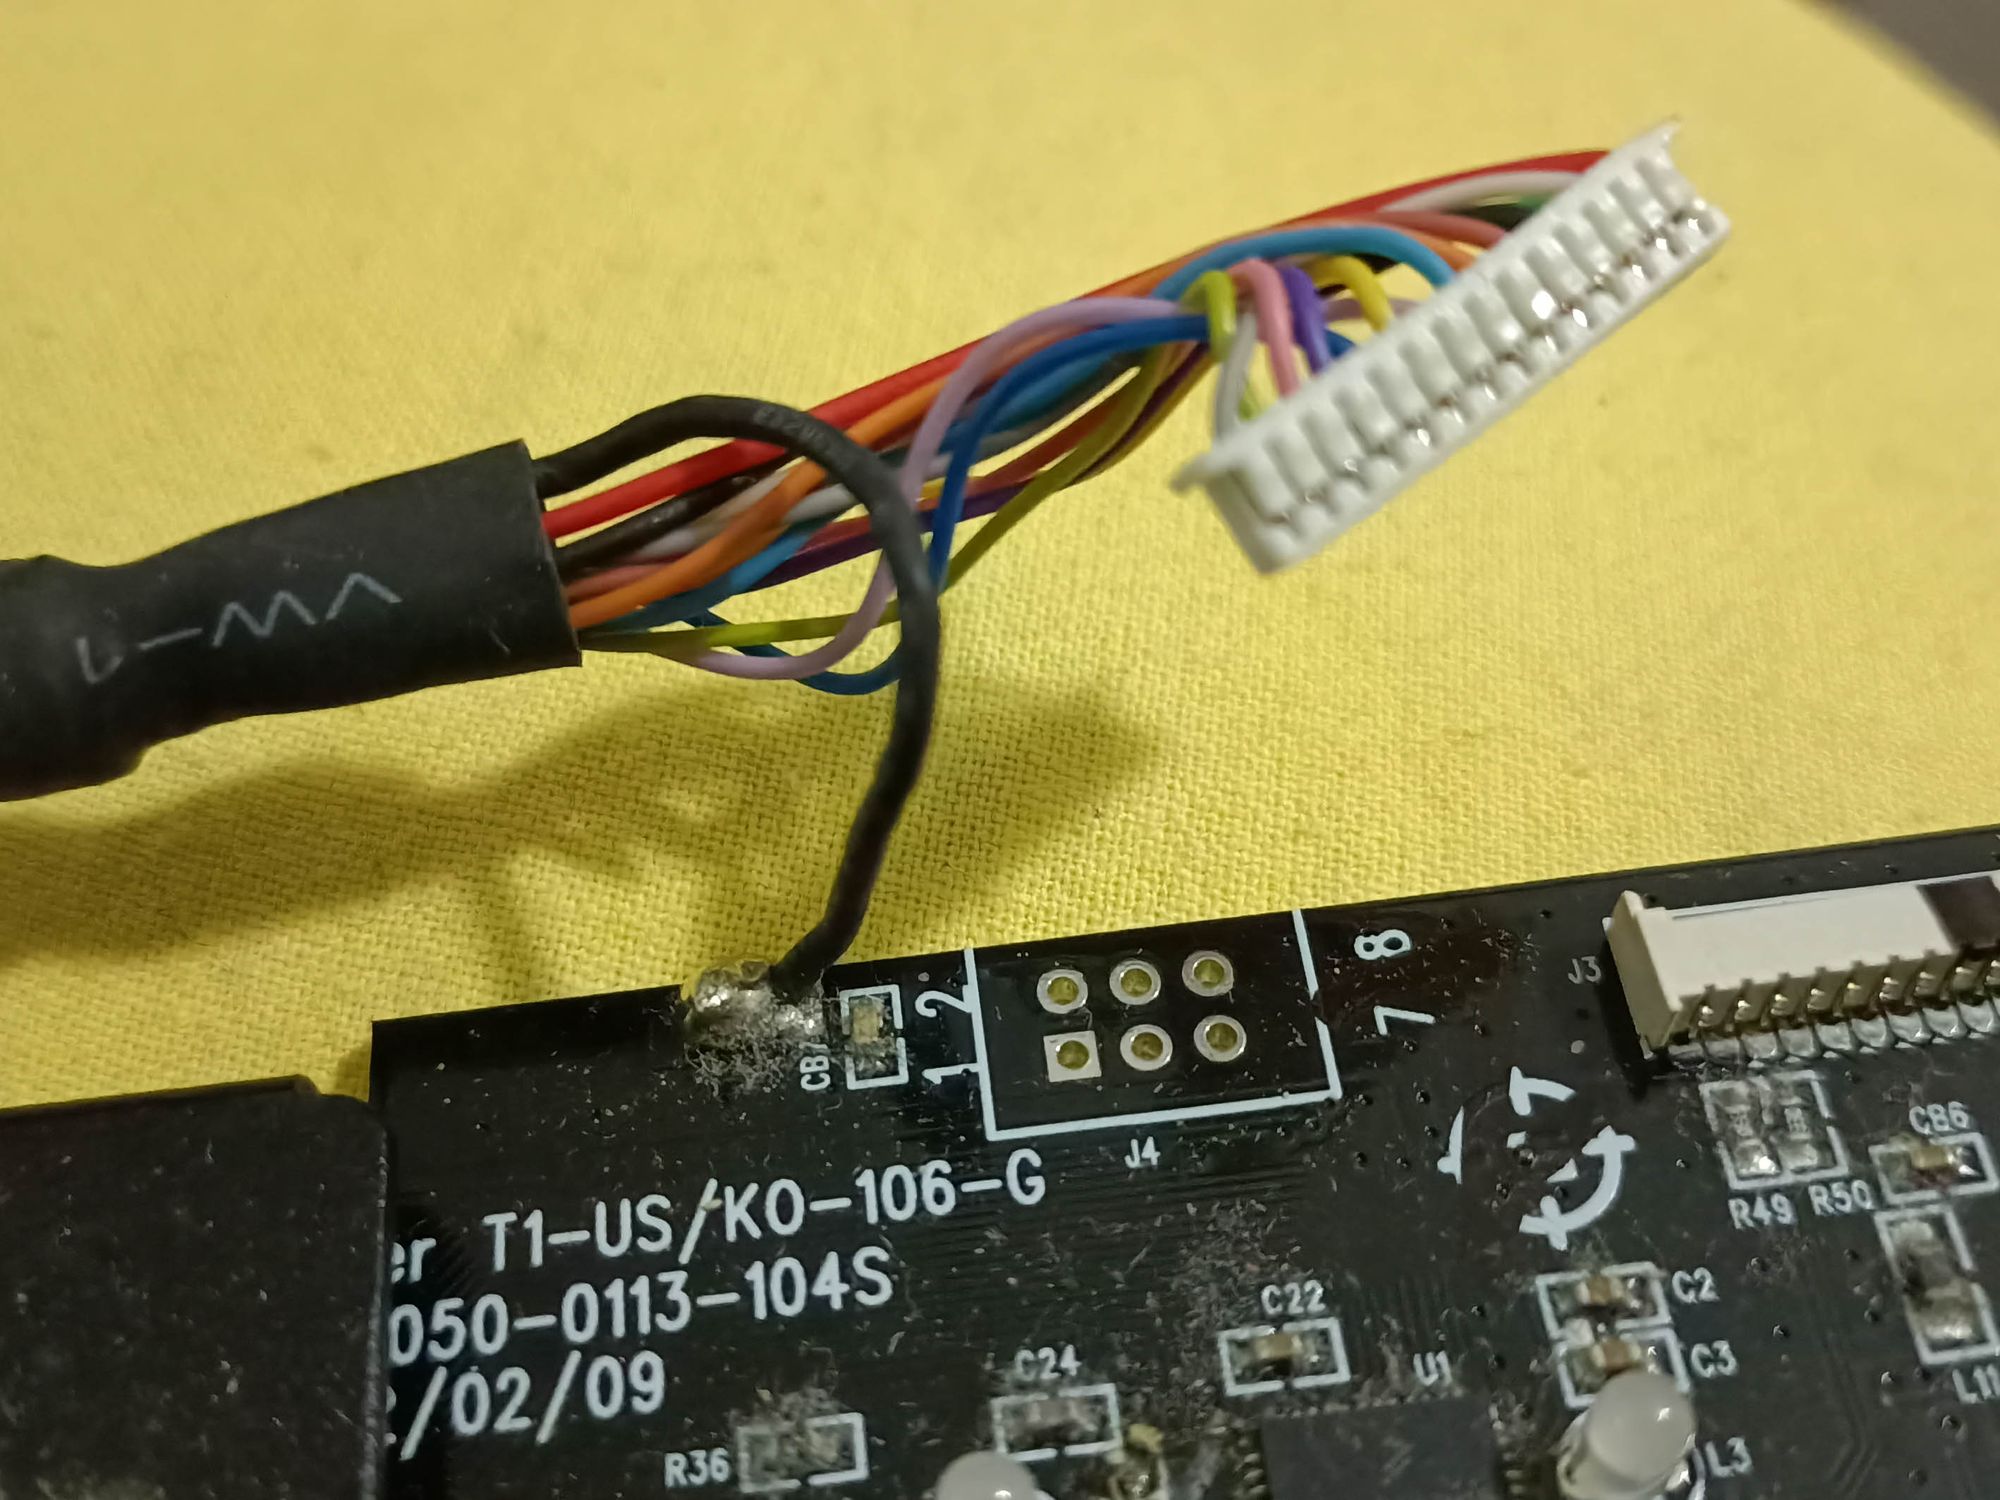
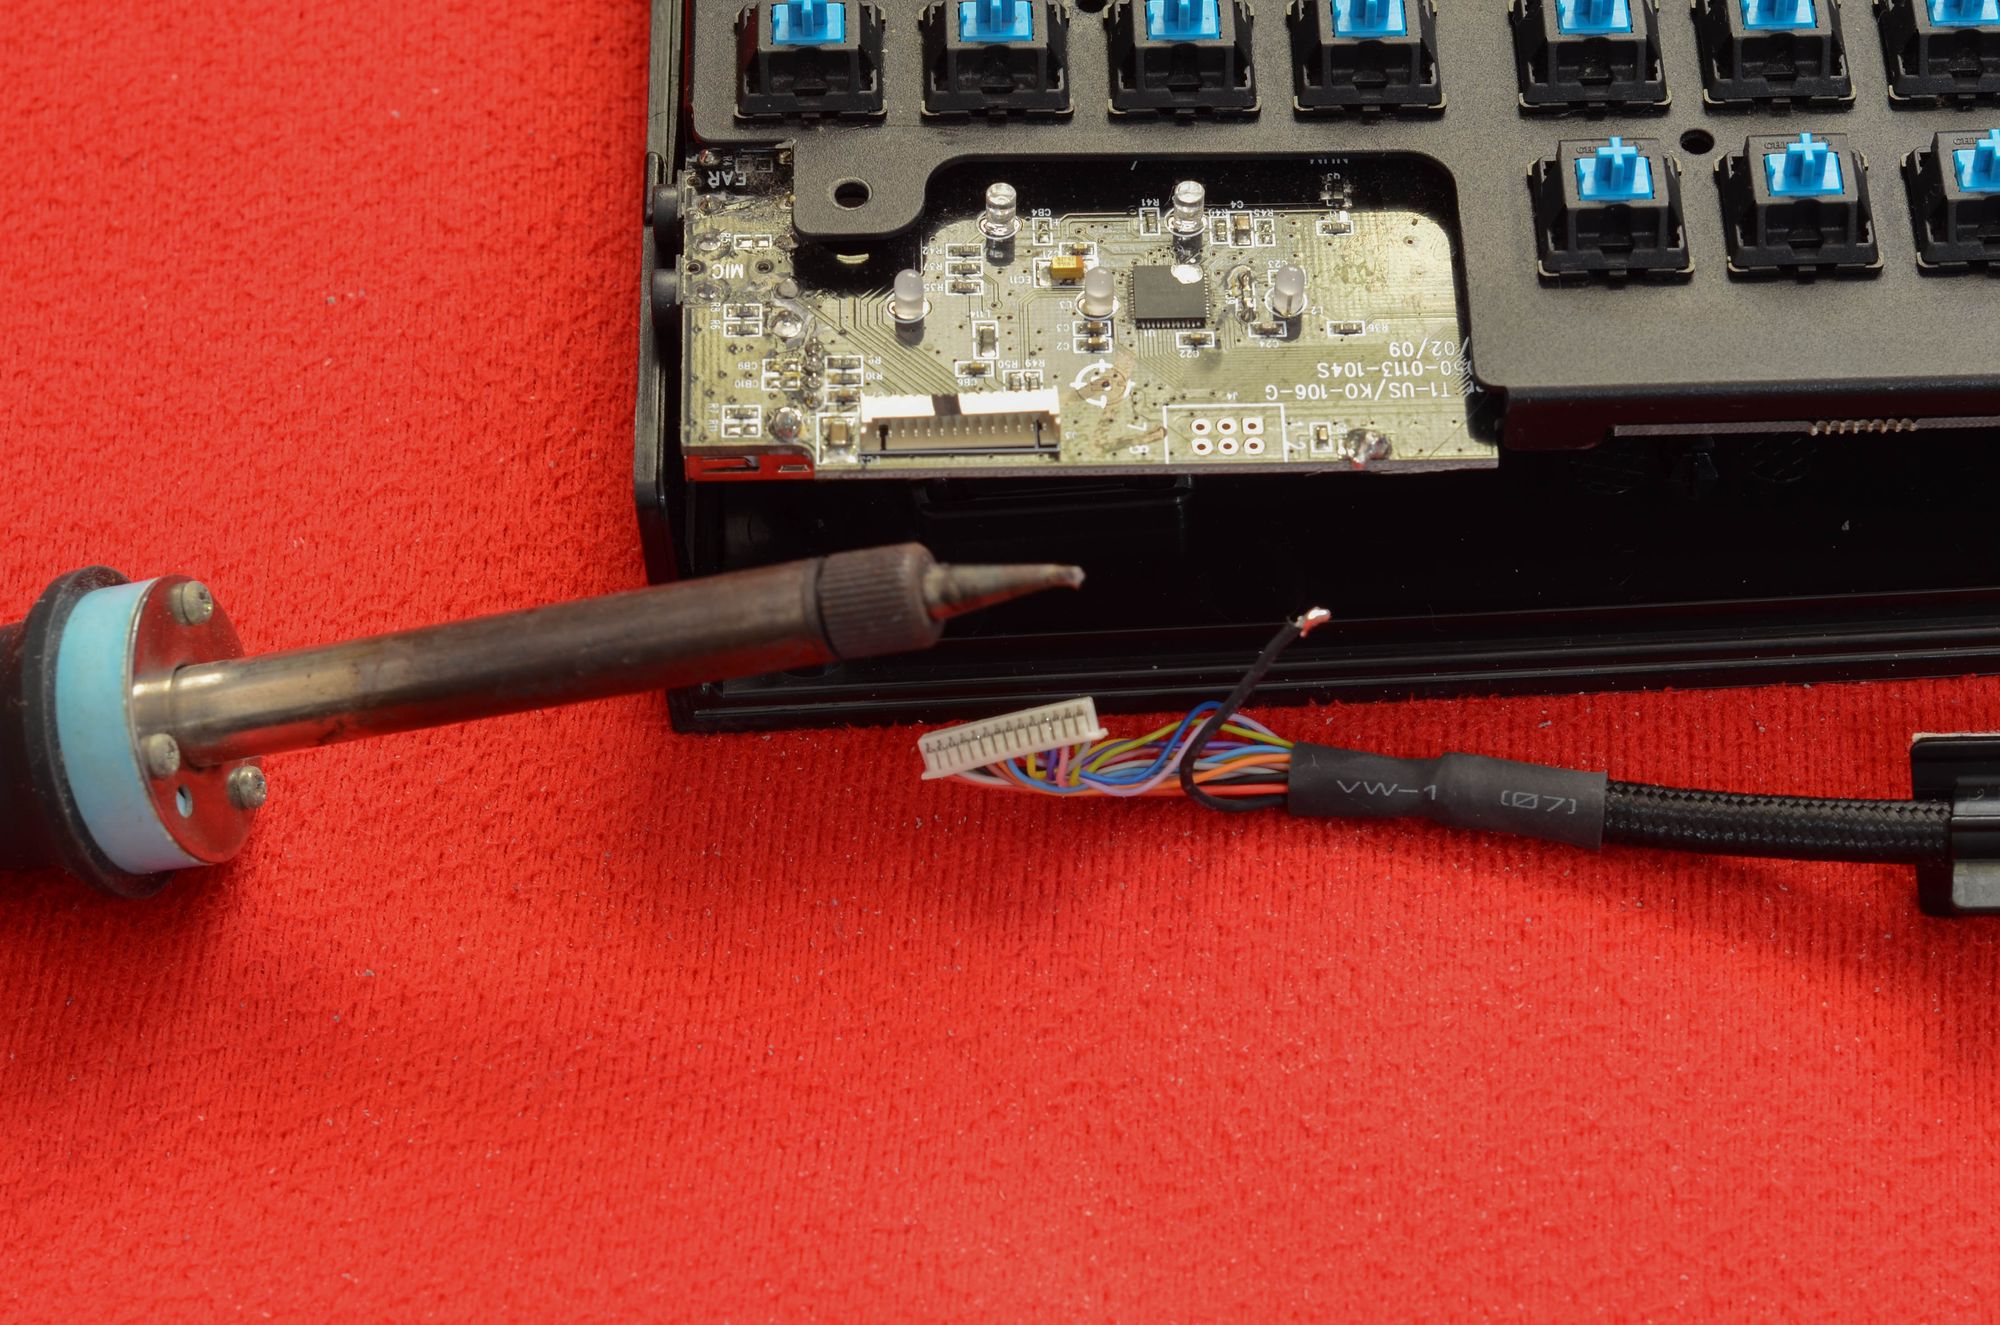
Since this keyboard will need a thoroughly cleaning, I decided to take out the circuit board. The black cable was soldered, which made this step a little bit trickier.
Step 2: Cleaning
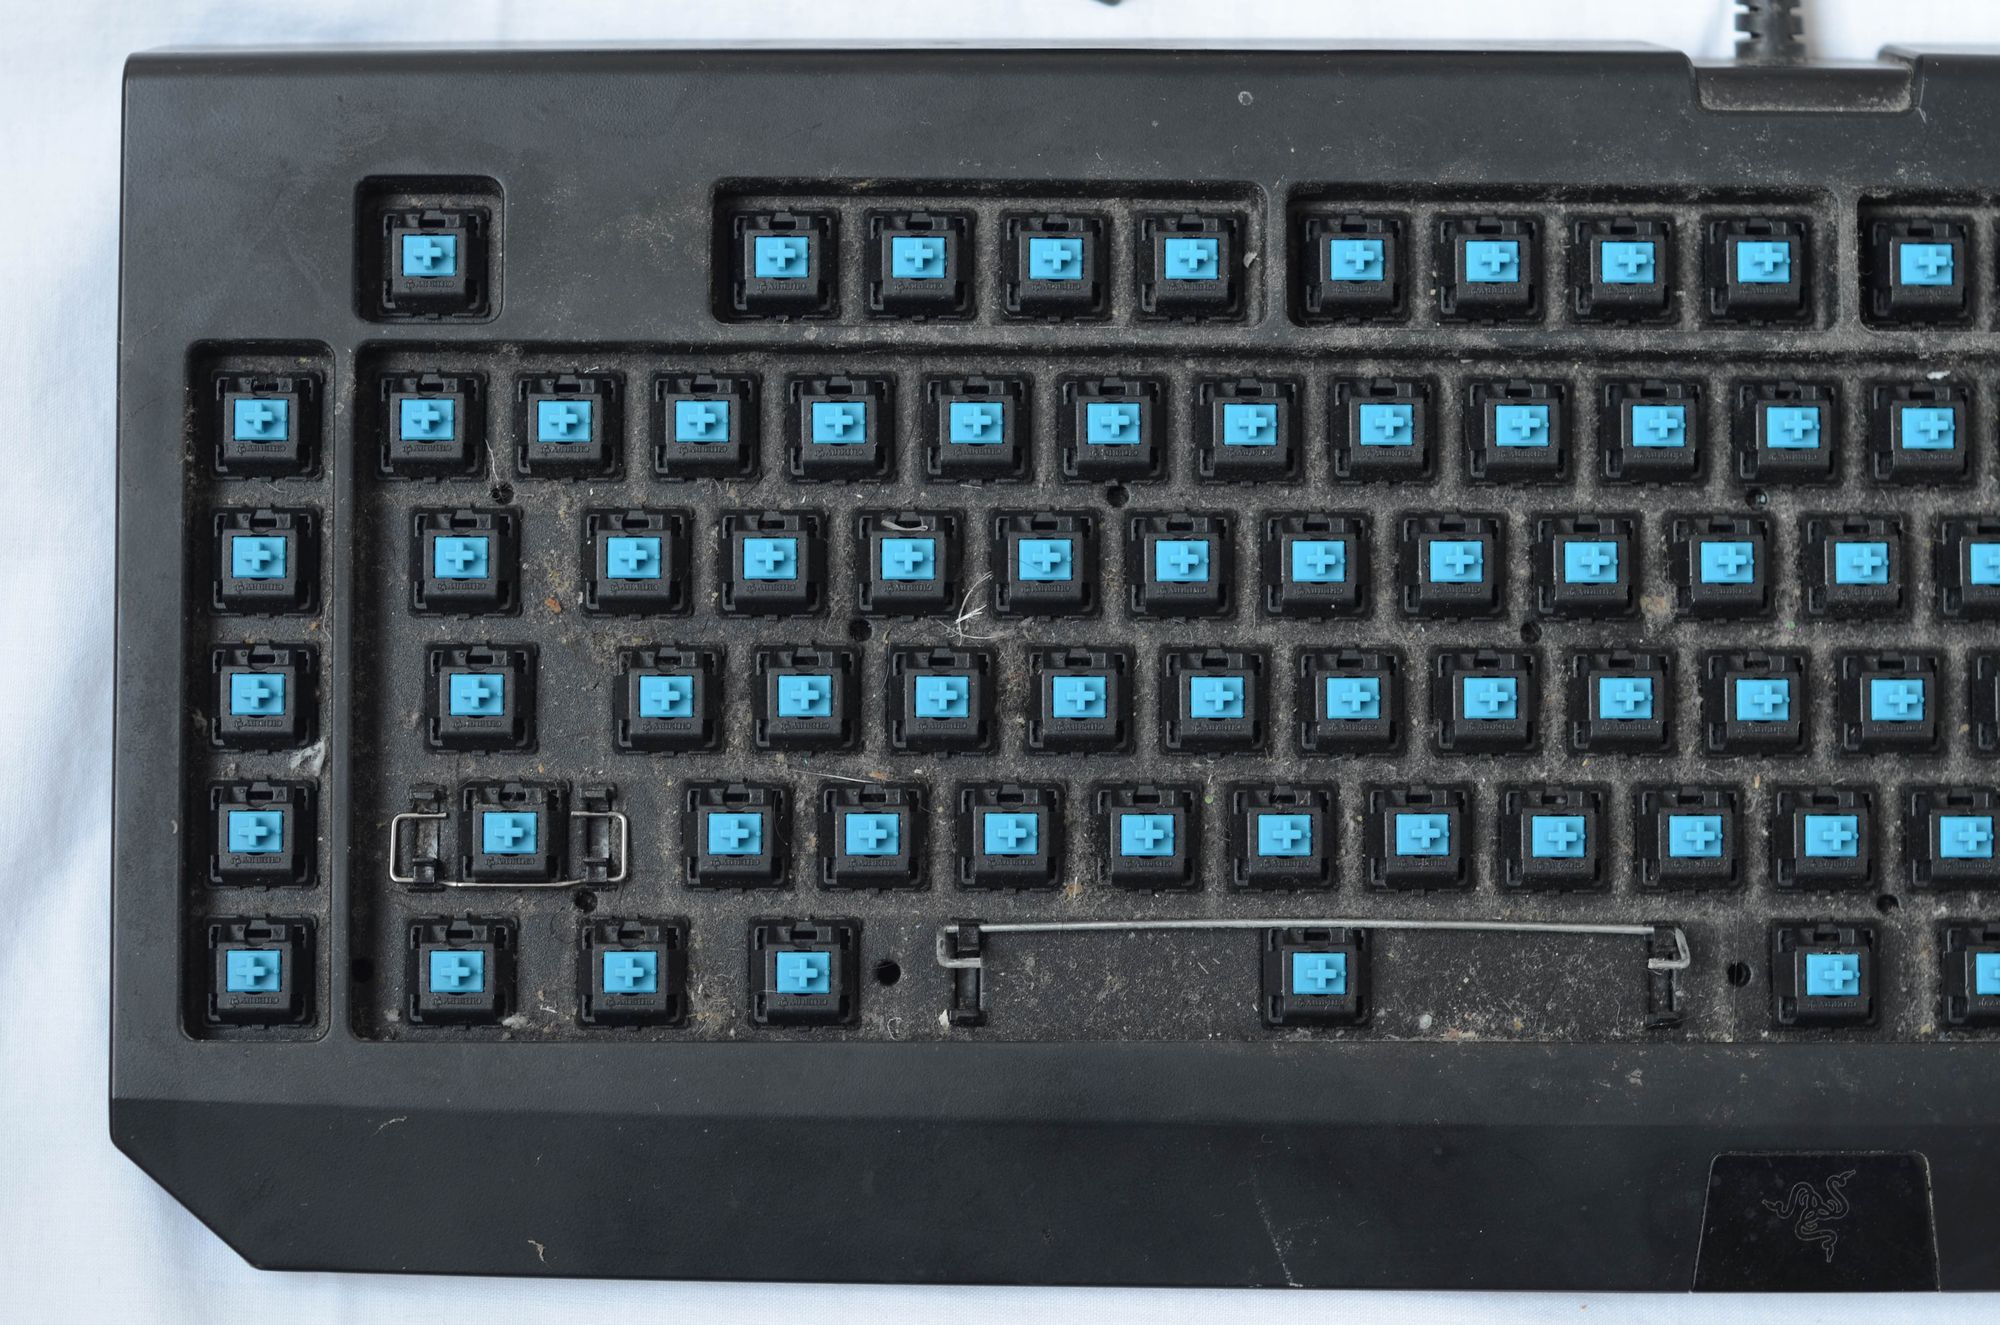
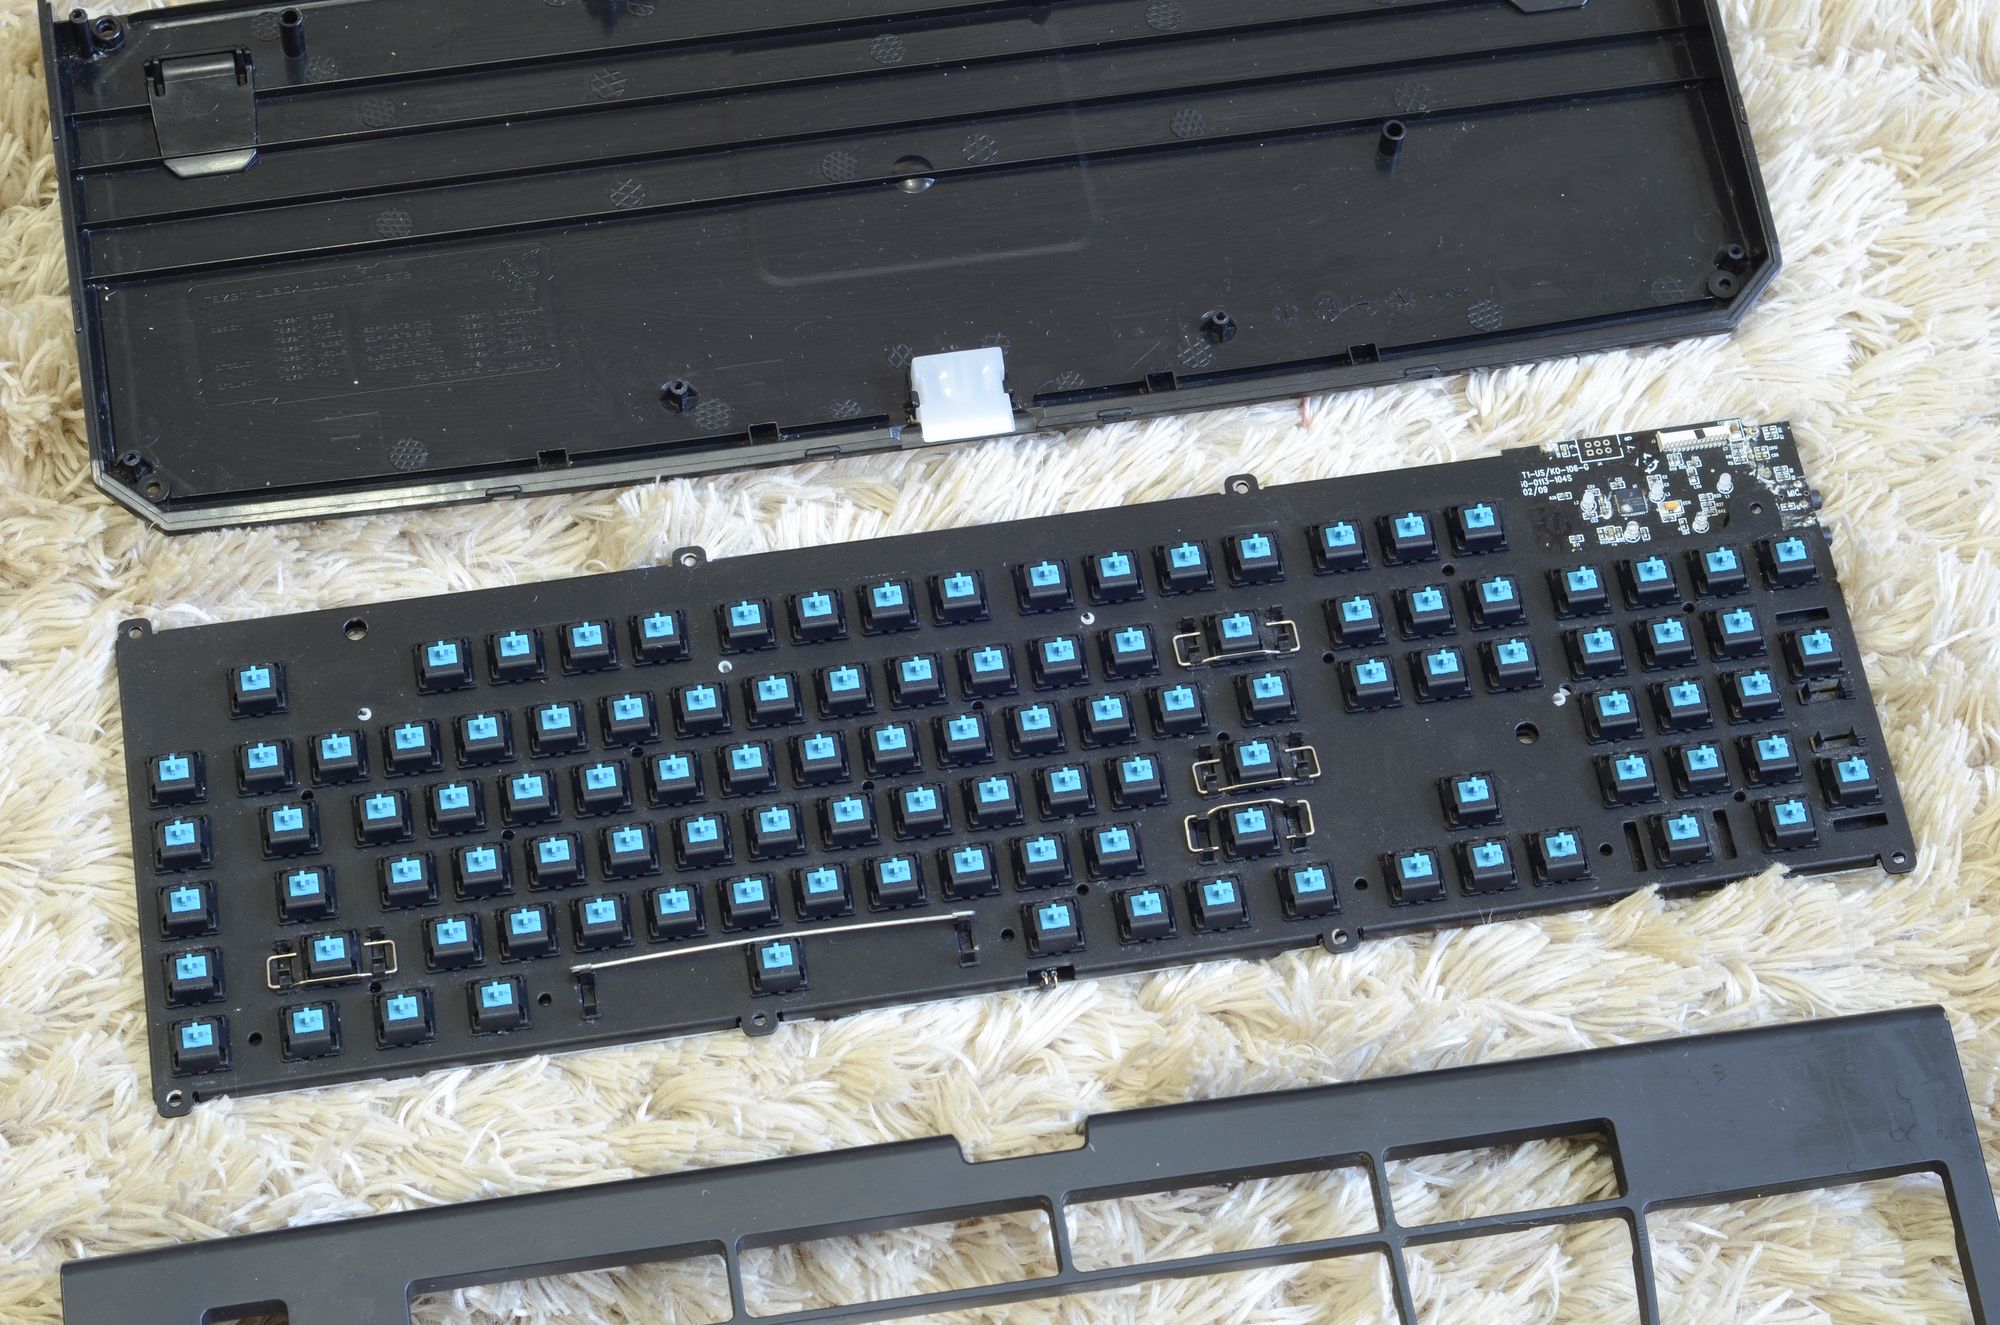
The plastic case was cleaned using a wet tissue. The circuit board was also cleaned with a special care not to let water leak to the switches or electronic components. A special brush was used to remove dust and debris around corners and difficult spots.
Below is the result after the cleaning operation.
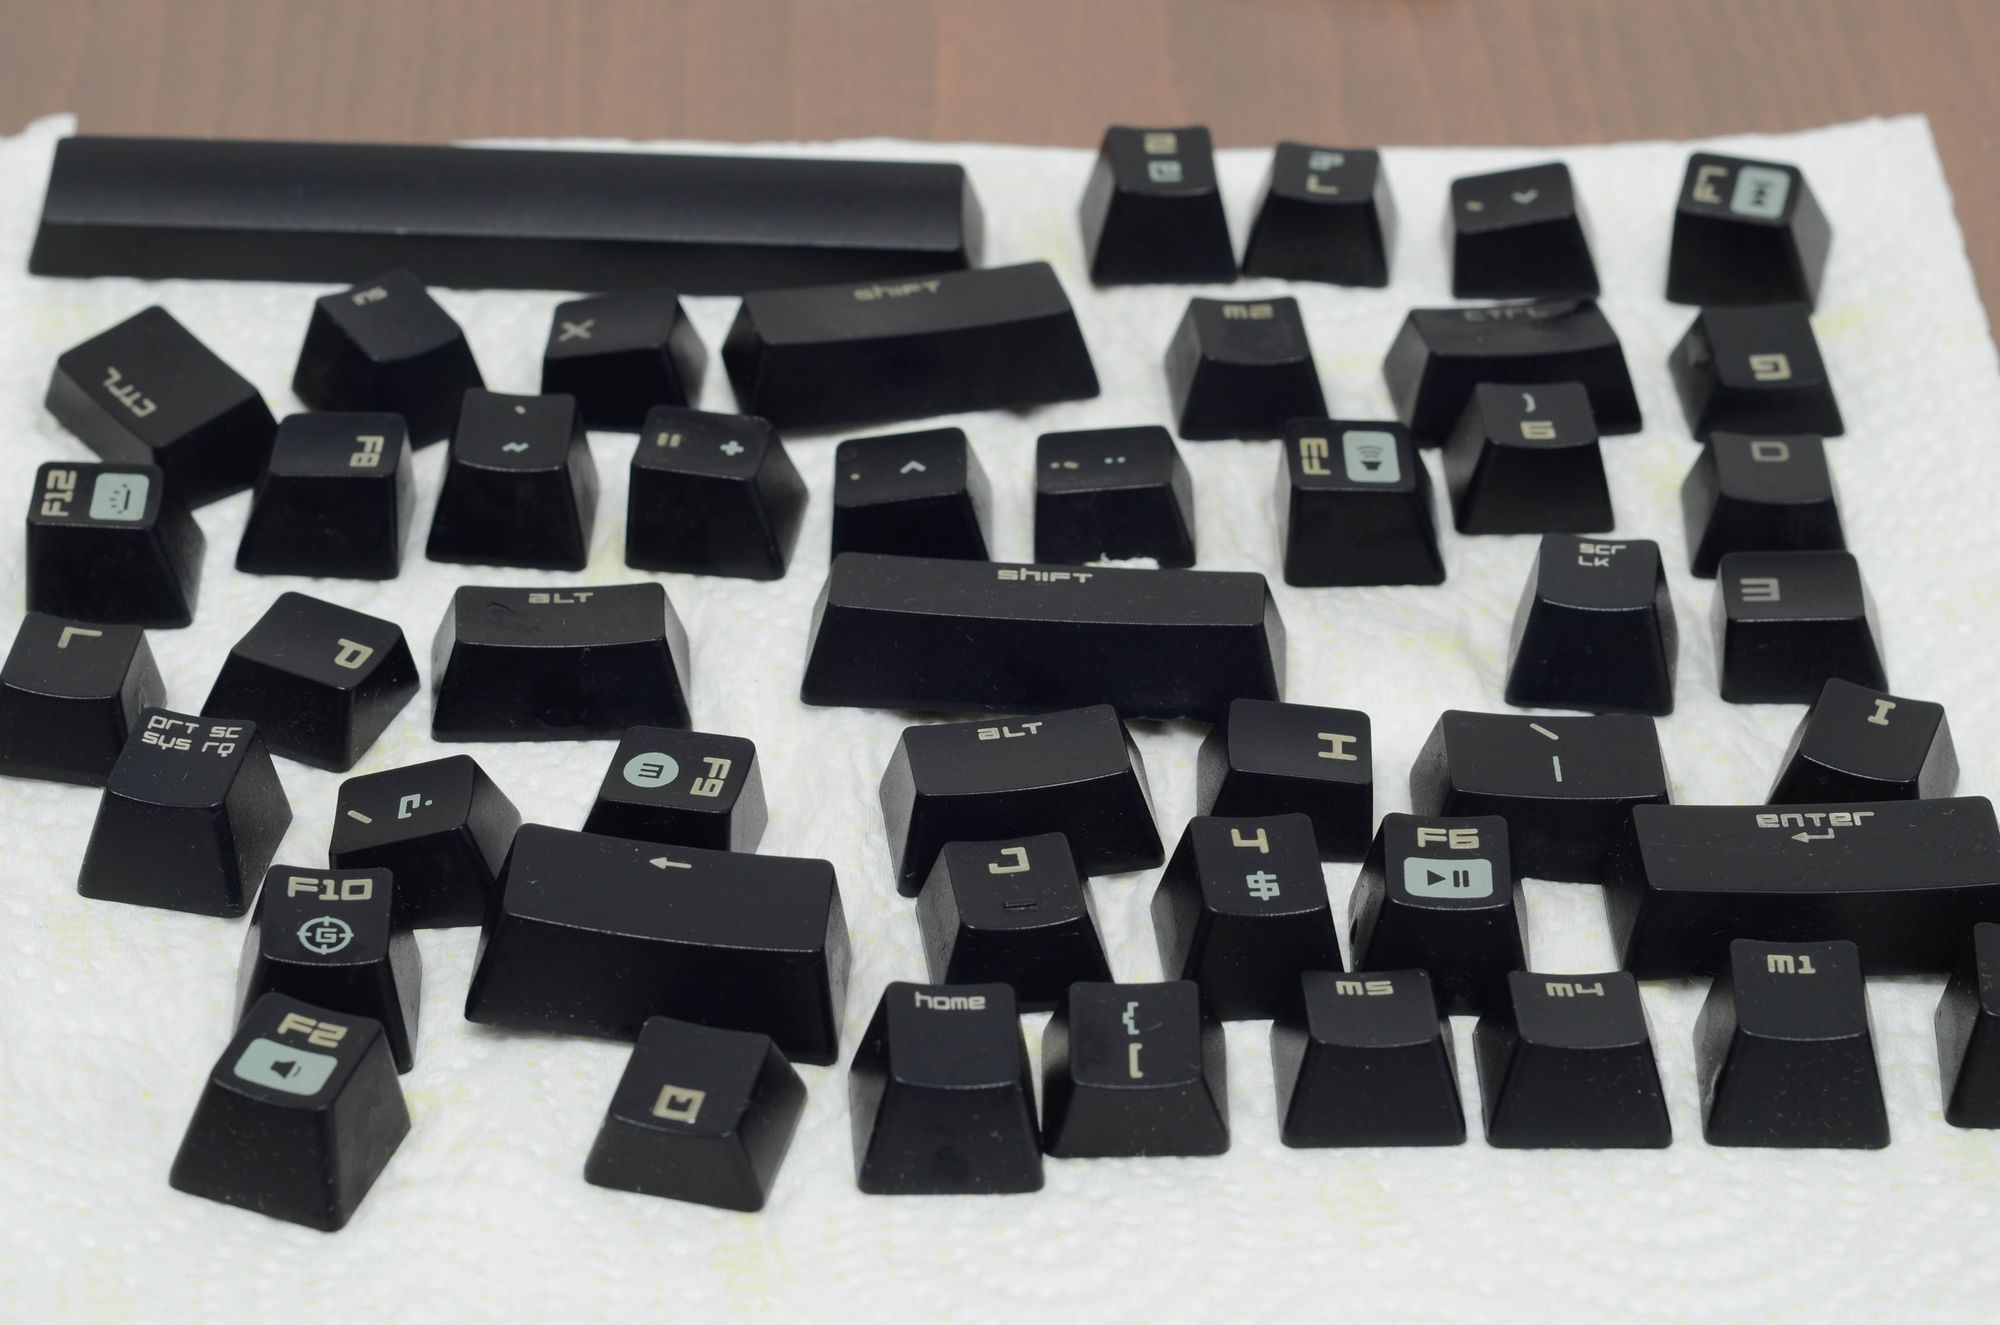
Keycaps were soaked in diluted soap for 24 hours, and the rinsed with clean water. Then, they were left to dry on a paper towel.

Step 3: Removing damaged parts
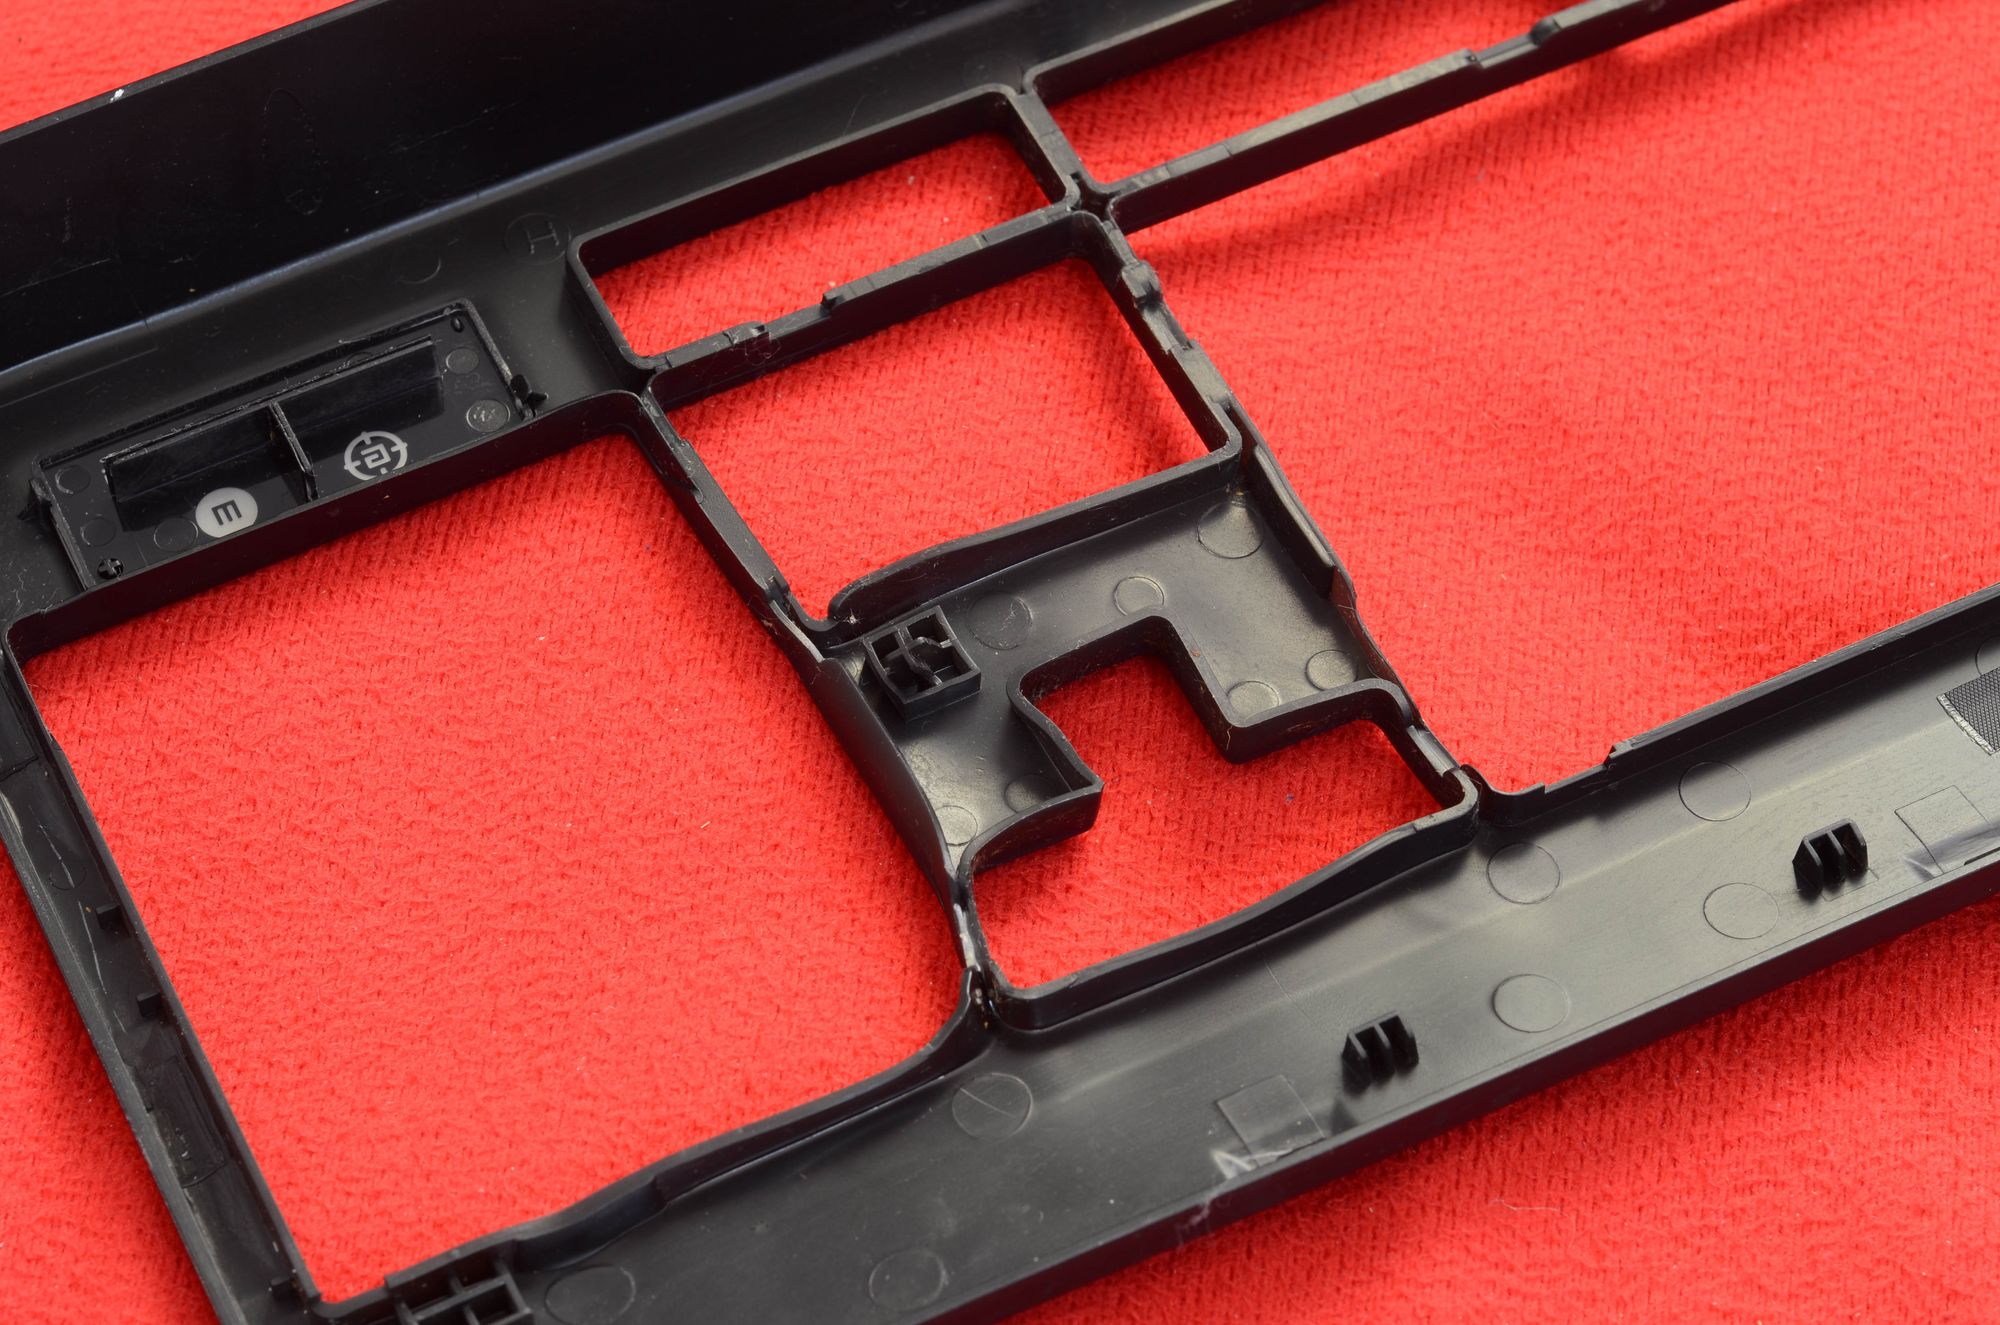
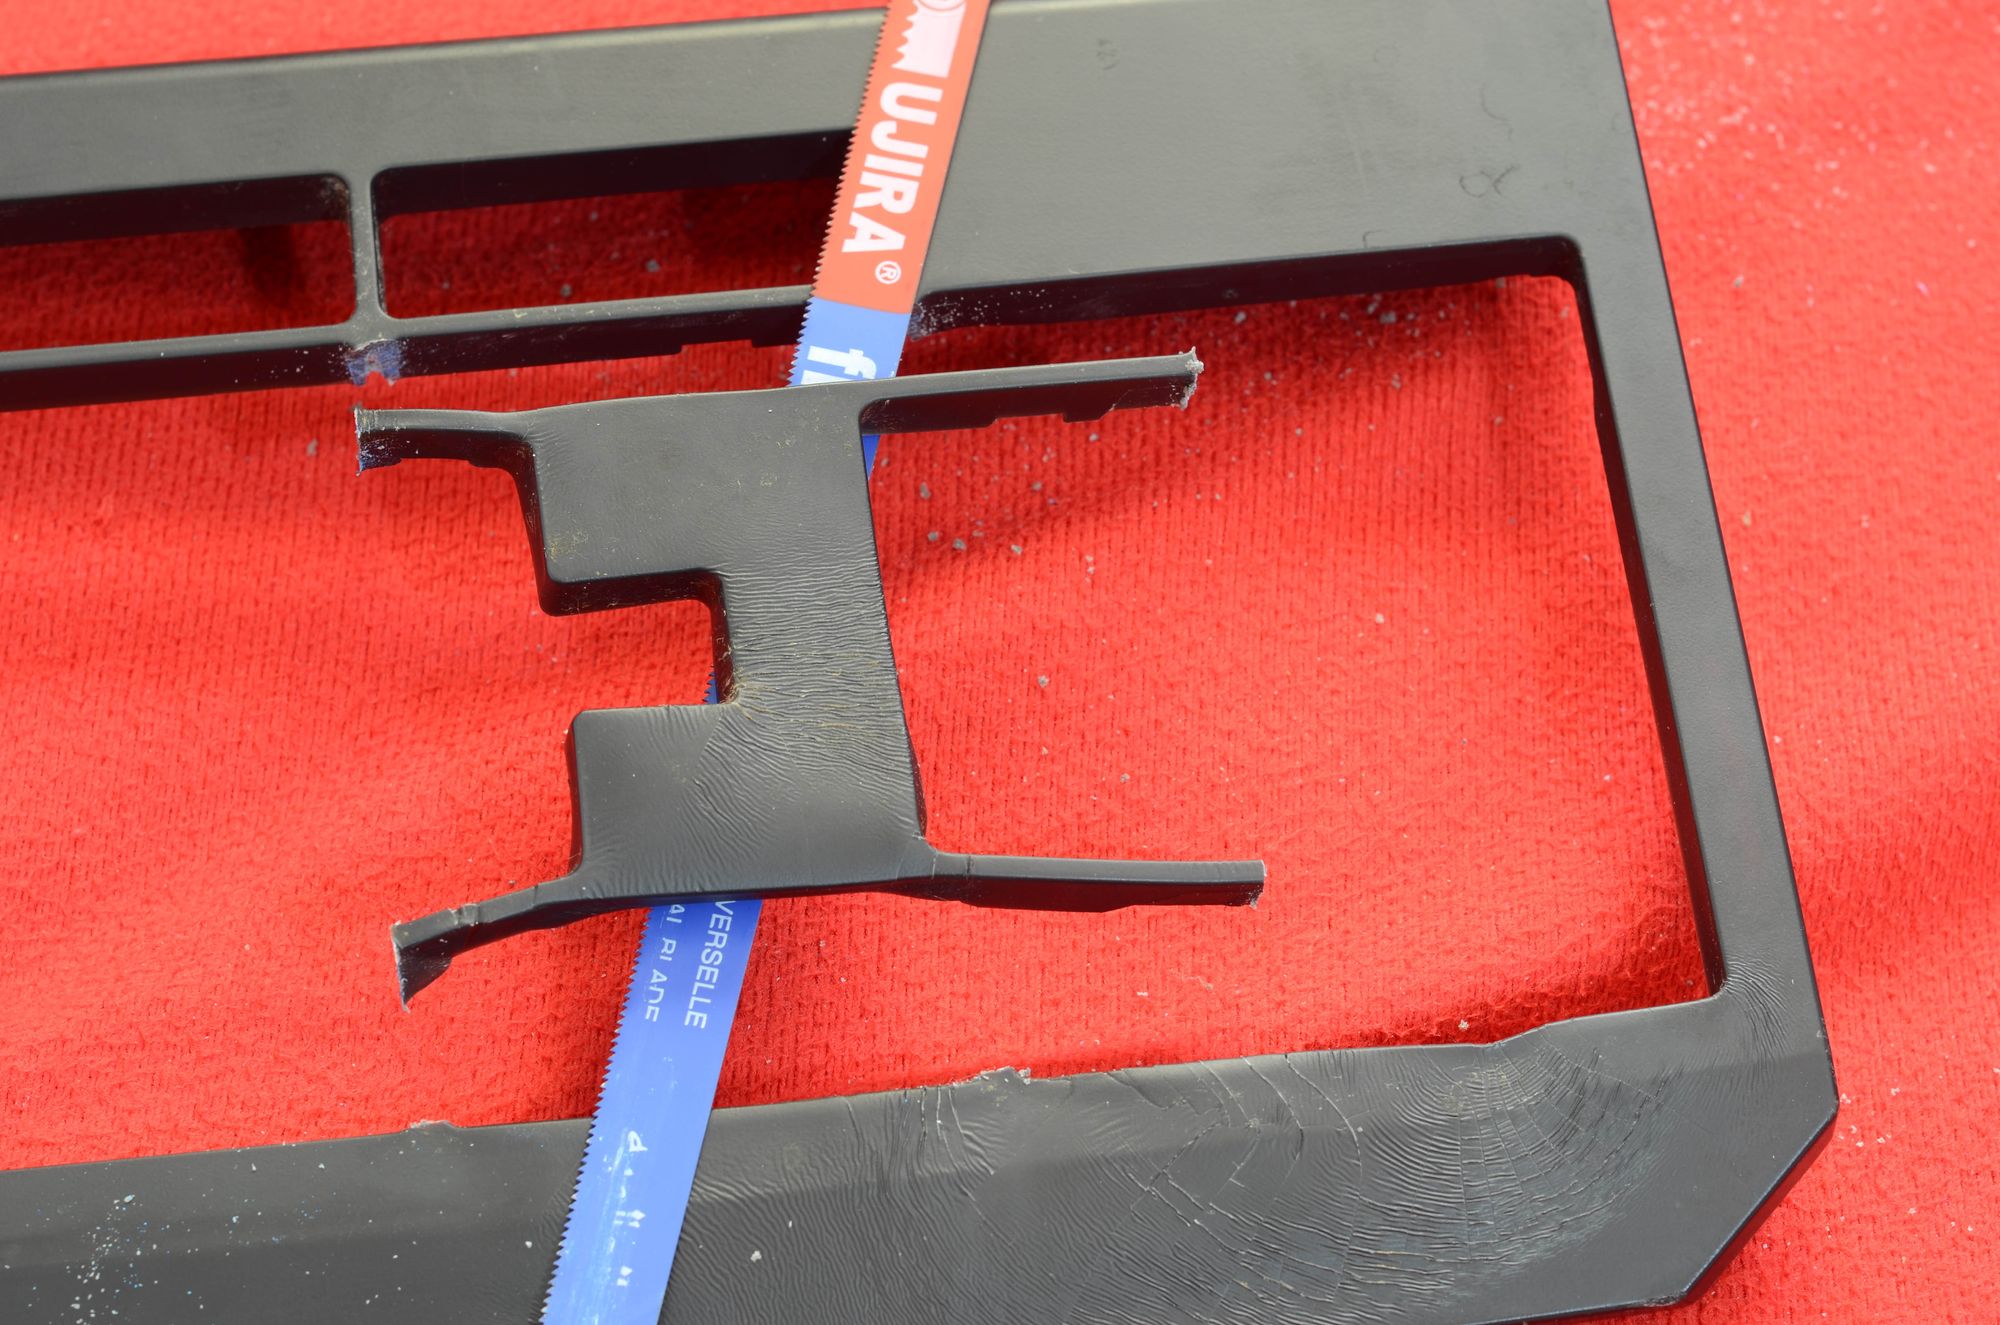
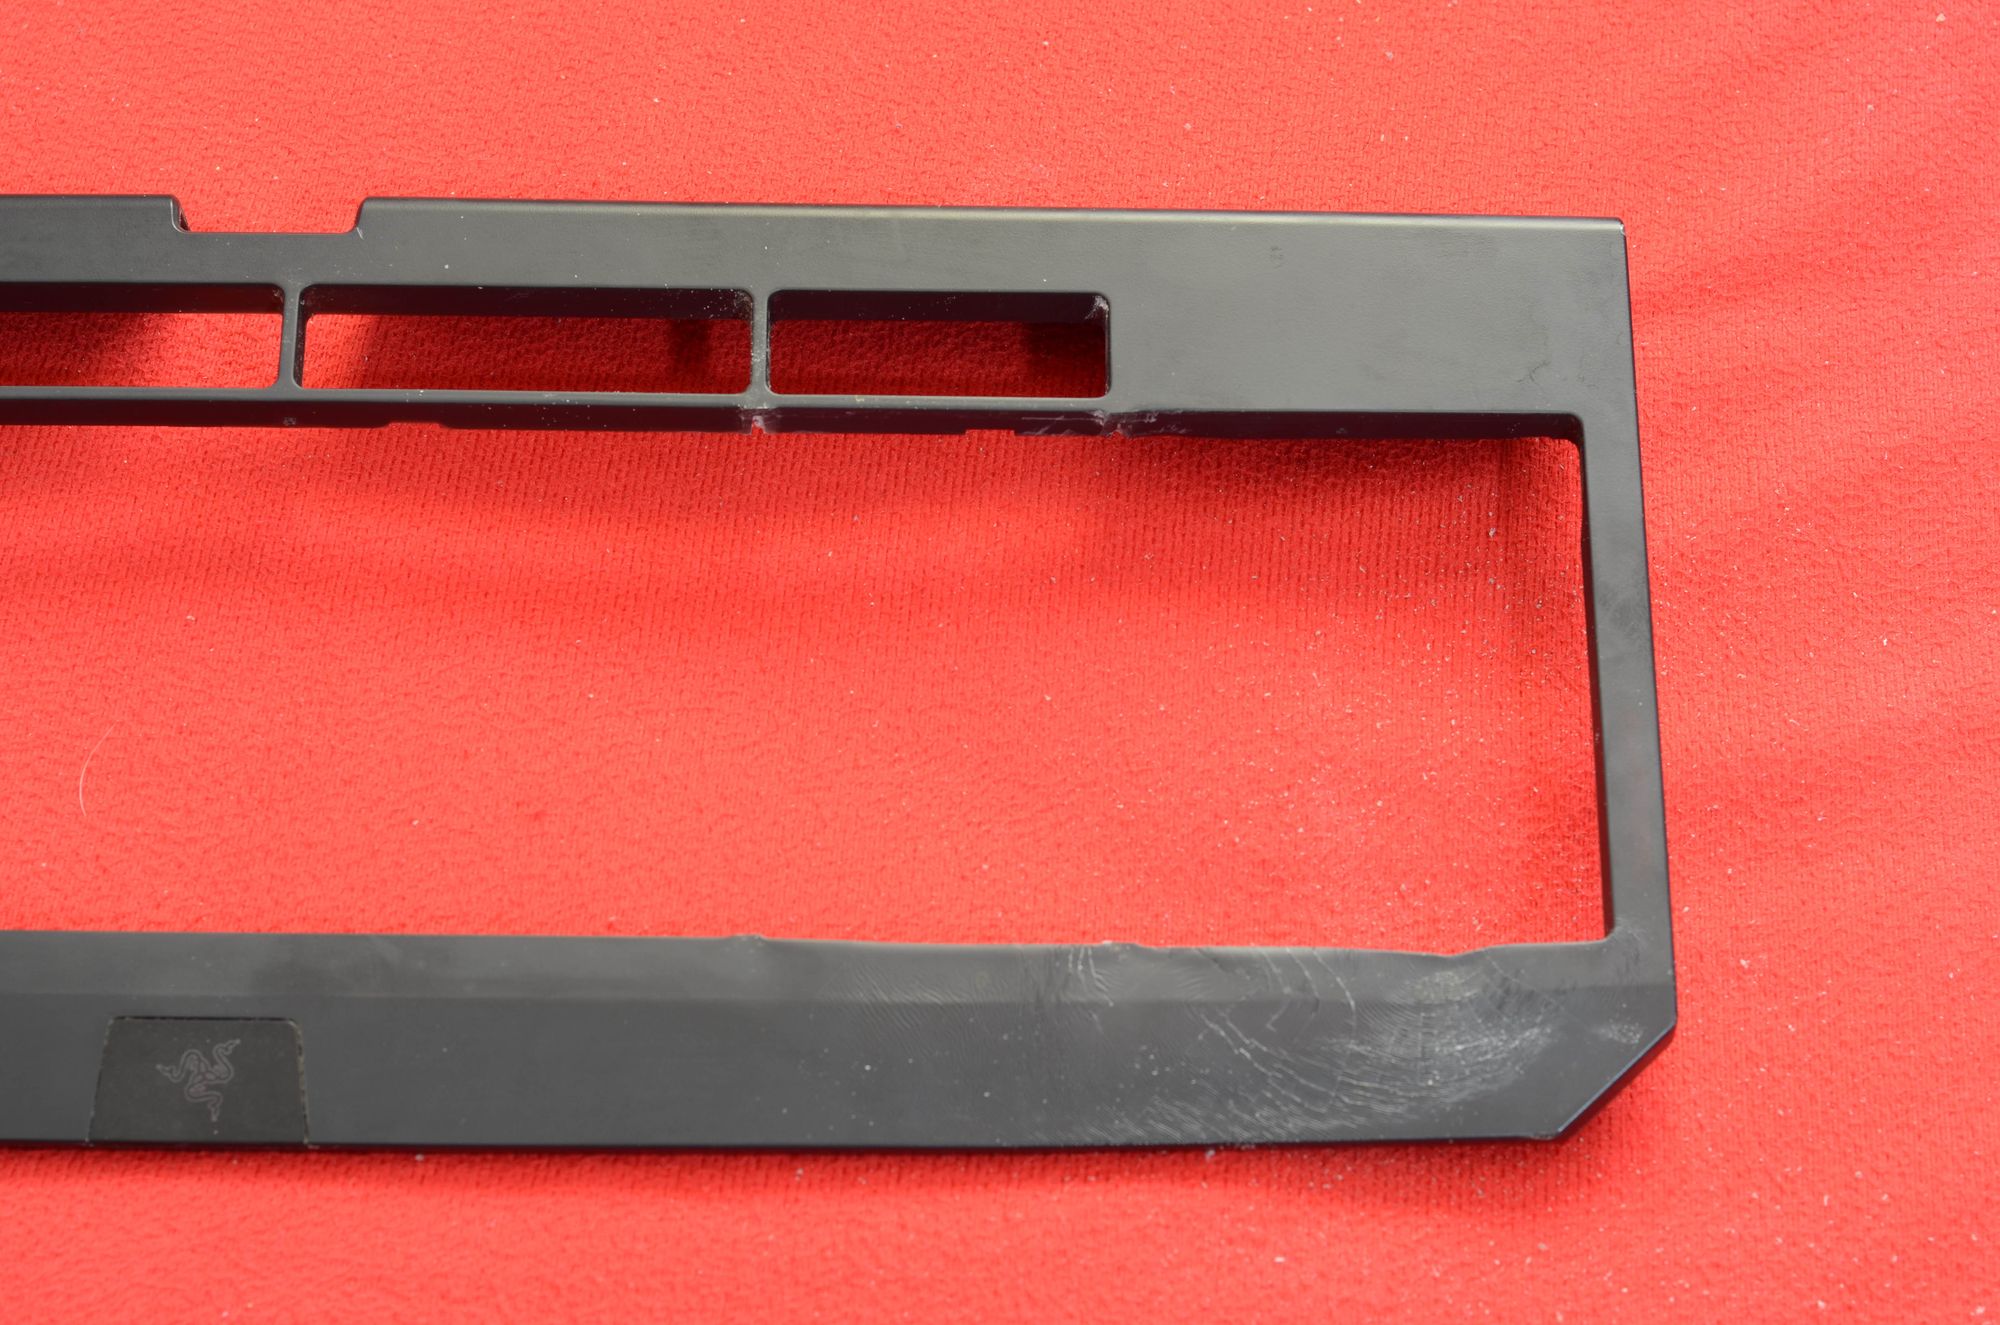
The cover was damaged. The plastic separator of the numpad was melted and deformed. Since this part is not absolutely necessary, I decided to cut it off. I smoothed the edges to hide cutting marks.
Step 4: Reassembly
Putting everything together was easy. I used my trusty Chinese 25W soldering iron to attach the wire back. At this point, I attached the keyboard to my computer to see if everything is working. I also tested all the switches to identify any faulty one.
All is good! let's continue then.
Step 5: New Keycaps
The Razer BlackWidow has 5 additional macro keys M1-M5, and custom marking on the F1-F12 keys for its gaming features. Replacing all the keycaps will waist those labels, and will make remembering and using those features difficult. So I decided to replace only the damaged keys.
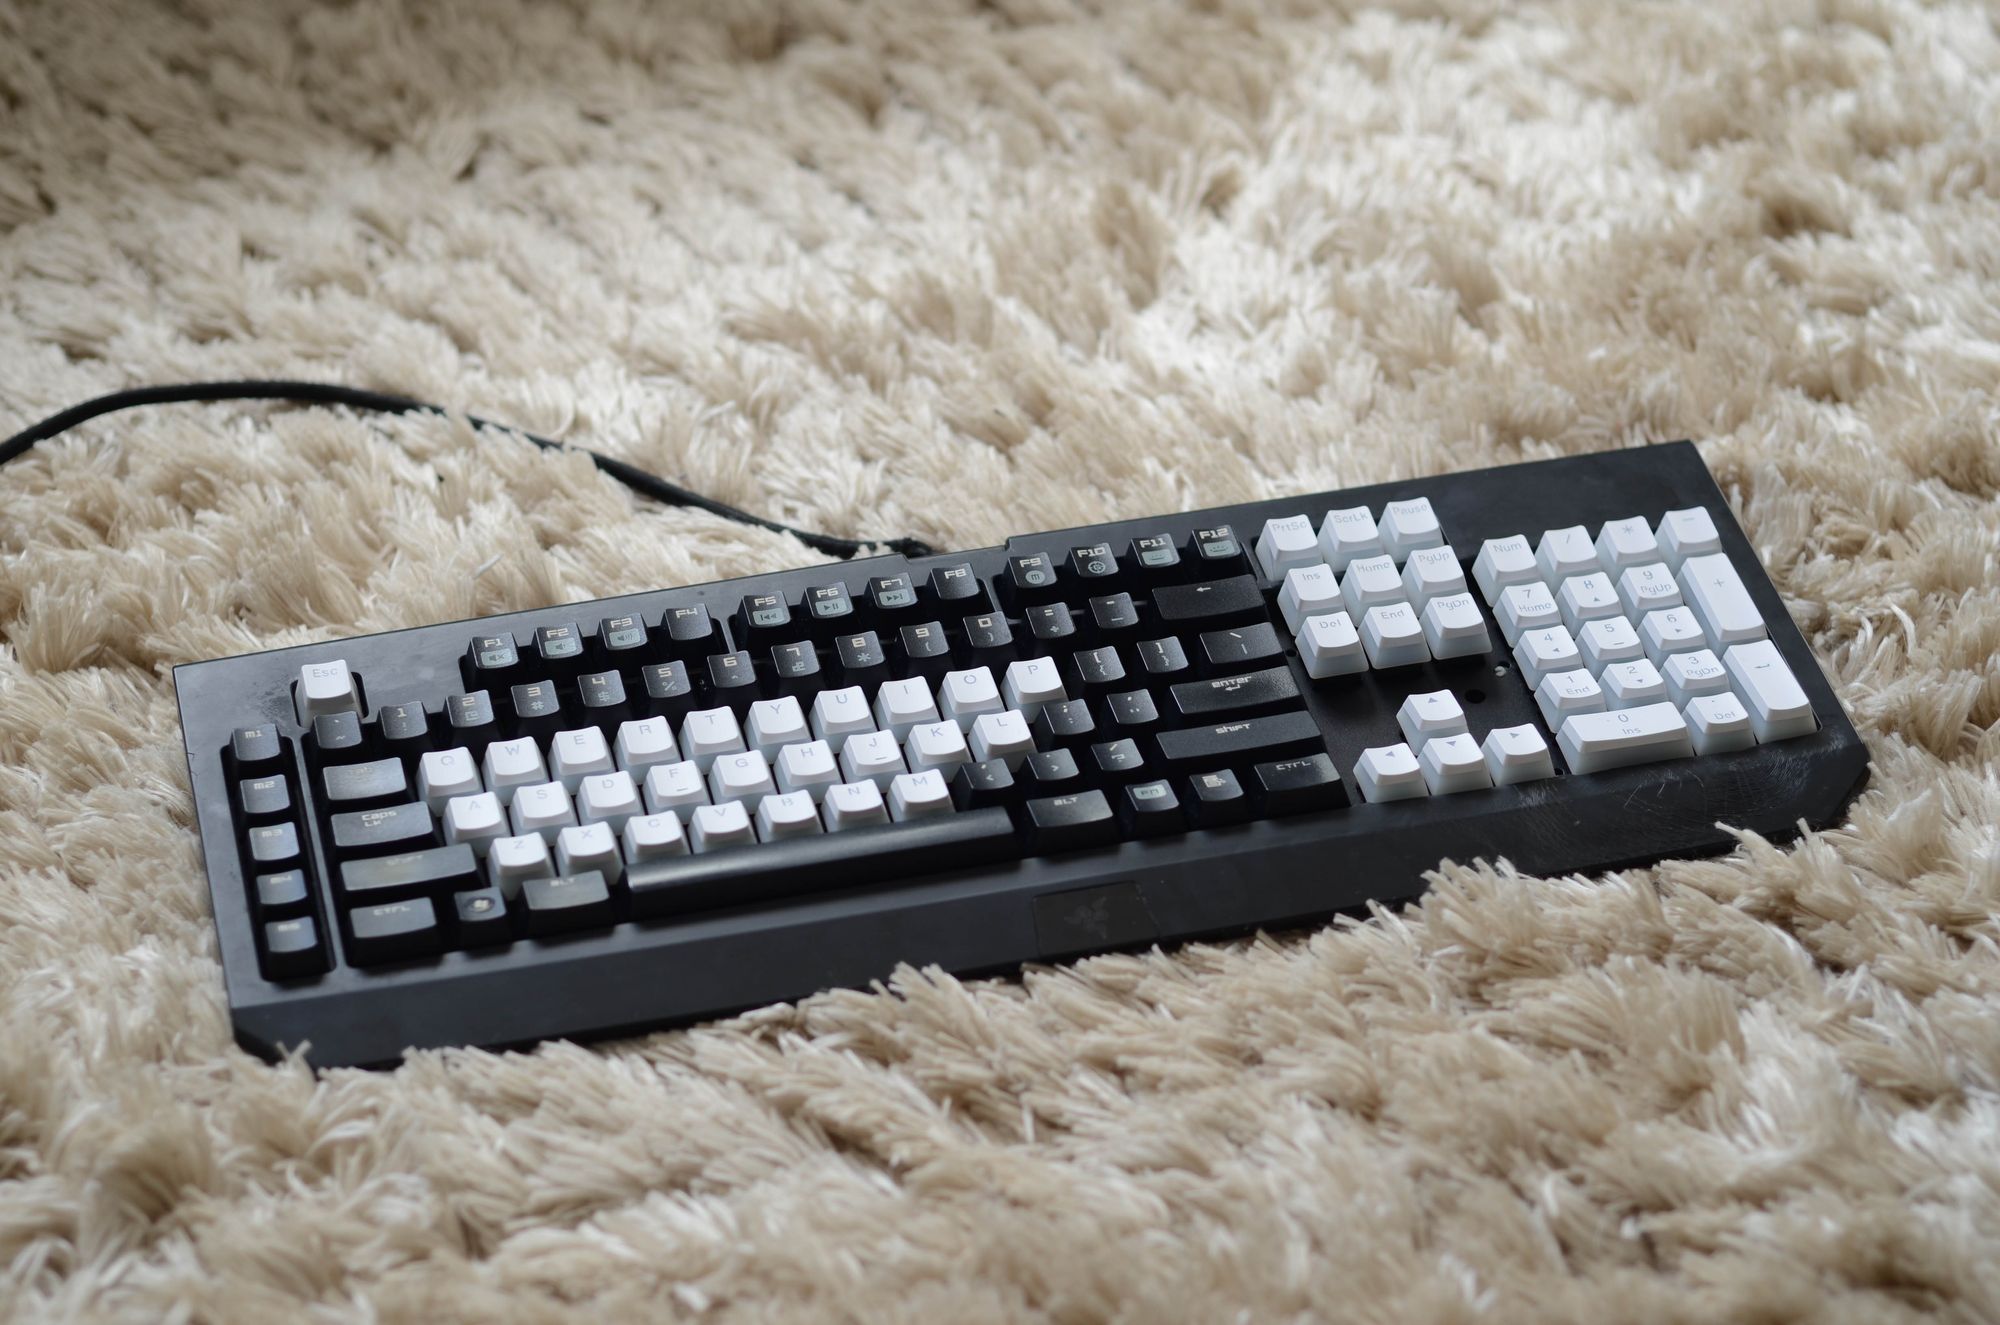
So, I decided to buy a set of white keycaps: Redragon A130-WH. This set was relatively cheap (30 TND or $10). For aesthetic reasons, alpha keys were also replaced.
Before / After
The keyboard was successfully restored. I'm currently using it to write this post.

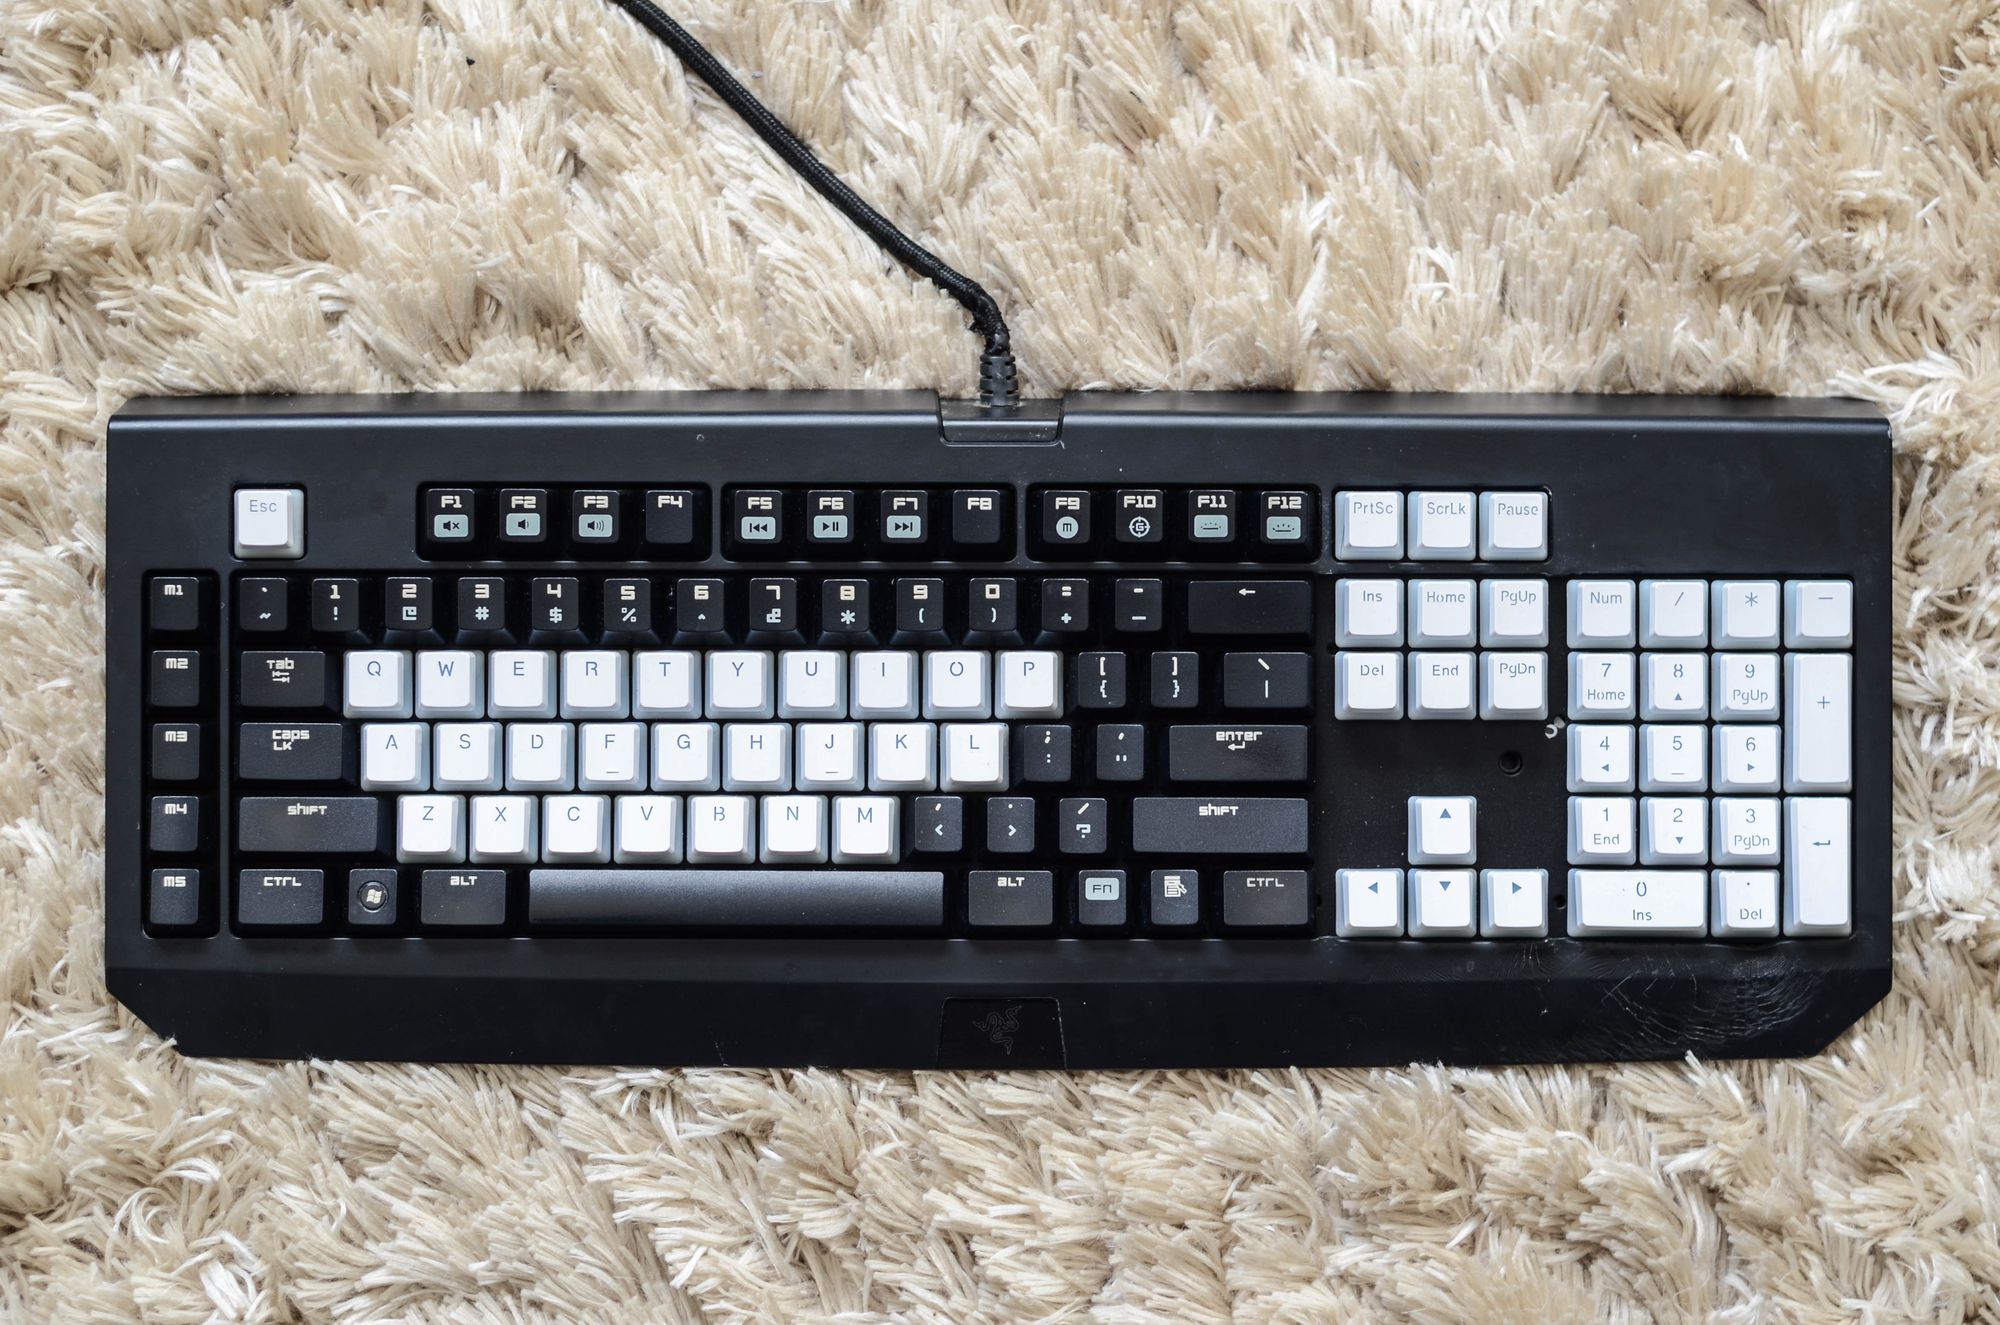

Blue switches have a tactile bump followed by a loud audible click to give a feedback when a keystroke has registered. The typing feels good and the sound is amazing.