Weather Station : Indoor Temperature


Having a weather station at home is very useful. The most important information is the indoor temperature.
Required parts
- WeMos D1 mini (ESP8266)
- DS18B20: digital thermometer
- MAX7221: LED display driver
- 7 segments LED: 4 digits common cathode
- 4.7 kΩ resistor: 1-Wire pull-up resistor
- 10 kΩ resistor: LED brightness
- Micro USB power supply
The WeMos D1 mini was introduced in a previous post. It will be used to read the temperature from the DS18B20, and send it to MAX7221 to be displayed.
MAX7221 is a LED display driver. It can control up to 8 digits. Currently, we will be using just 4 digits. The brightness can be adjusted too.
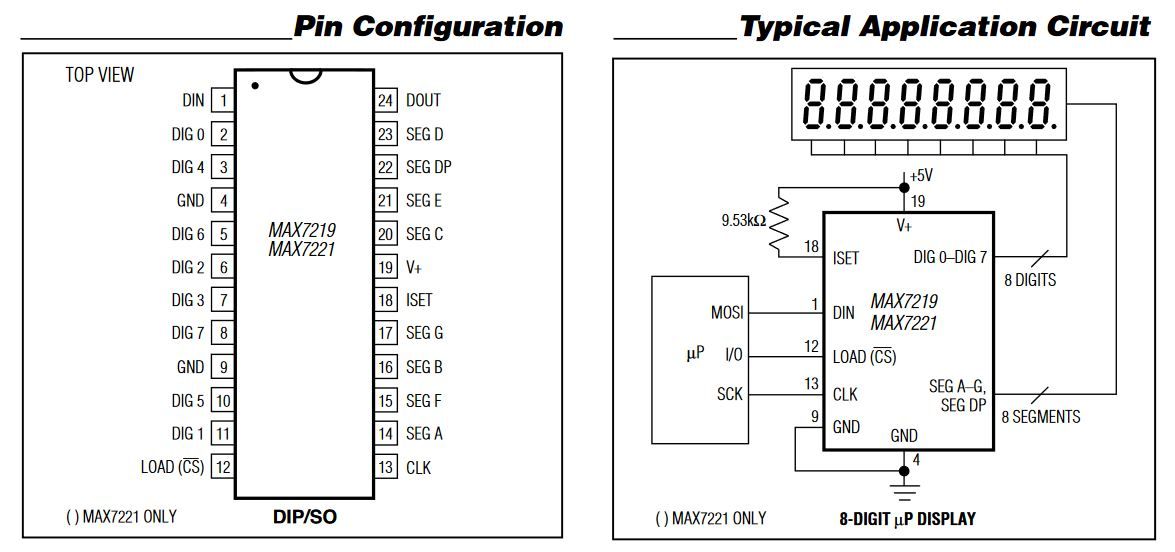
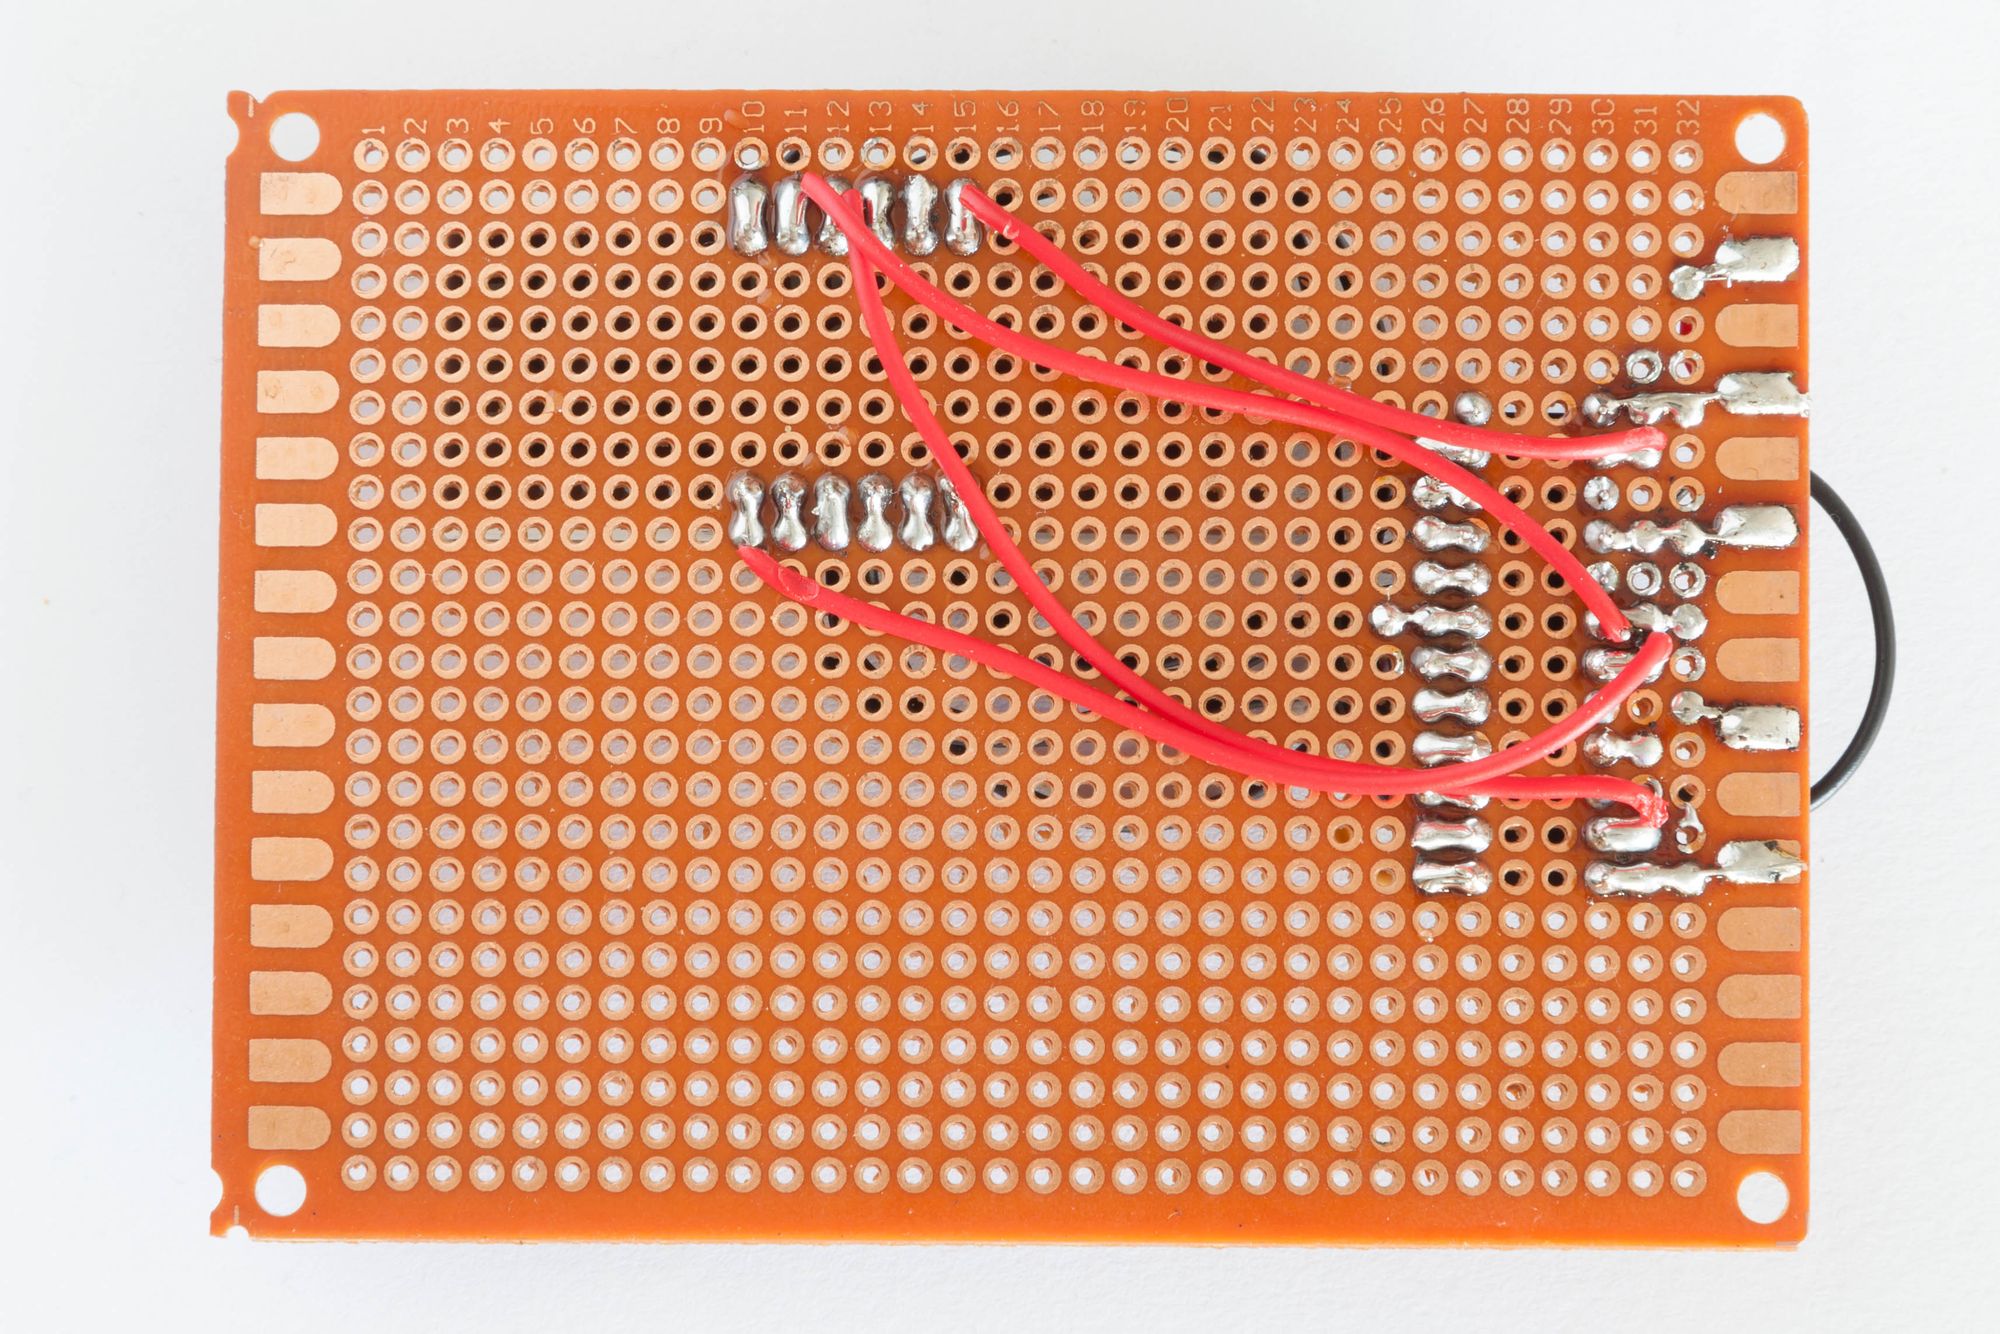
The 8 black wires connected to the LCD are for controlling 1 digit segments at a time (7 segments + 1 decimal point).
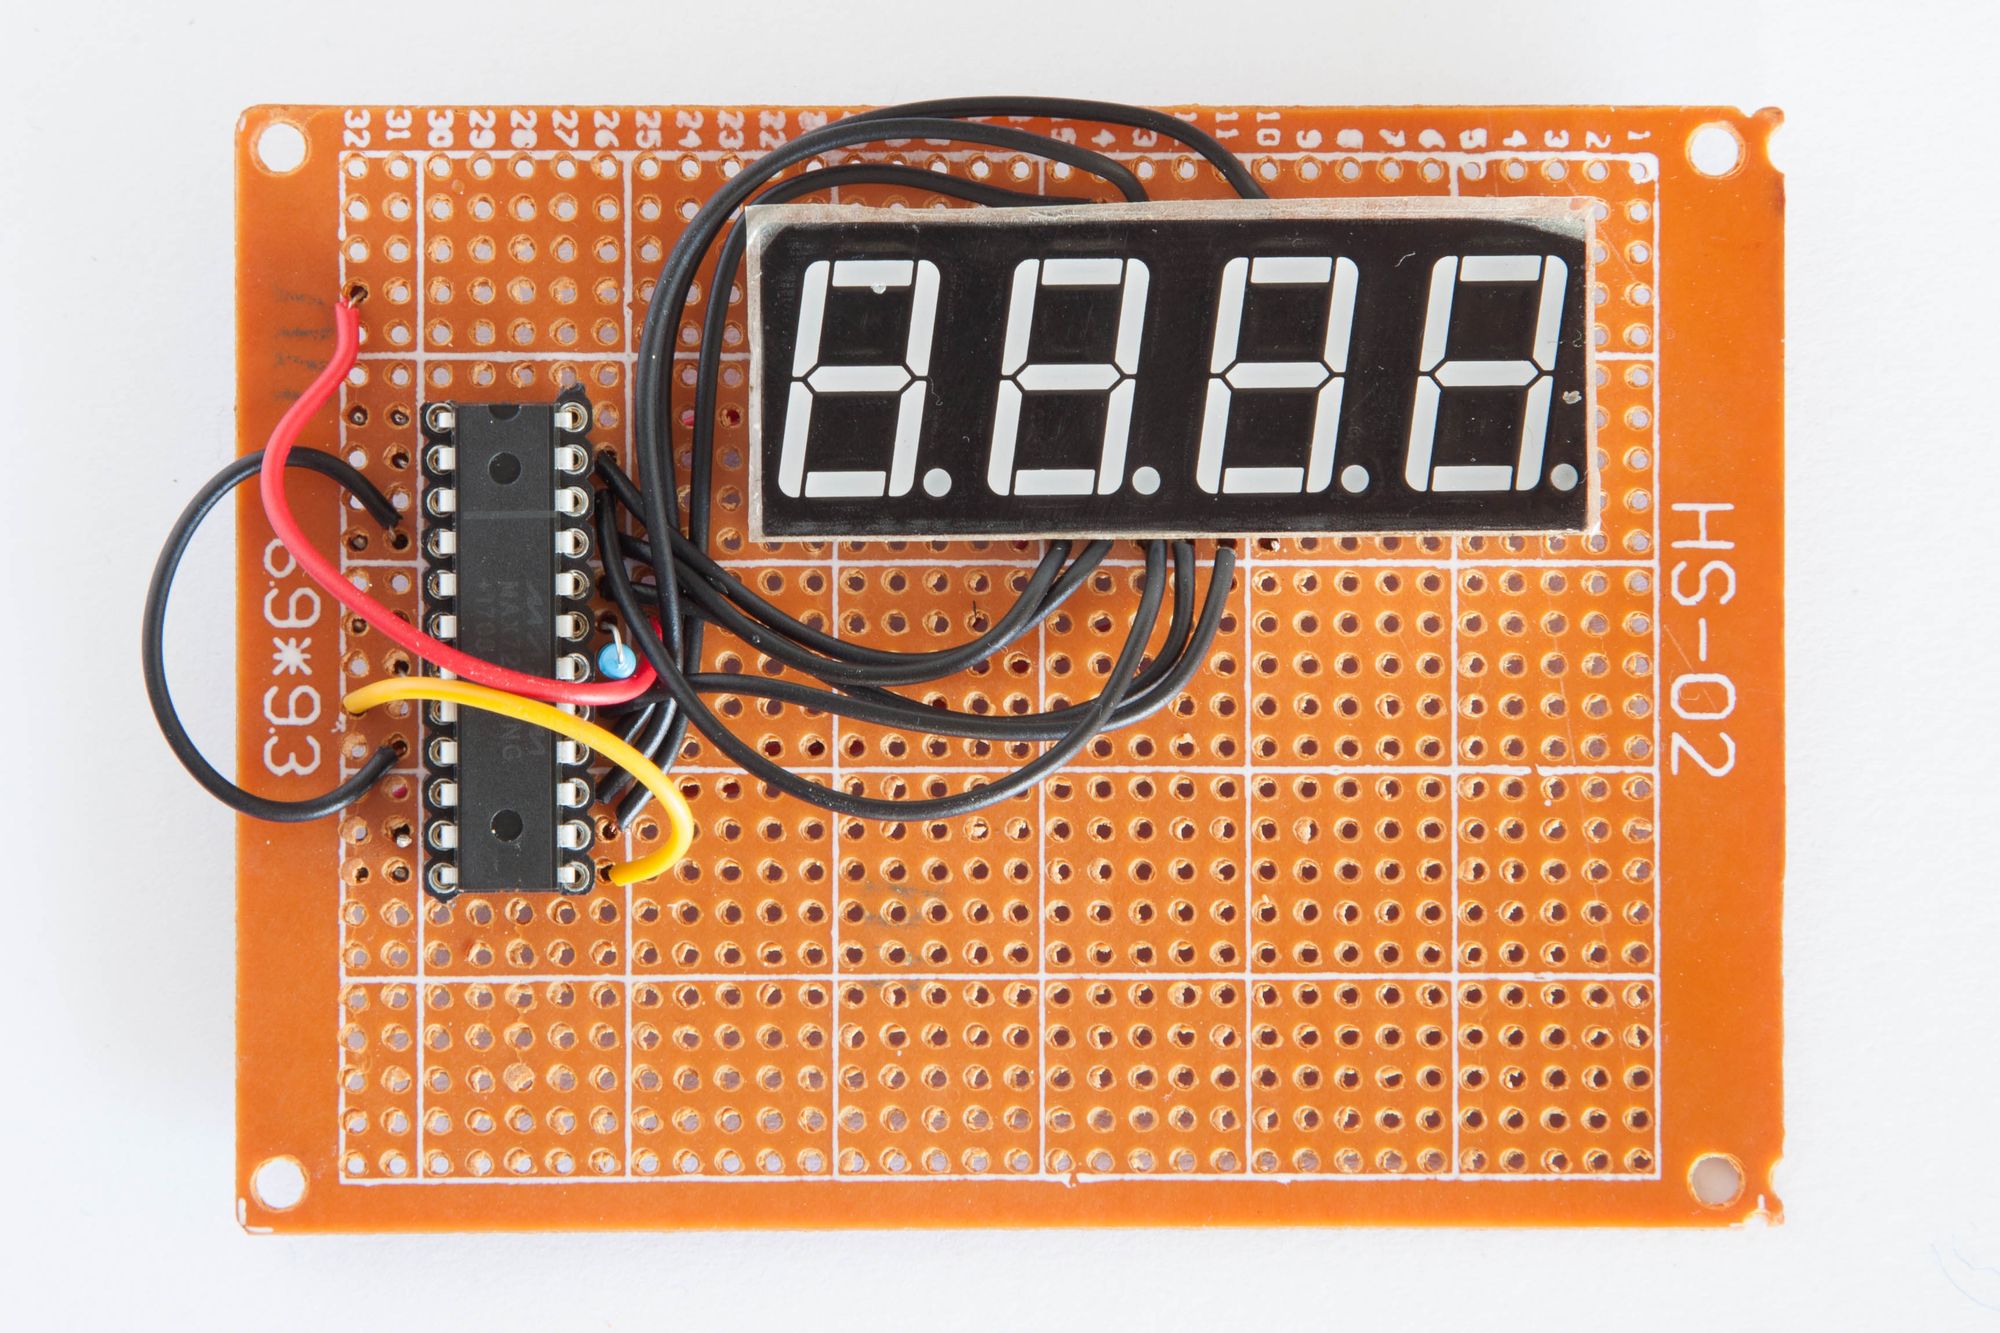
On the back side, there are 4 red wires. Each one is for controlling a digit.
Connecting the WeMos
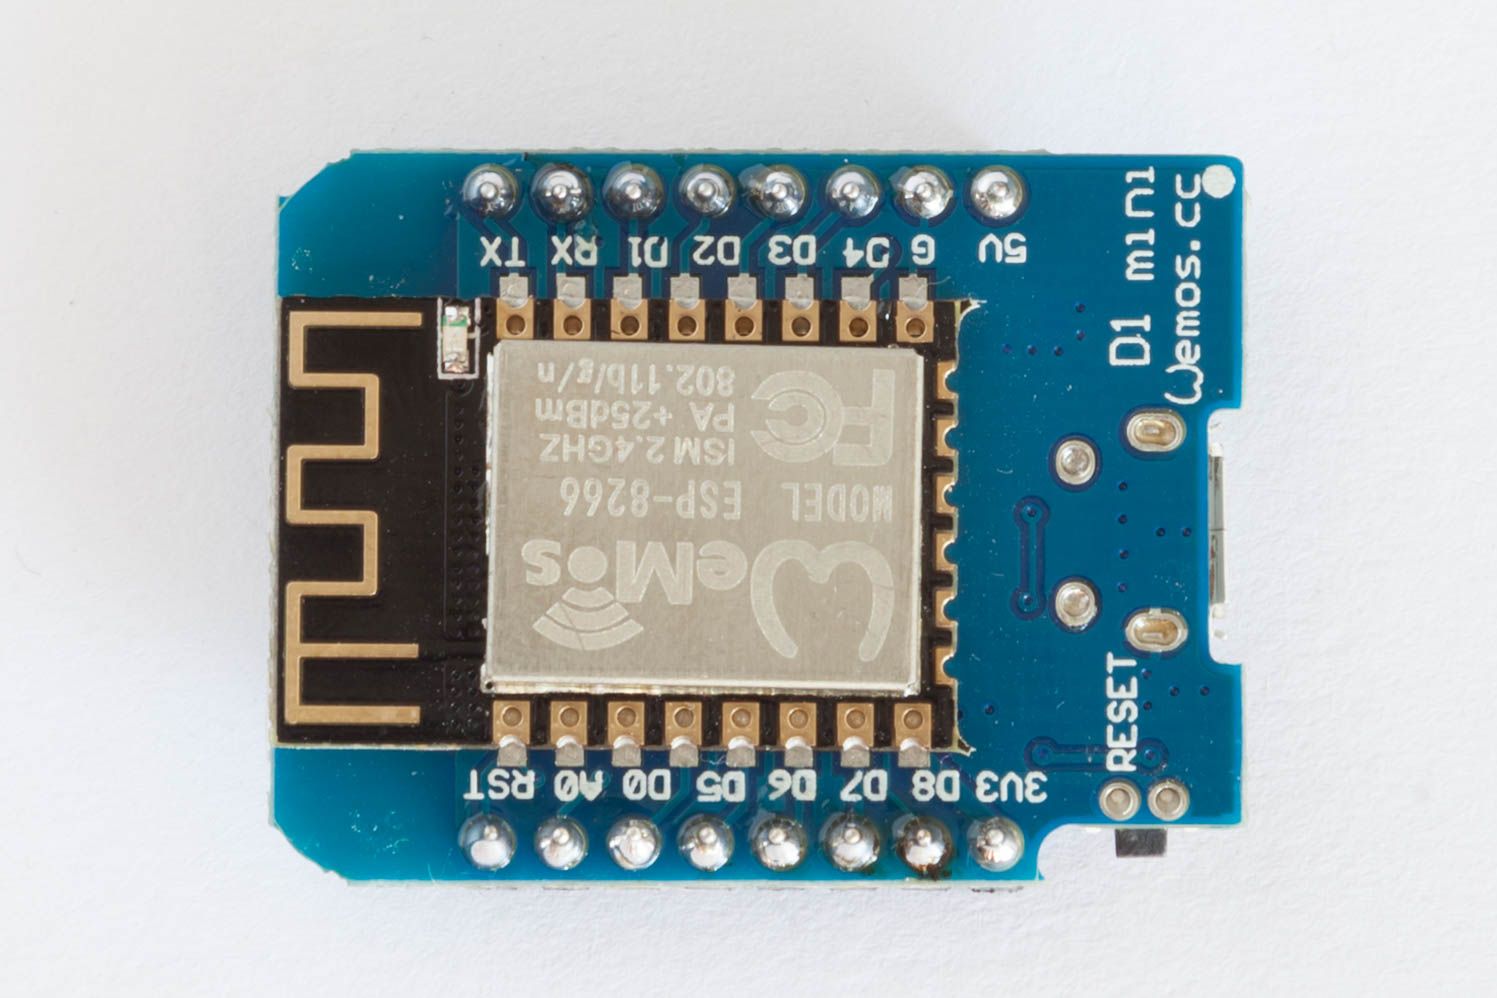
I might reuse the WeMos in other projects in the future, so I soldered 2 rows of sockets.
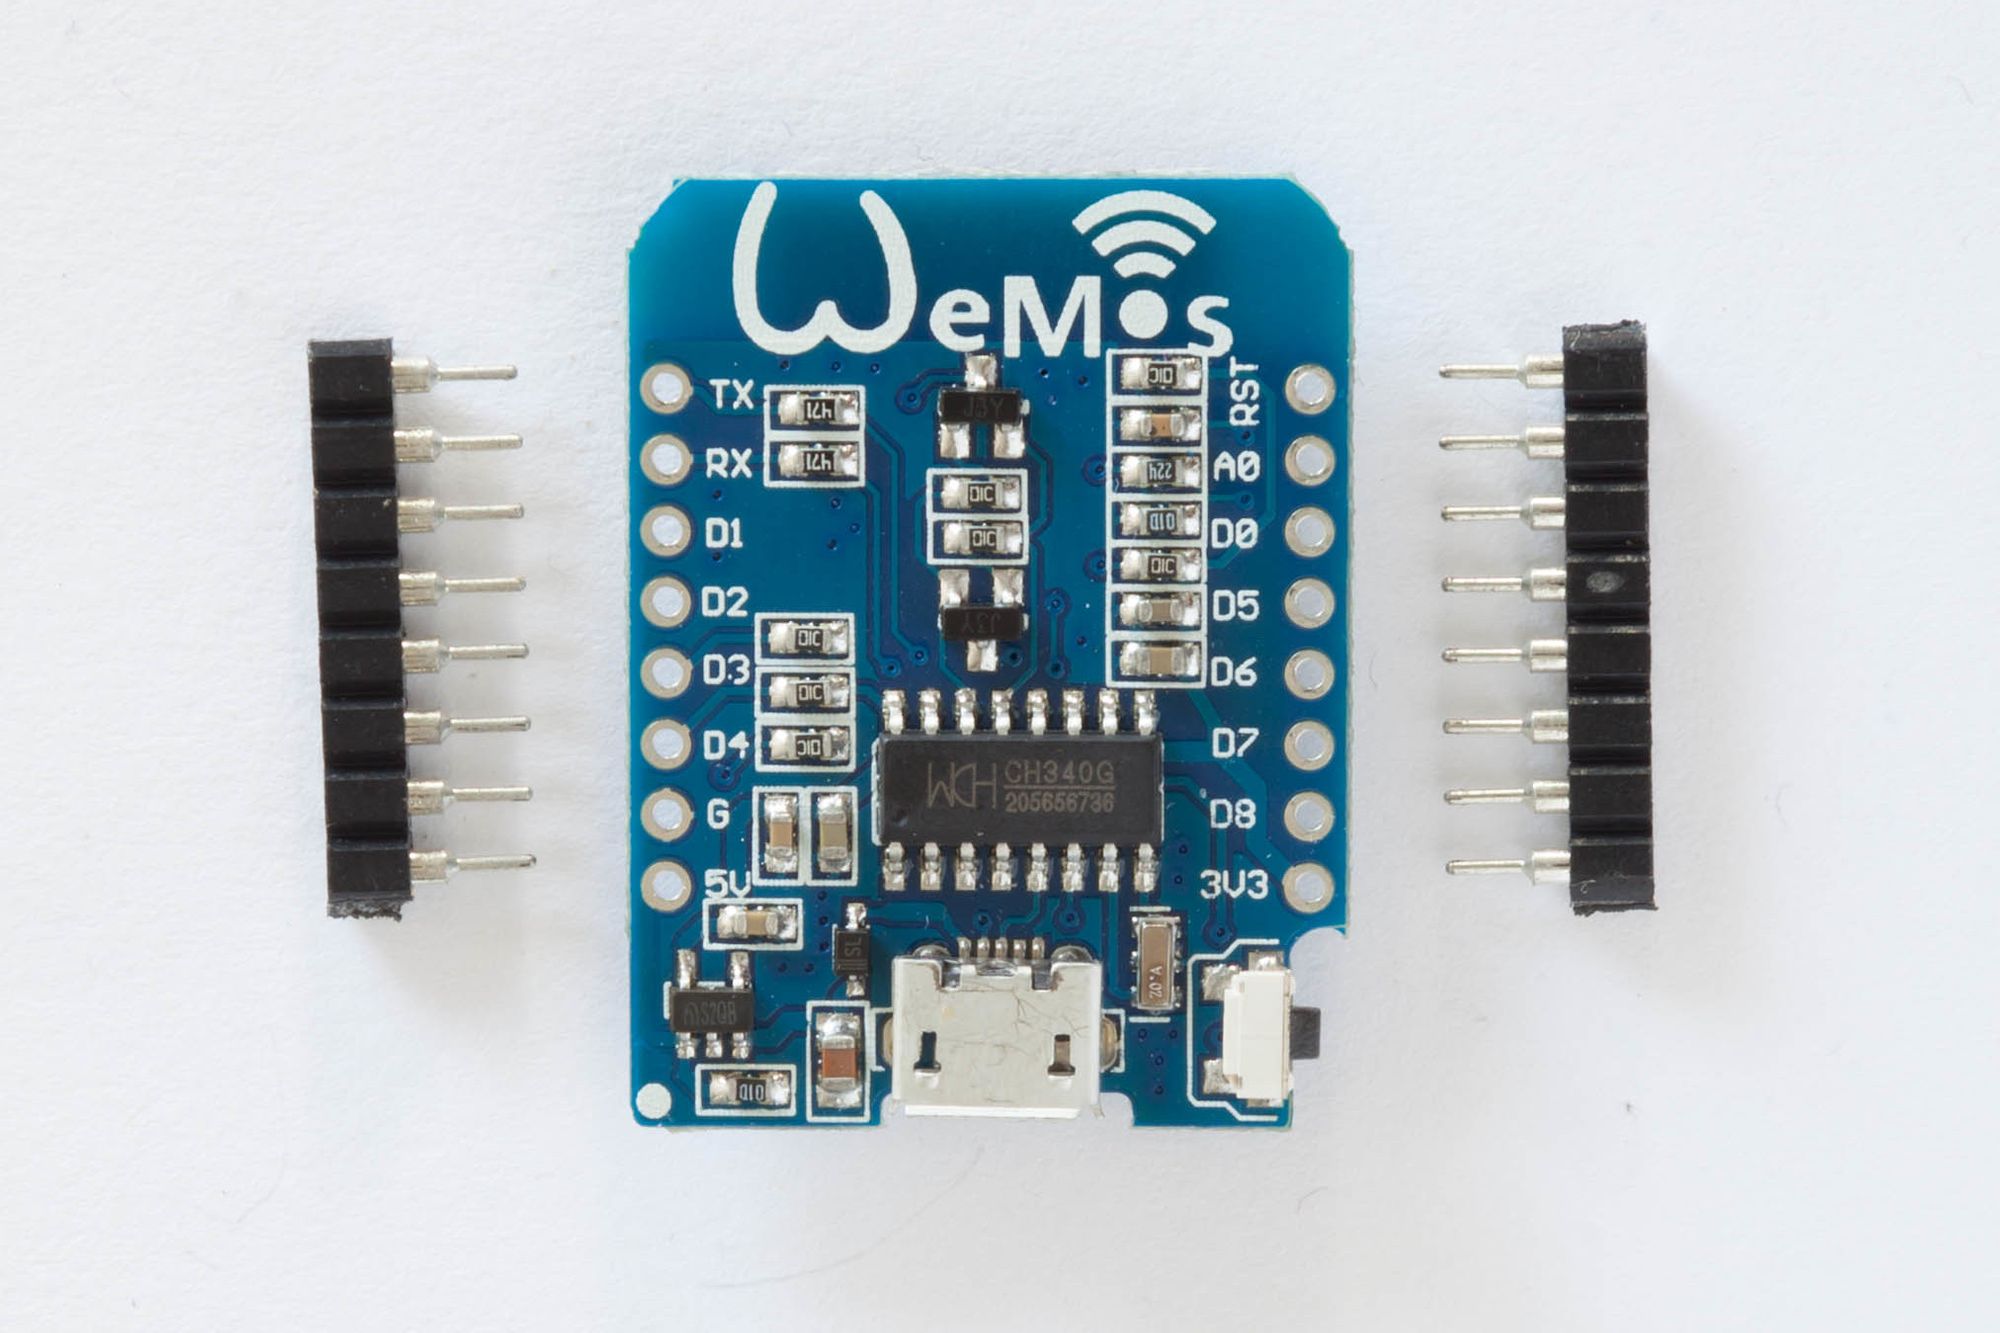
Here is the WeMos with the sockets soldered in place:
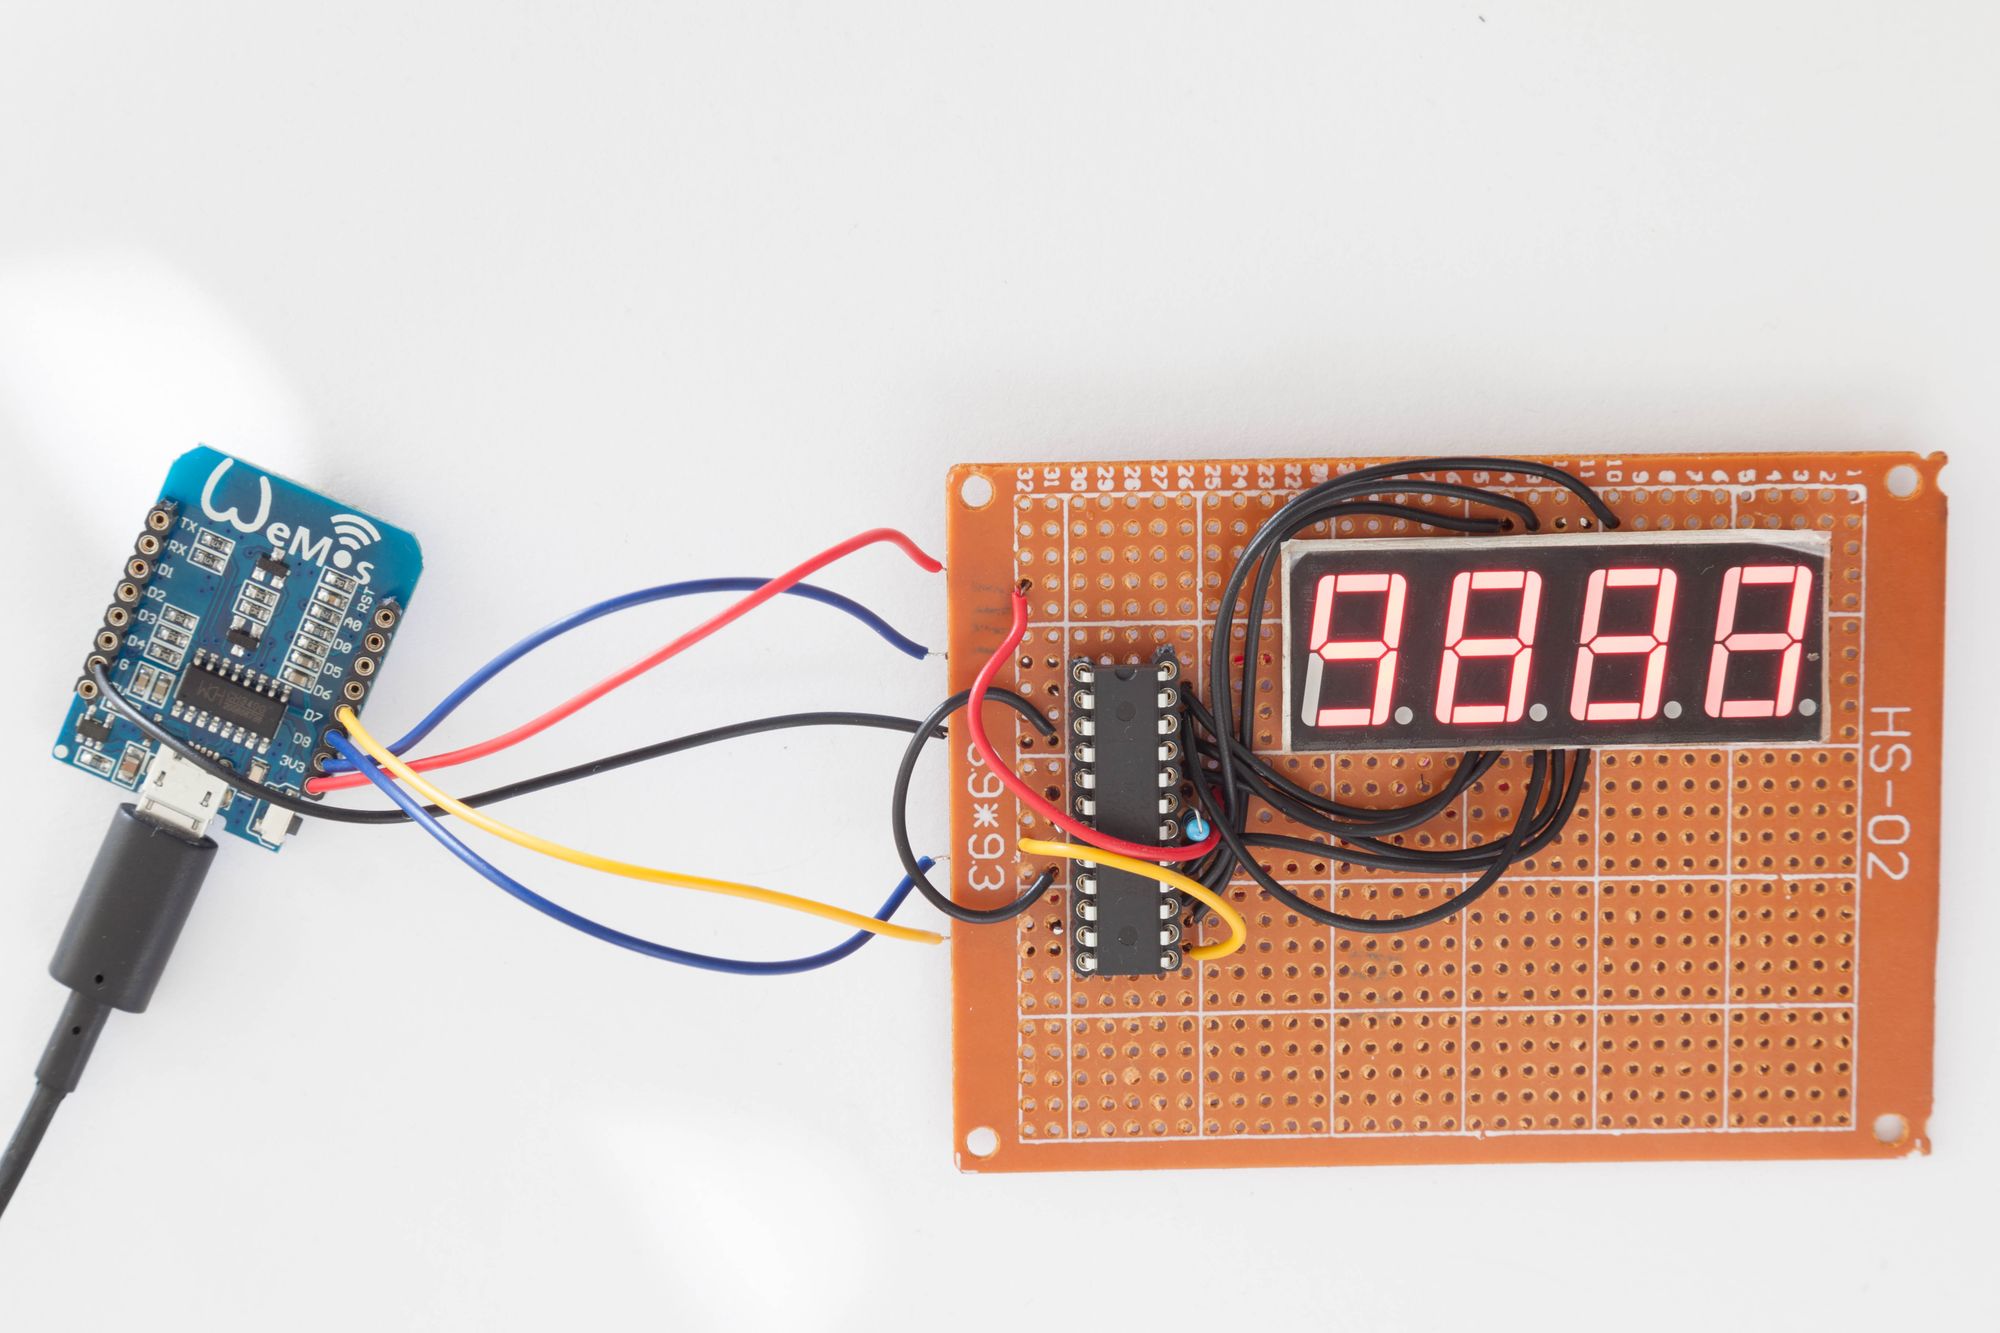
To connect the WeMos to the MAX7221, we need 5 wires:
- 3V3 <==> VCC
- G <==> GND
- D6 <==> LOAD
- D7 <==> CLK
- D8 <==> DIN
The WeMos is running the following code:
#include <OneWire.h>
#include <DallasTemperature.h>
#include <LedControl.h>

// start oneWire connection on Pin D5
OneWire oneWire(D5);

// Pin D6 <==> LOAD
// Pin D7 <==> CLK
// Pin D8 <==> DIN
LedControl lc = LedControl(D8, D7, D6, 1);

DallasTemperature DS18B20(&oneWire);
char temperatureCString[7];

// reads temperature and returns a string. Example: 24.9 or -12.2
void getTemperature() {
  float tempC;
  do {
    DS18B20.requestTemperatures();
    tempC = DS18B20.getTempCByIndex(0);
    dtostrf(tempC, 4, 1, temperatureCString);
    delay(100);
  } while (tempC == 85.0 || tempC == (-127.0));
}

// only runs once on boot
void setup() {
  // Initializing serial port for debugging purposes
  Serial.begin(115200);
  delay(10);

  DS18B20.begin();

  // Initialize the MAX7219 device
  lc.shutdown(0,false);   // Enable display
  lc.setIntensity(0,10);  // Set brightness level (0 is min, 15 is max)
  lc.clearDisplay(0);     // Clear display register

}

// runs over and over again
void loop() {
  getTemperature();
  Serial.println(temperatureCString);

  // refresh LED Display
  lc.clearDisplay(0);
  if (temperatureCString[0] == '-') {
    // Format: -XX.X
    lc.setDigit(0,0, '-', false);
    lc.setDigit(0,1, temperatureCString[1] - '0', false);
    lc.setDigit(0,2, temperatureCString[2] - '0', true);
    lc.setDigit(0,3, temperatureCString[4] - '0', false);
  } else {
    // format: XX.X
    lc.setDigit(0,0, '0', false);
    lc.setDigit(0,1, temperatureCString[0] - '0', false);
    lc.setDigit(0,2, temperatureCString[1] - '0', true);
    lc.setDigit(0,3, temperatureCString[3] - '0', false);
  }

  // wait 10 seconds to avoid DS18B20 self-heating
  delay(10000);
}
Cutting the case
I used my soldering iron to make holes in the wooden case. Then, I joined the holes to make a continuous cut. Finally, I smoothed the edges.
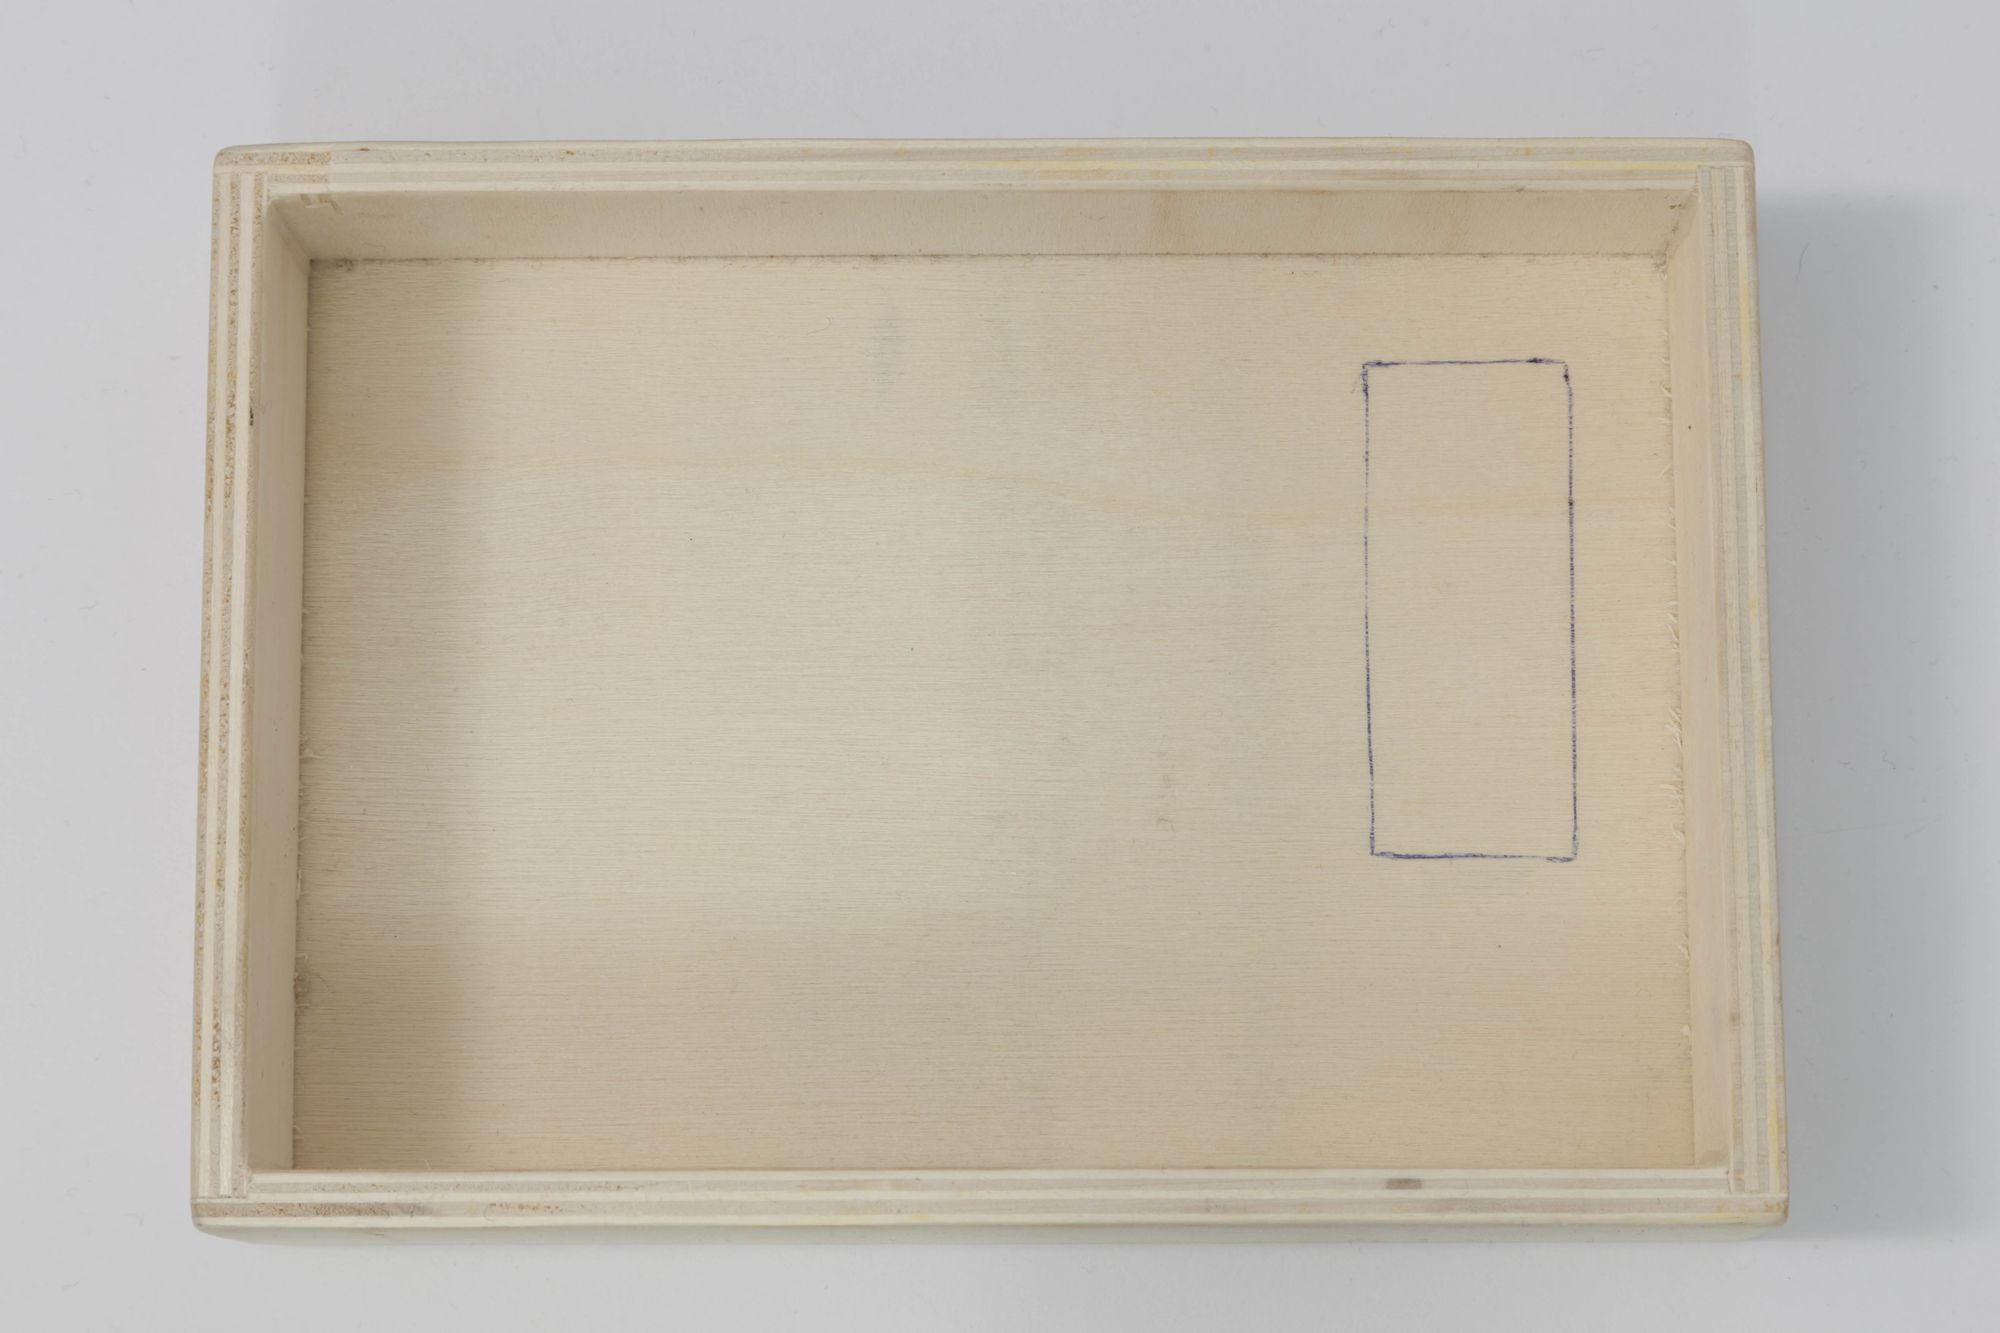
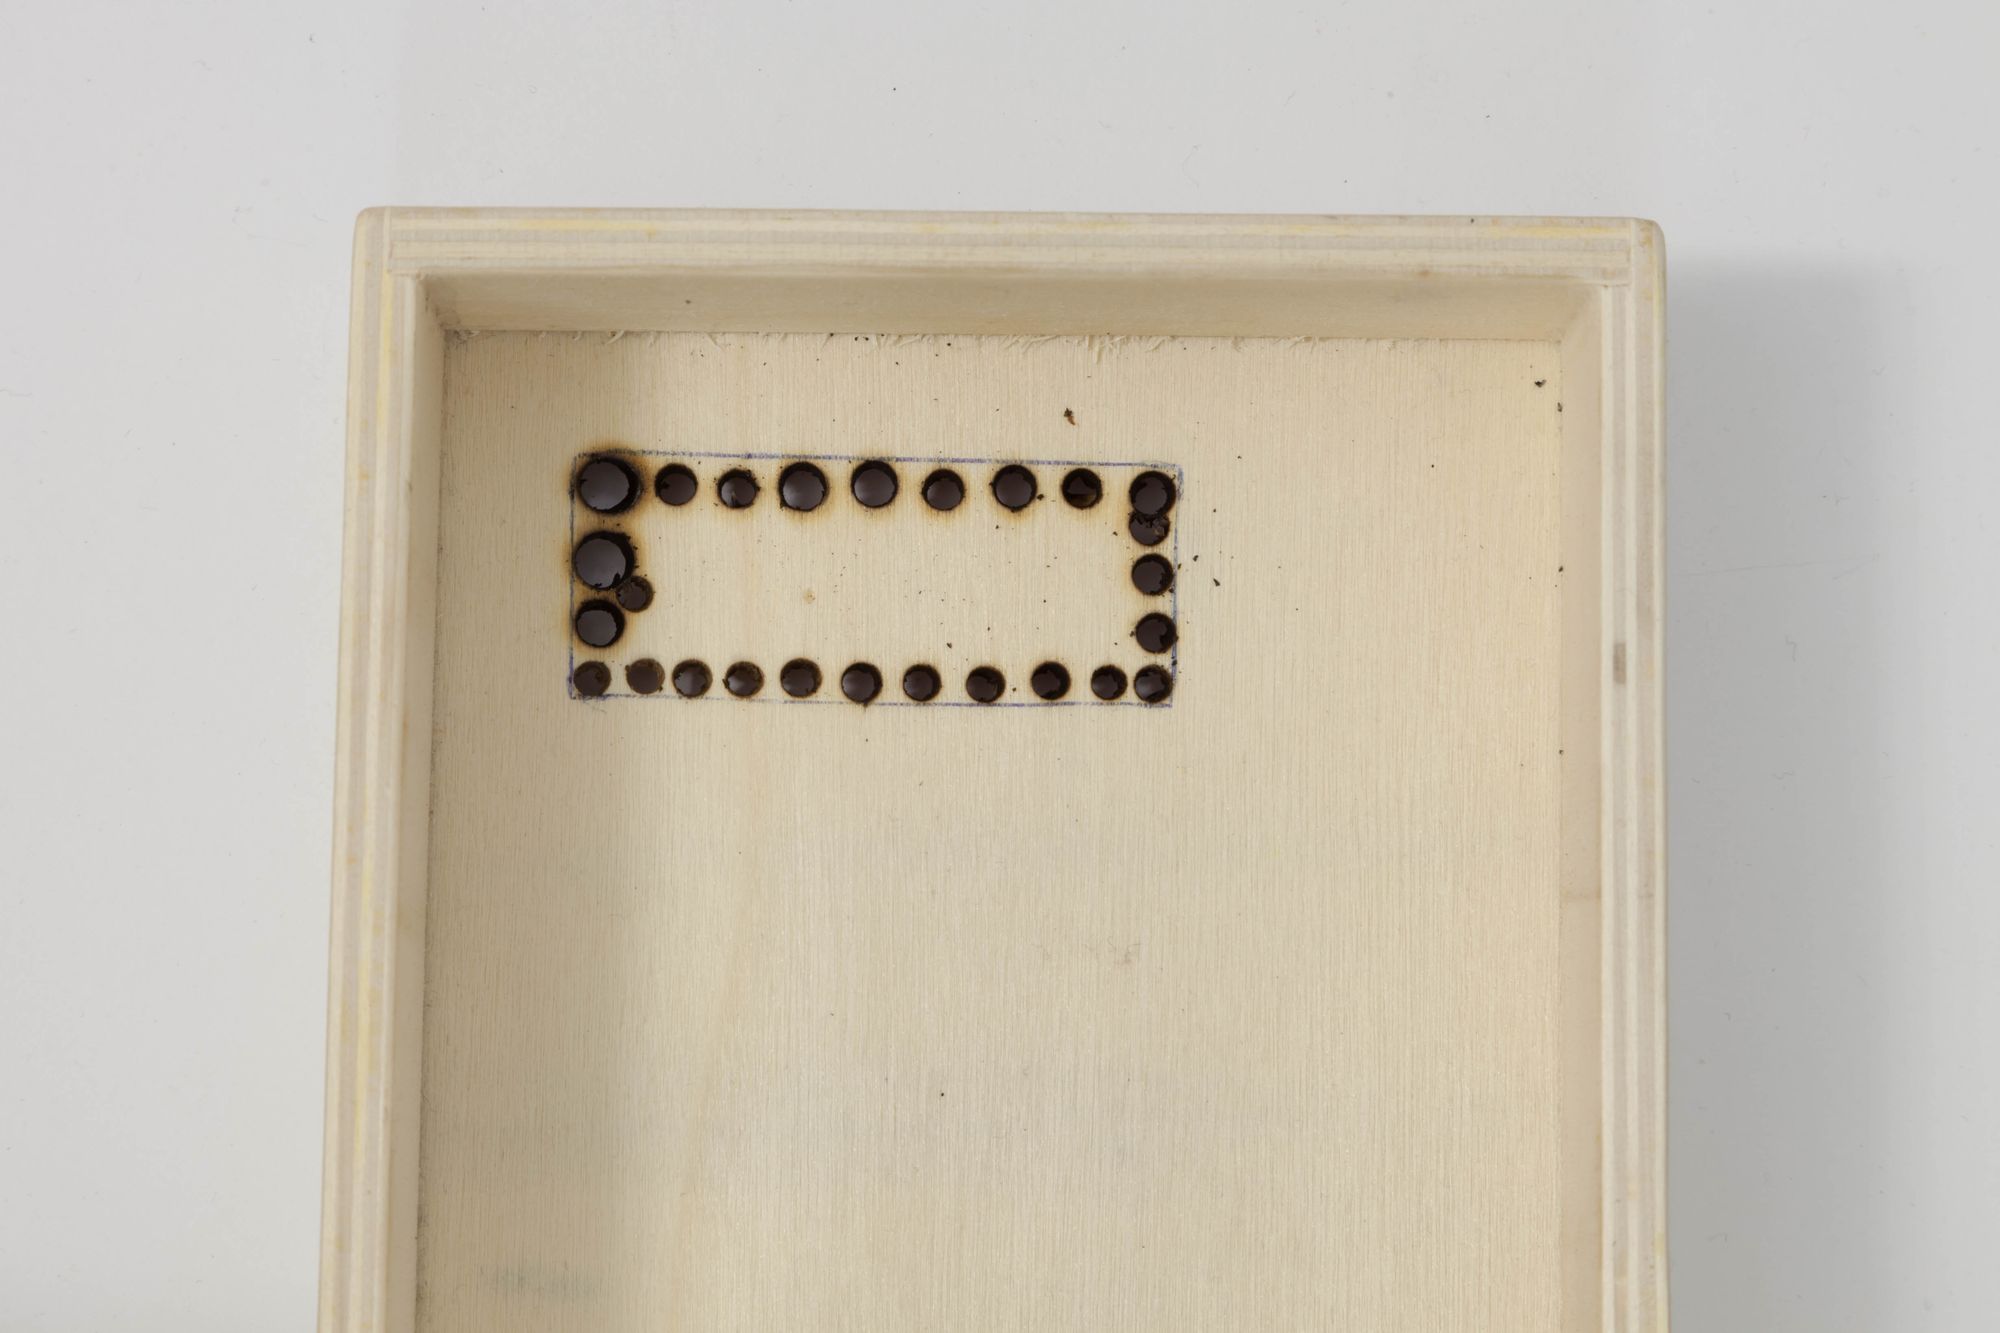
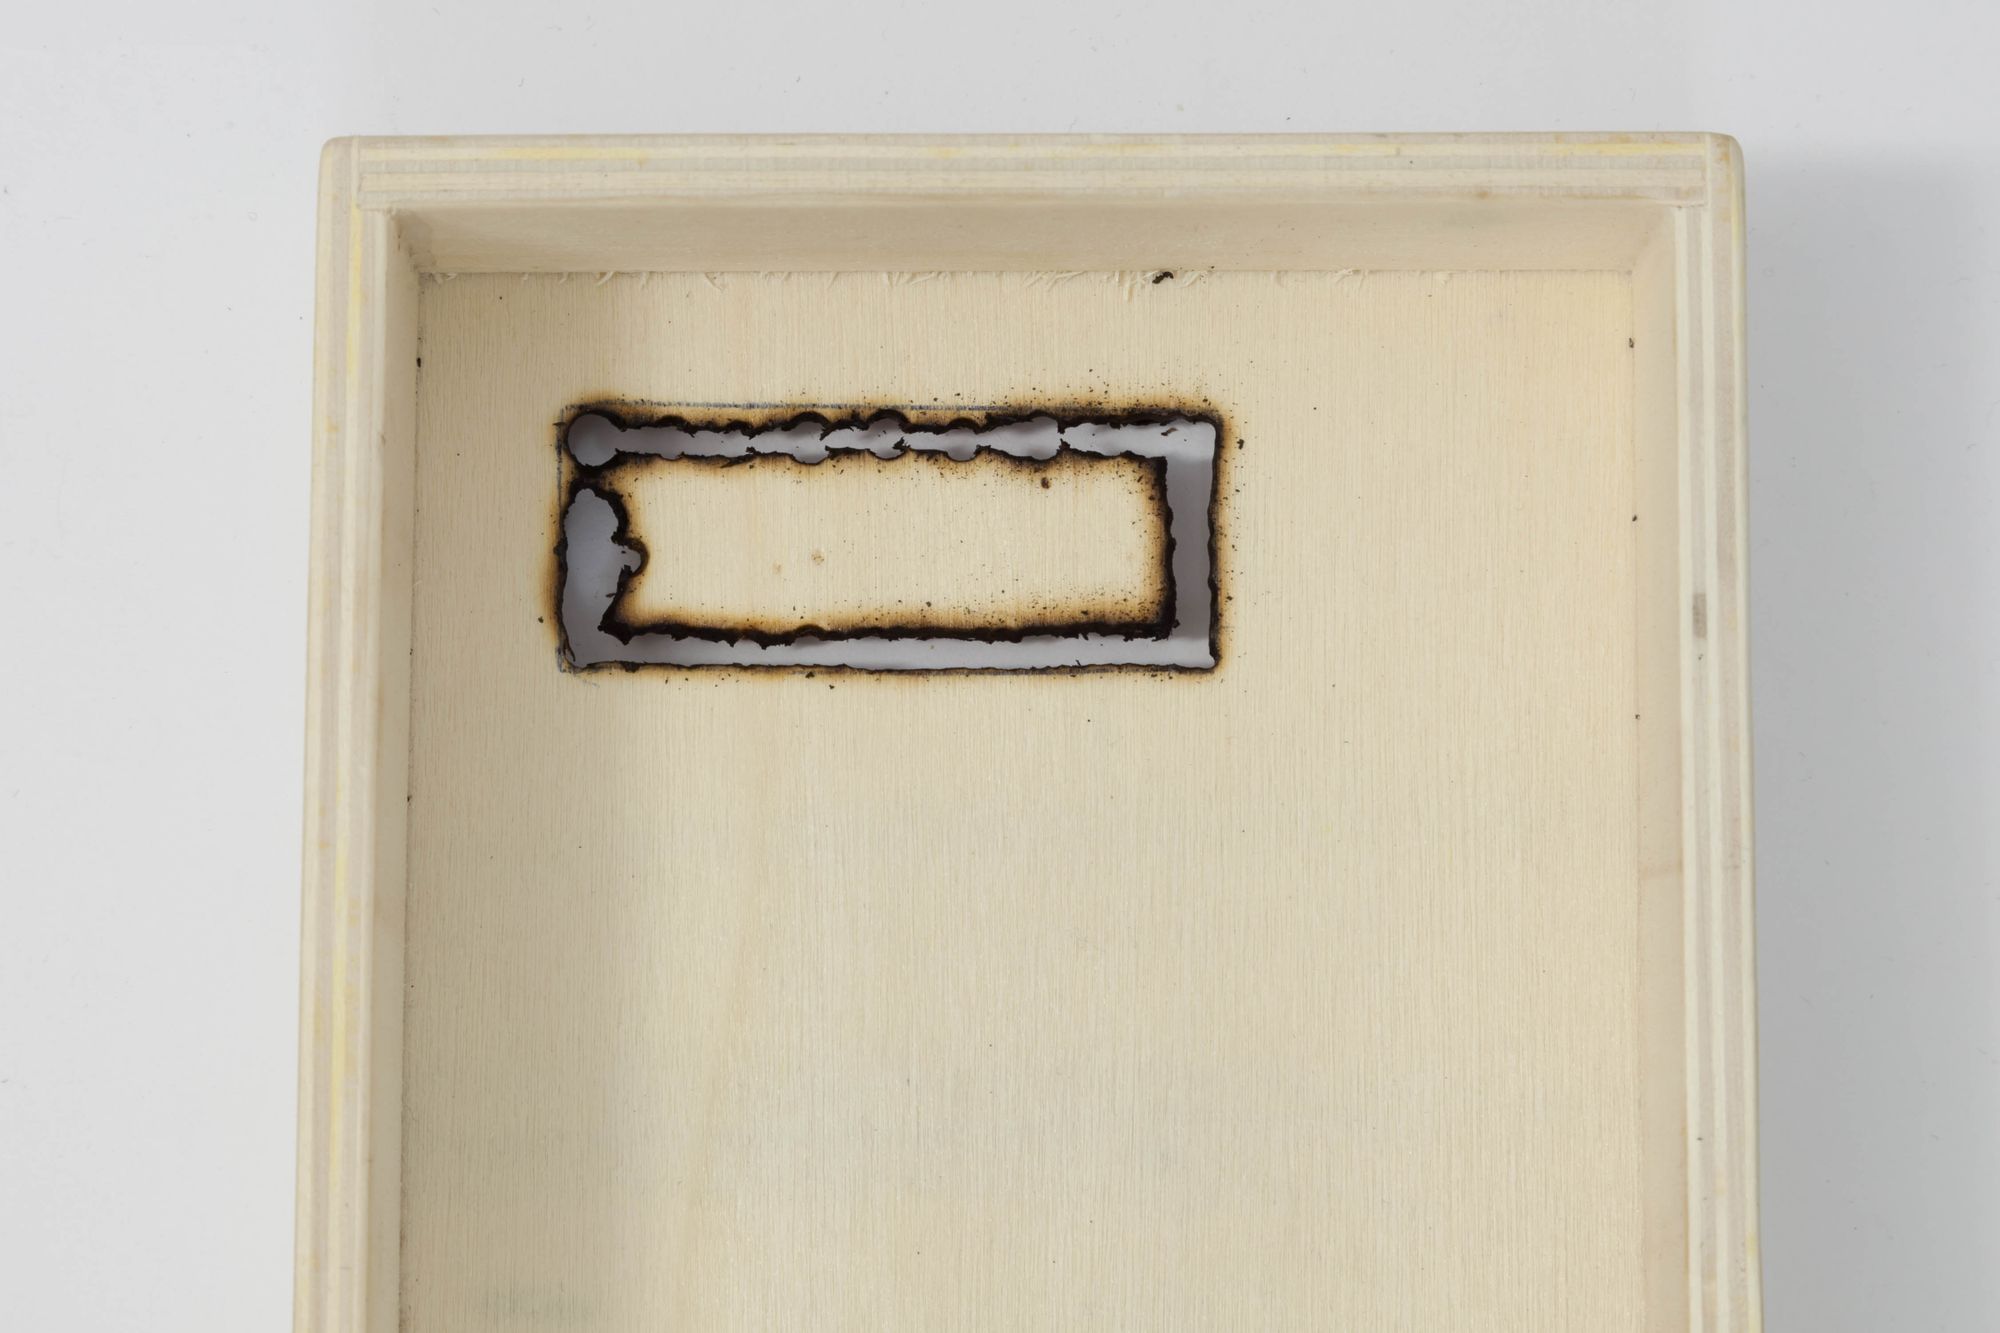
The result was acceptable, and the burning coloration was a beautiful addition to aesthetics.
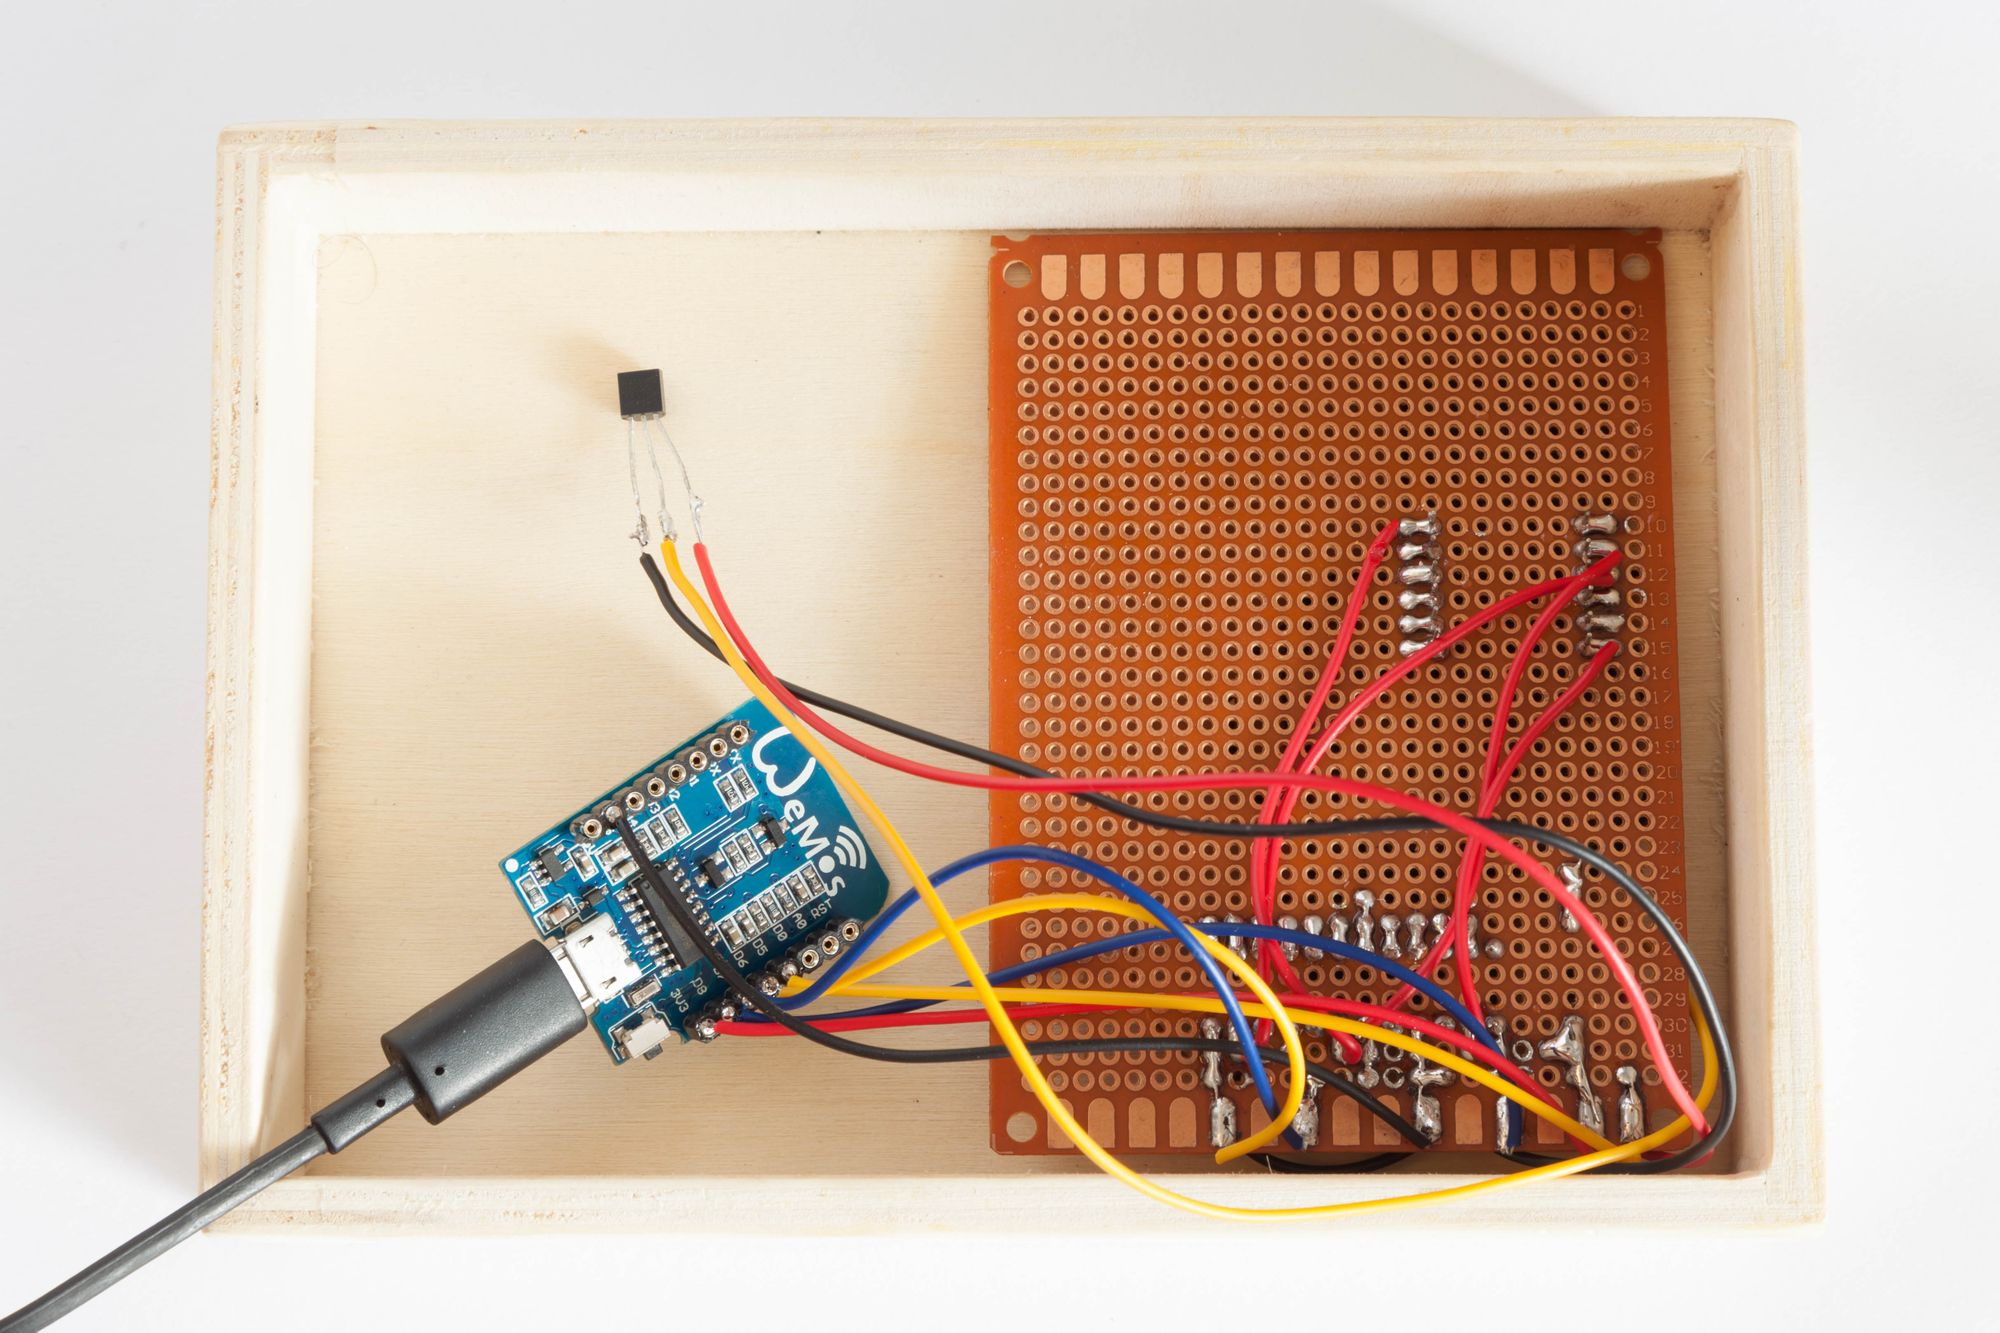
The board is not attached to the box yet, but I managed to make it stay in place temporarily. I will add 4 screws to secure the PCB.
Notice that the DS18B20 (thermometer) is not on the board, but attached with long wires instead. The reason is that I want to eliminate the self-heating issue.
The WeMos and the other components generate heat. This could interfere with the temperature readings. The best solution is to put the DS18B20 as far as possible, or even outside the case for better results.
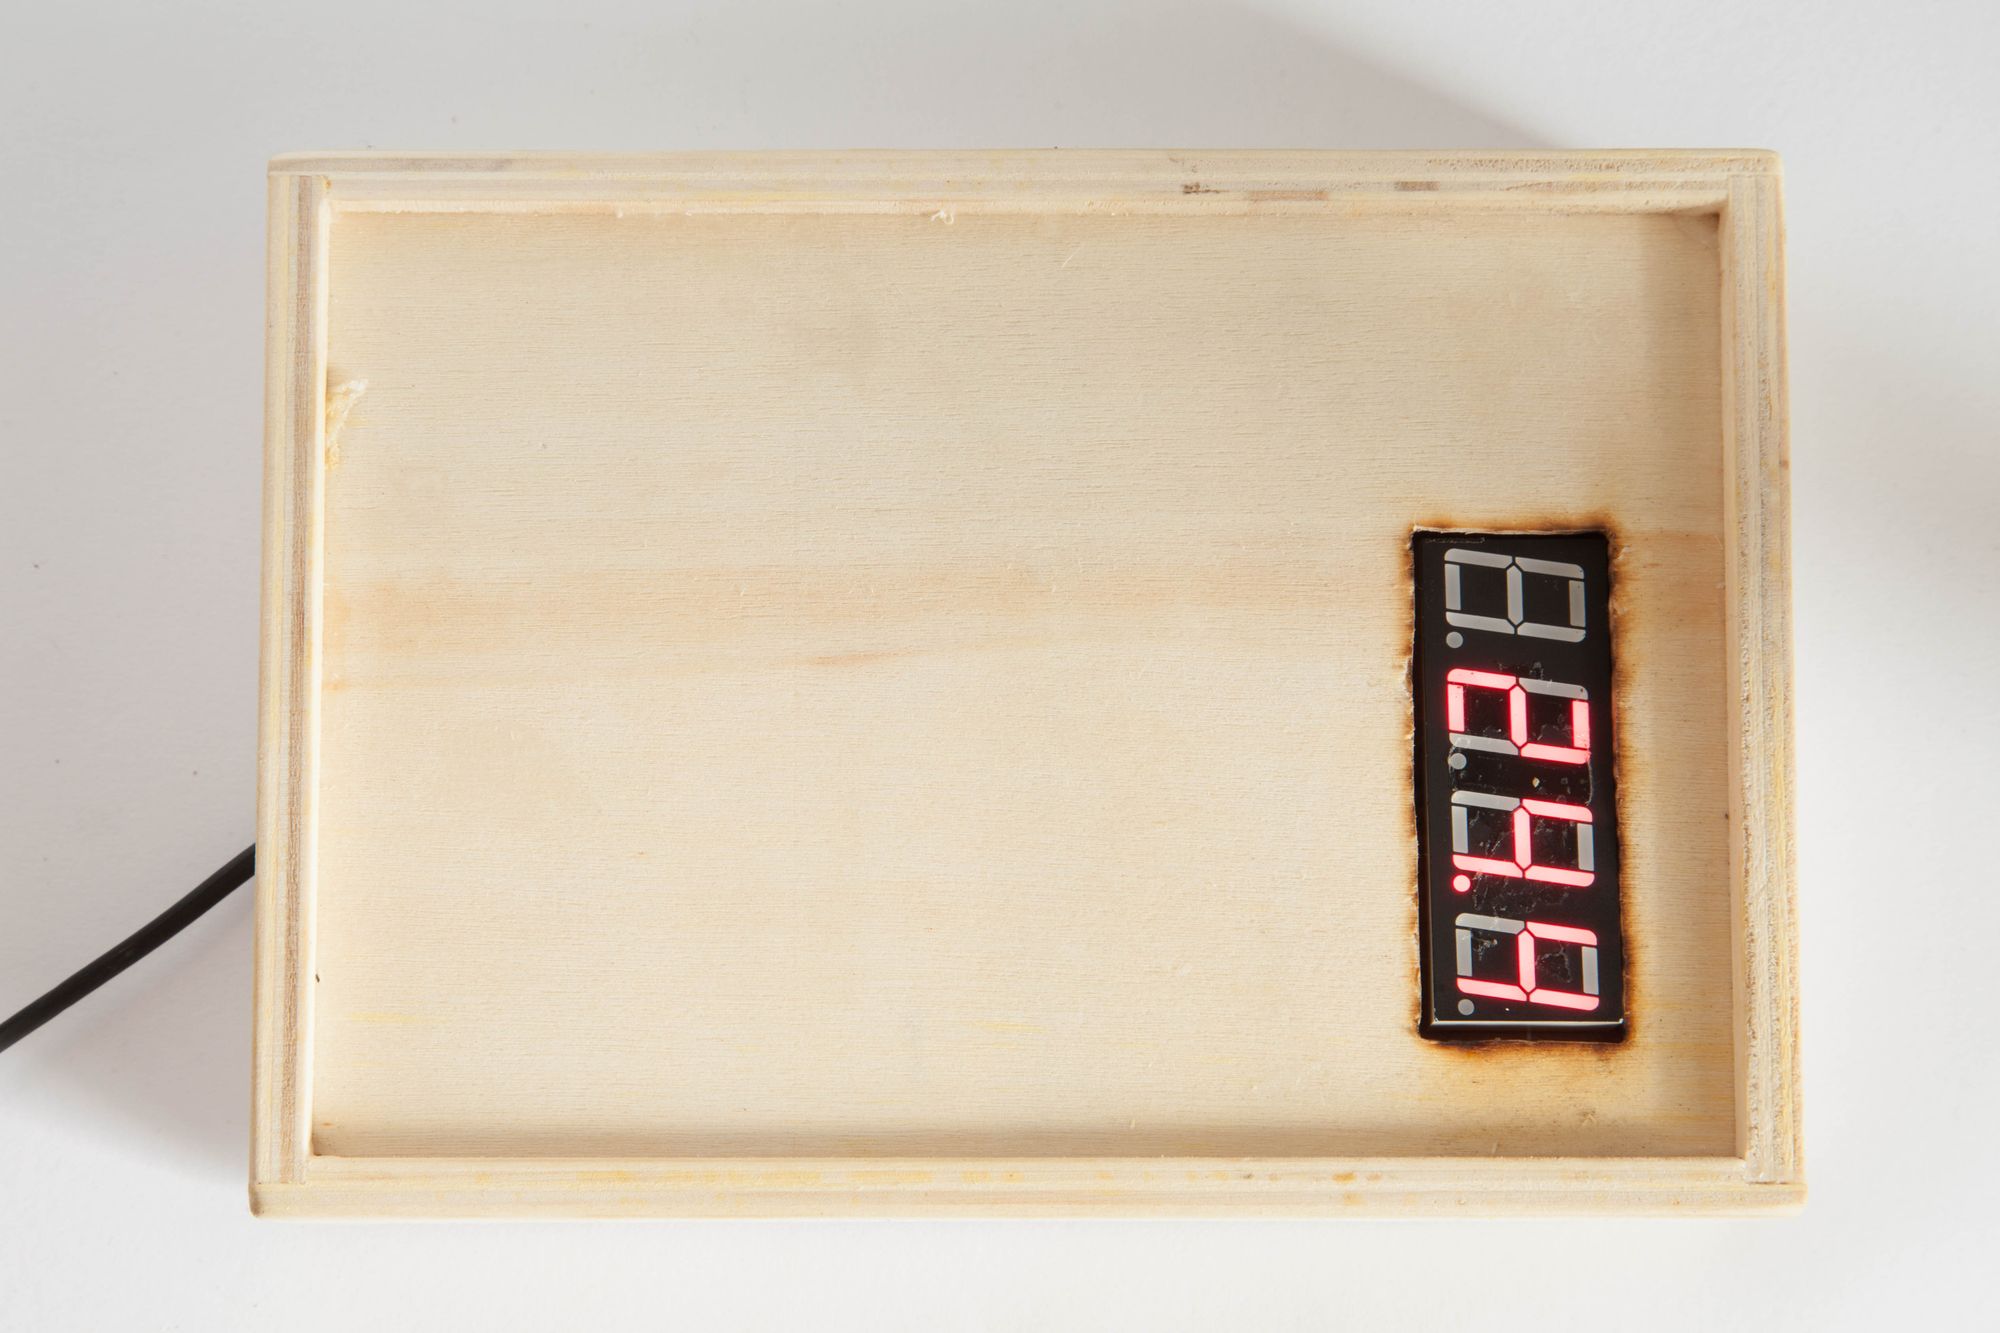
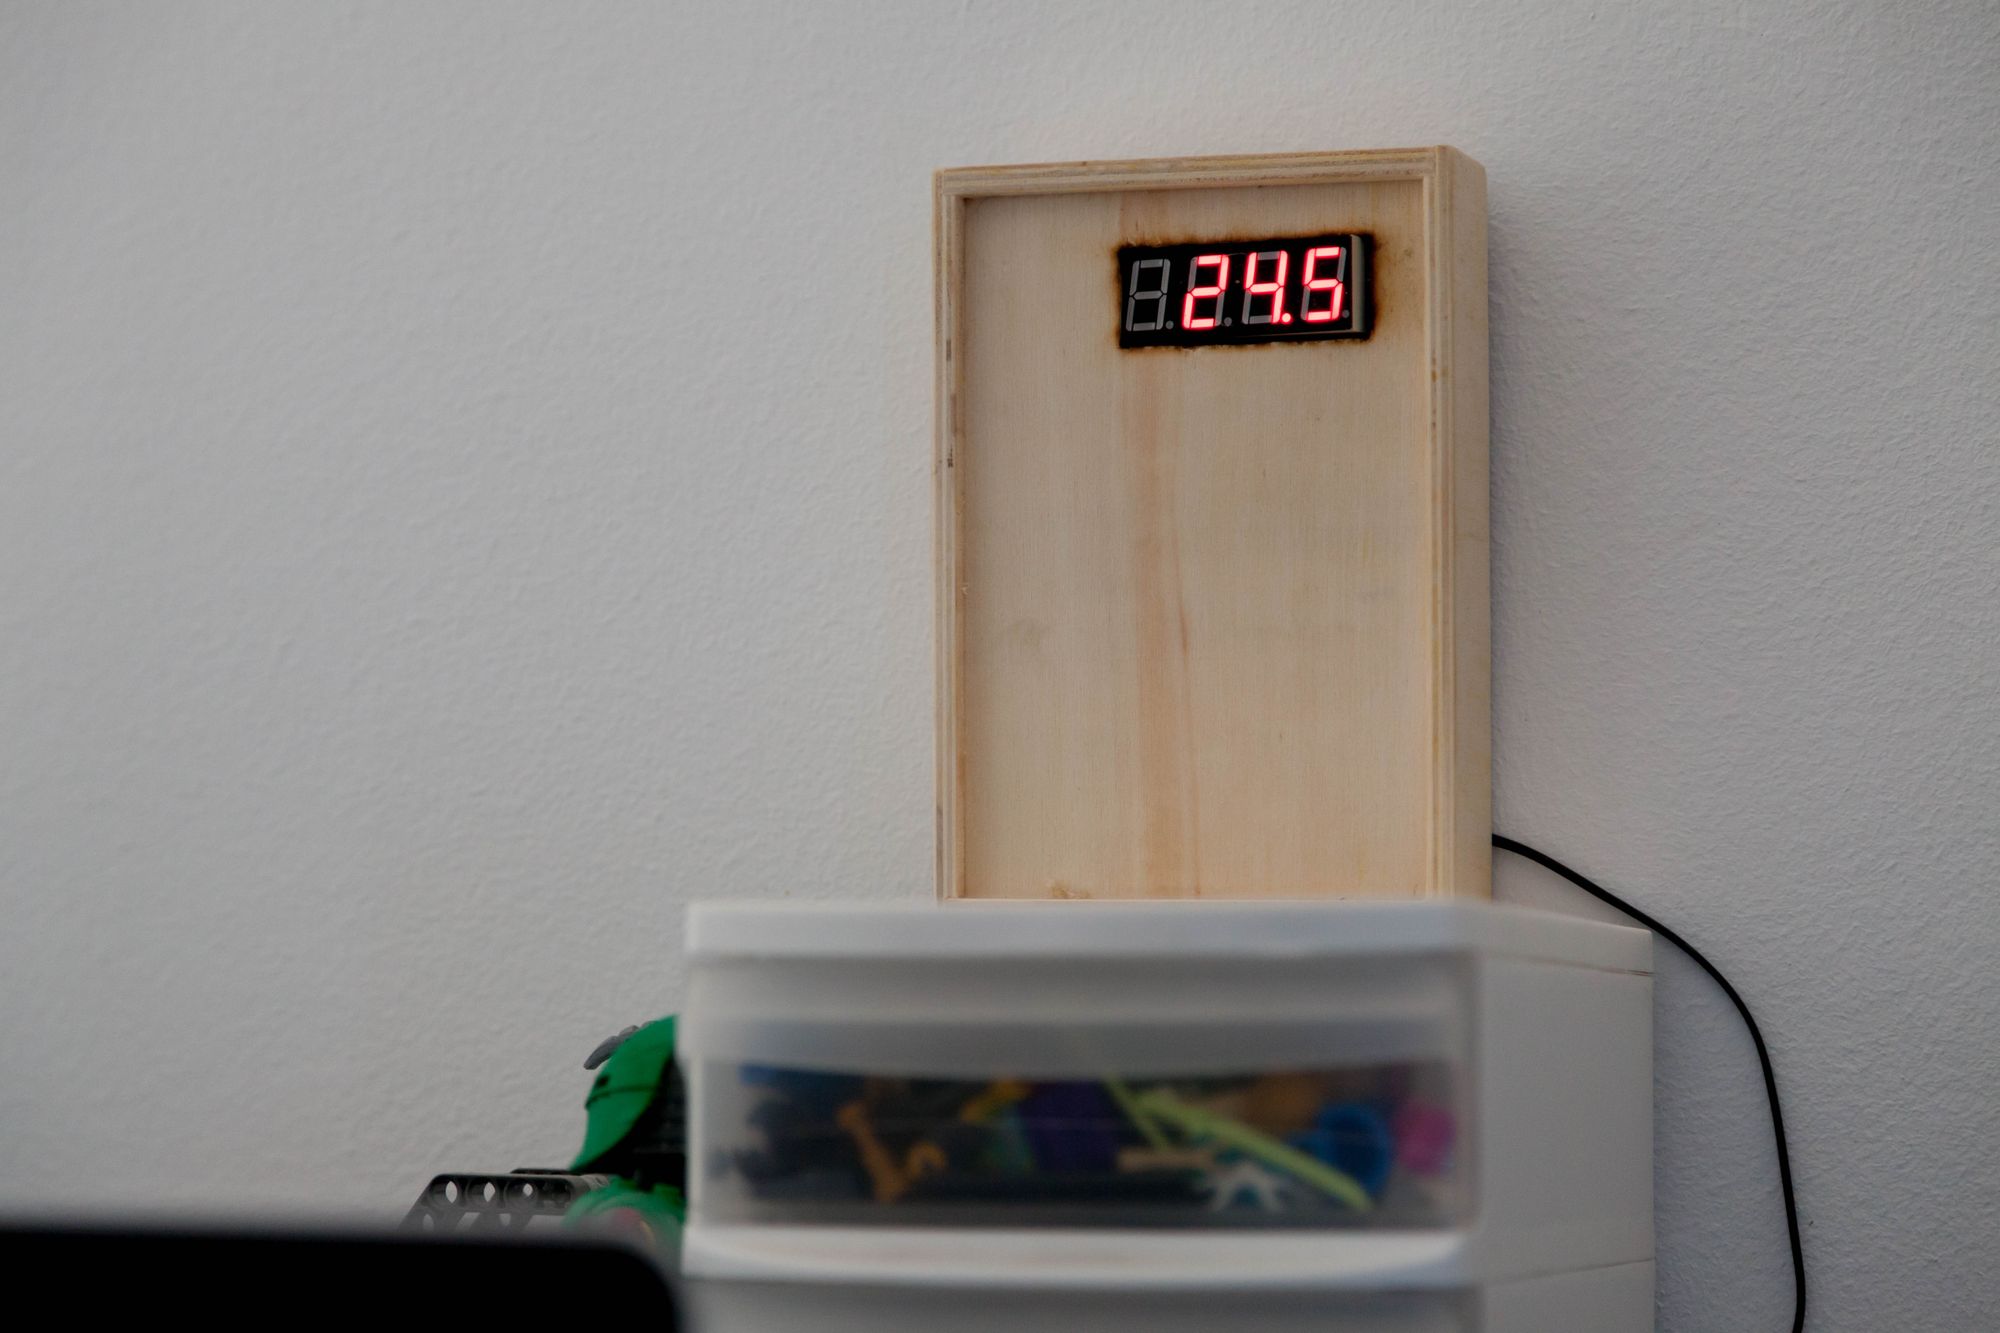
The display is bright enough. Current temperature is 24.5° Celsius.
Future upgrades
- Etching a thermometer icon with my soldering iron next to the LCD.
- Adding an external thermometer, and a second 4 digits display.