Tetris Cube Part 1: Fixing

This will be the first post of a multi-part article. The reason for this is that I want to include all the steps I went through: fixing, working the theory, writing scripts, optimizing. If you want to have an idea of what I'm talking about, here is a very similar article:
So, grab the popcorn and hold on to your seat. This is going to be a long journey.
Introduction
First, let's introduce the new puzzle "Tetris Cube".
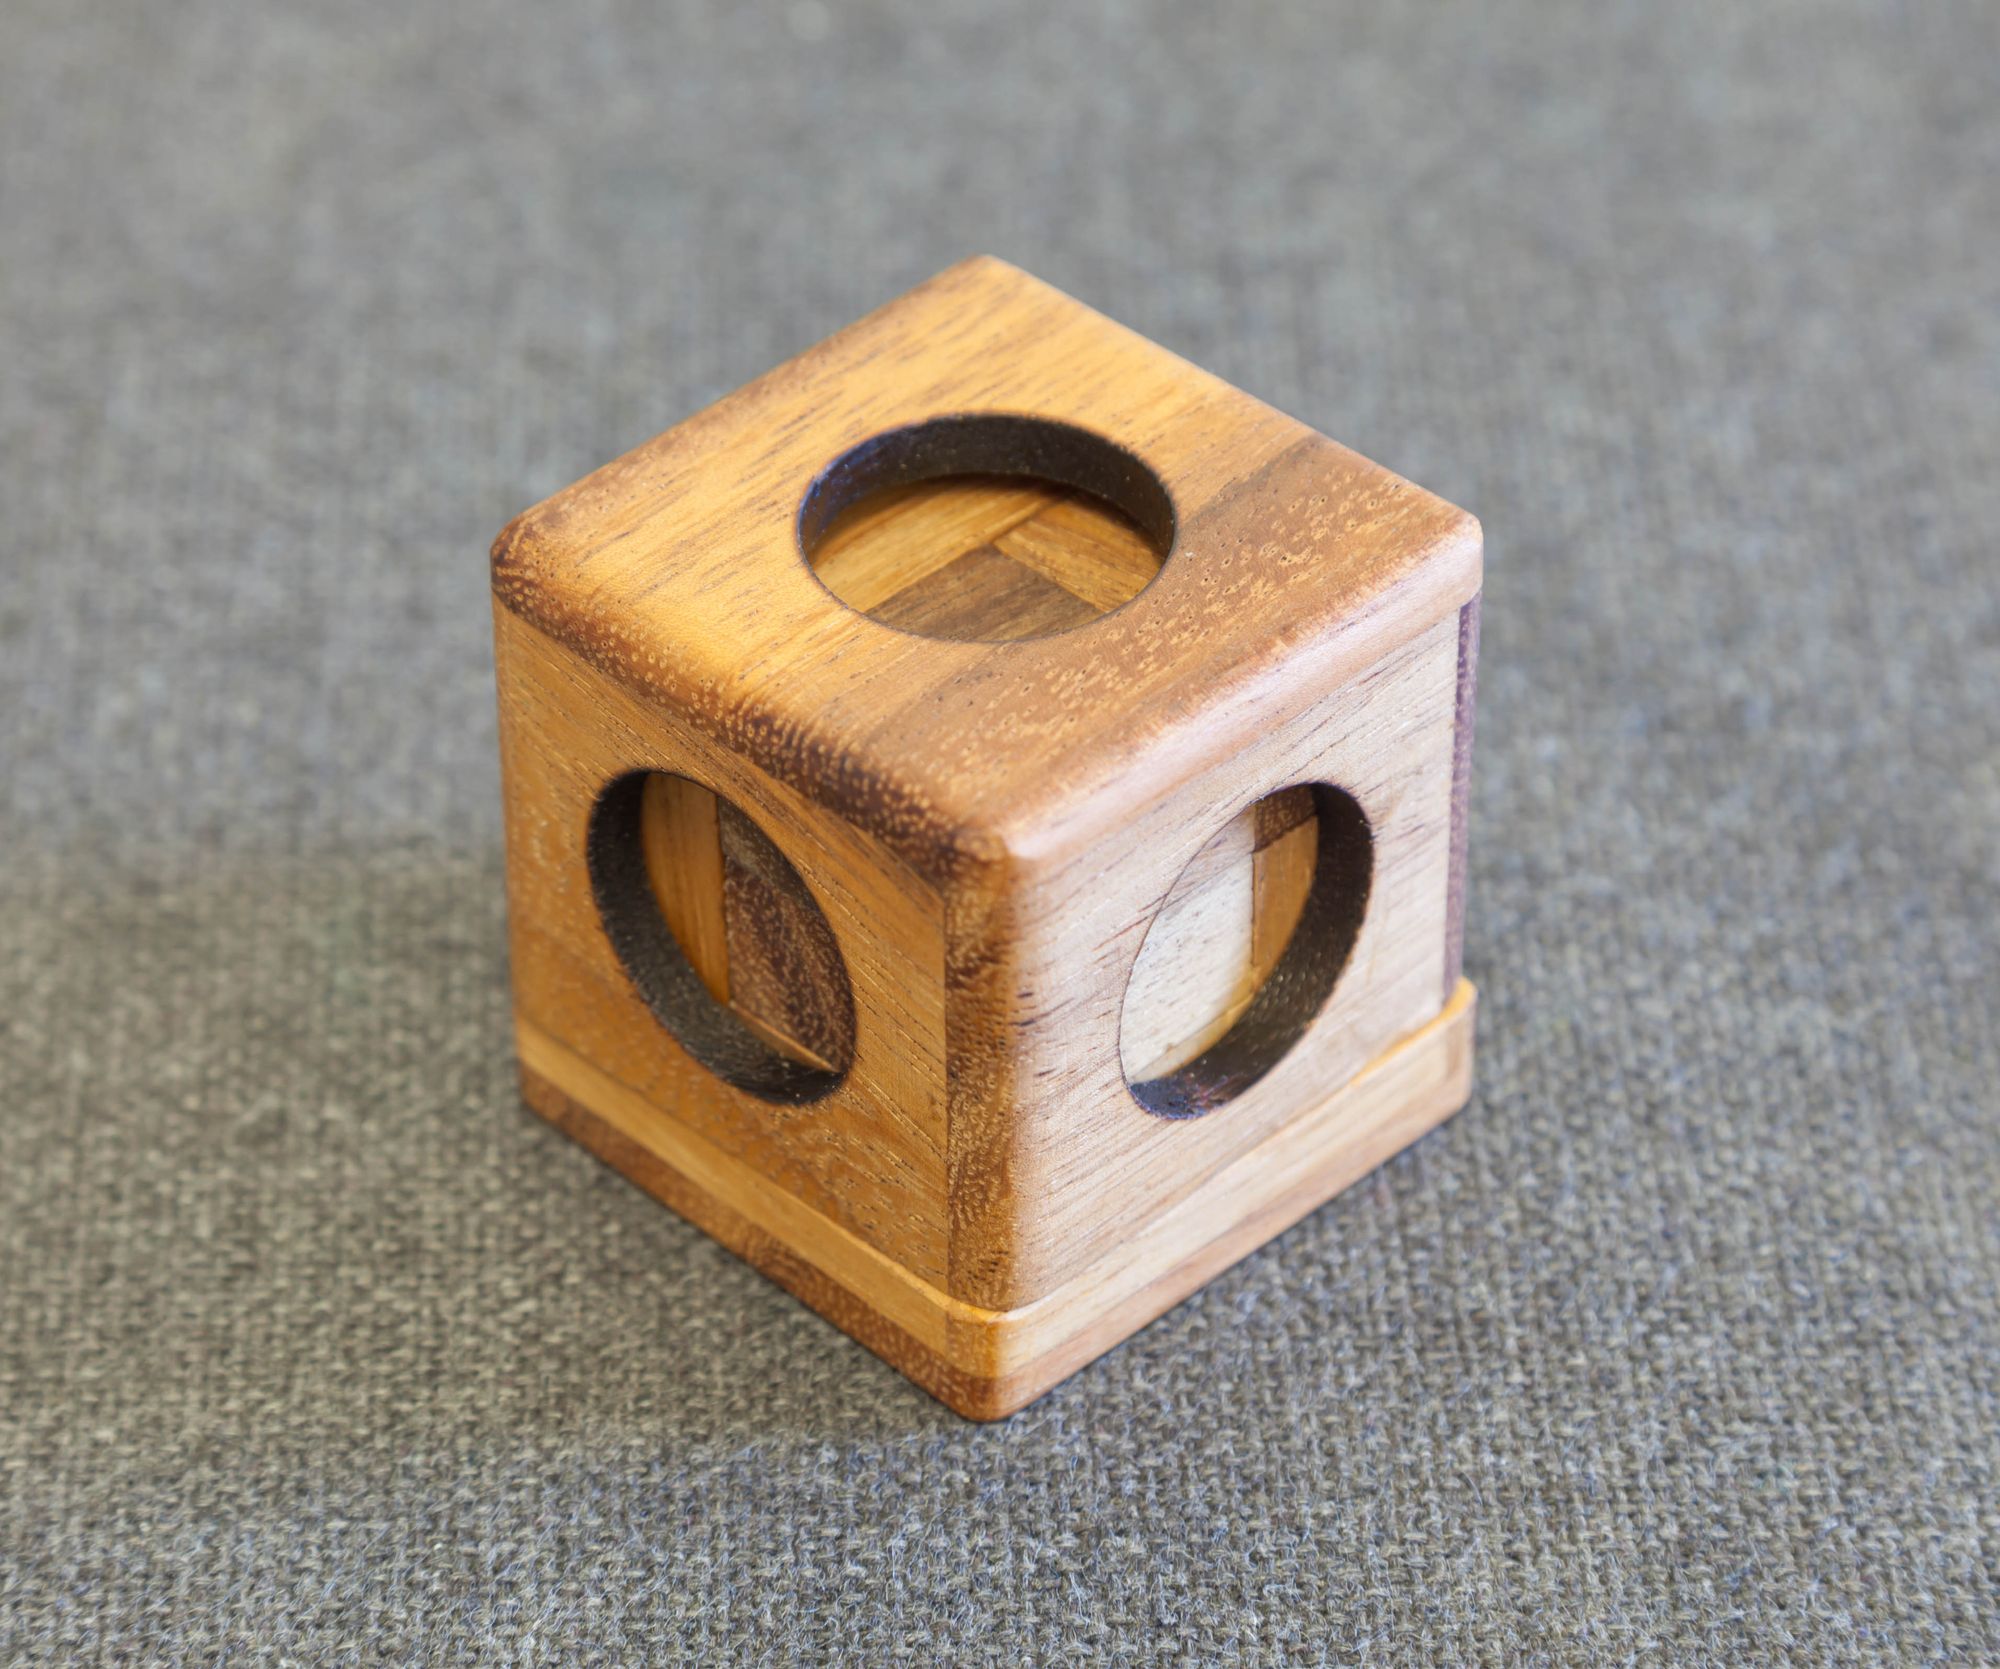
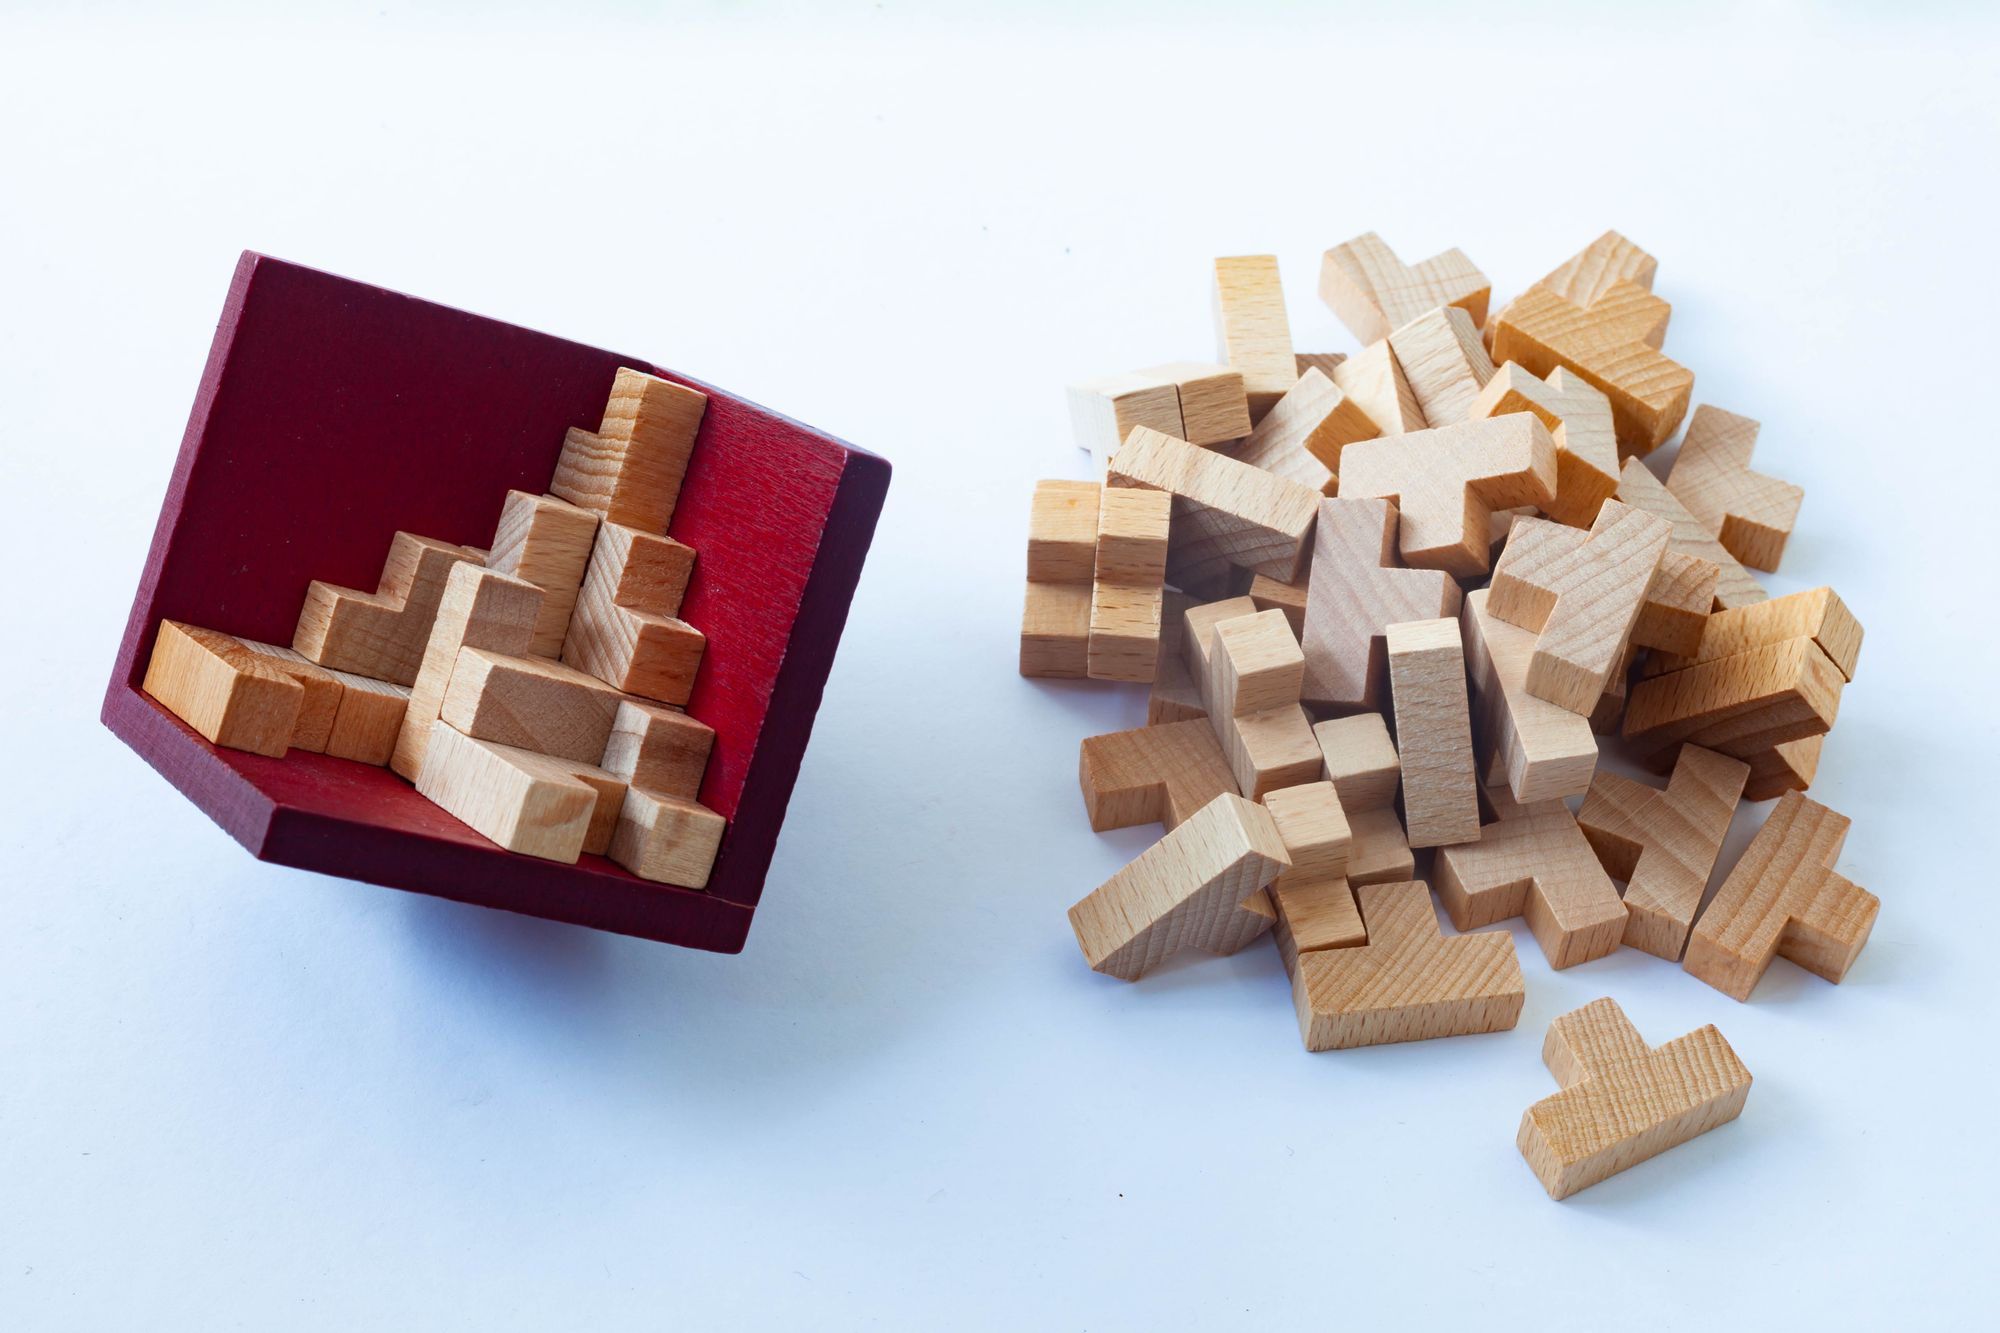
This puzzle is composed of:
- 54 x "T" shaped pieces, all the same
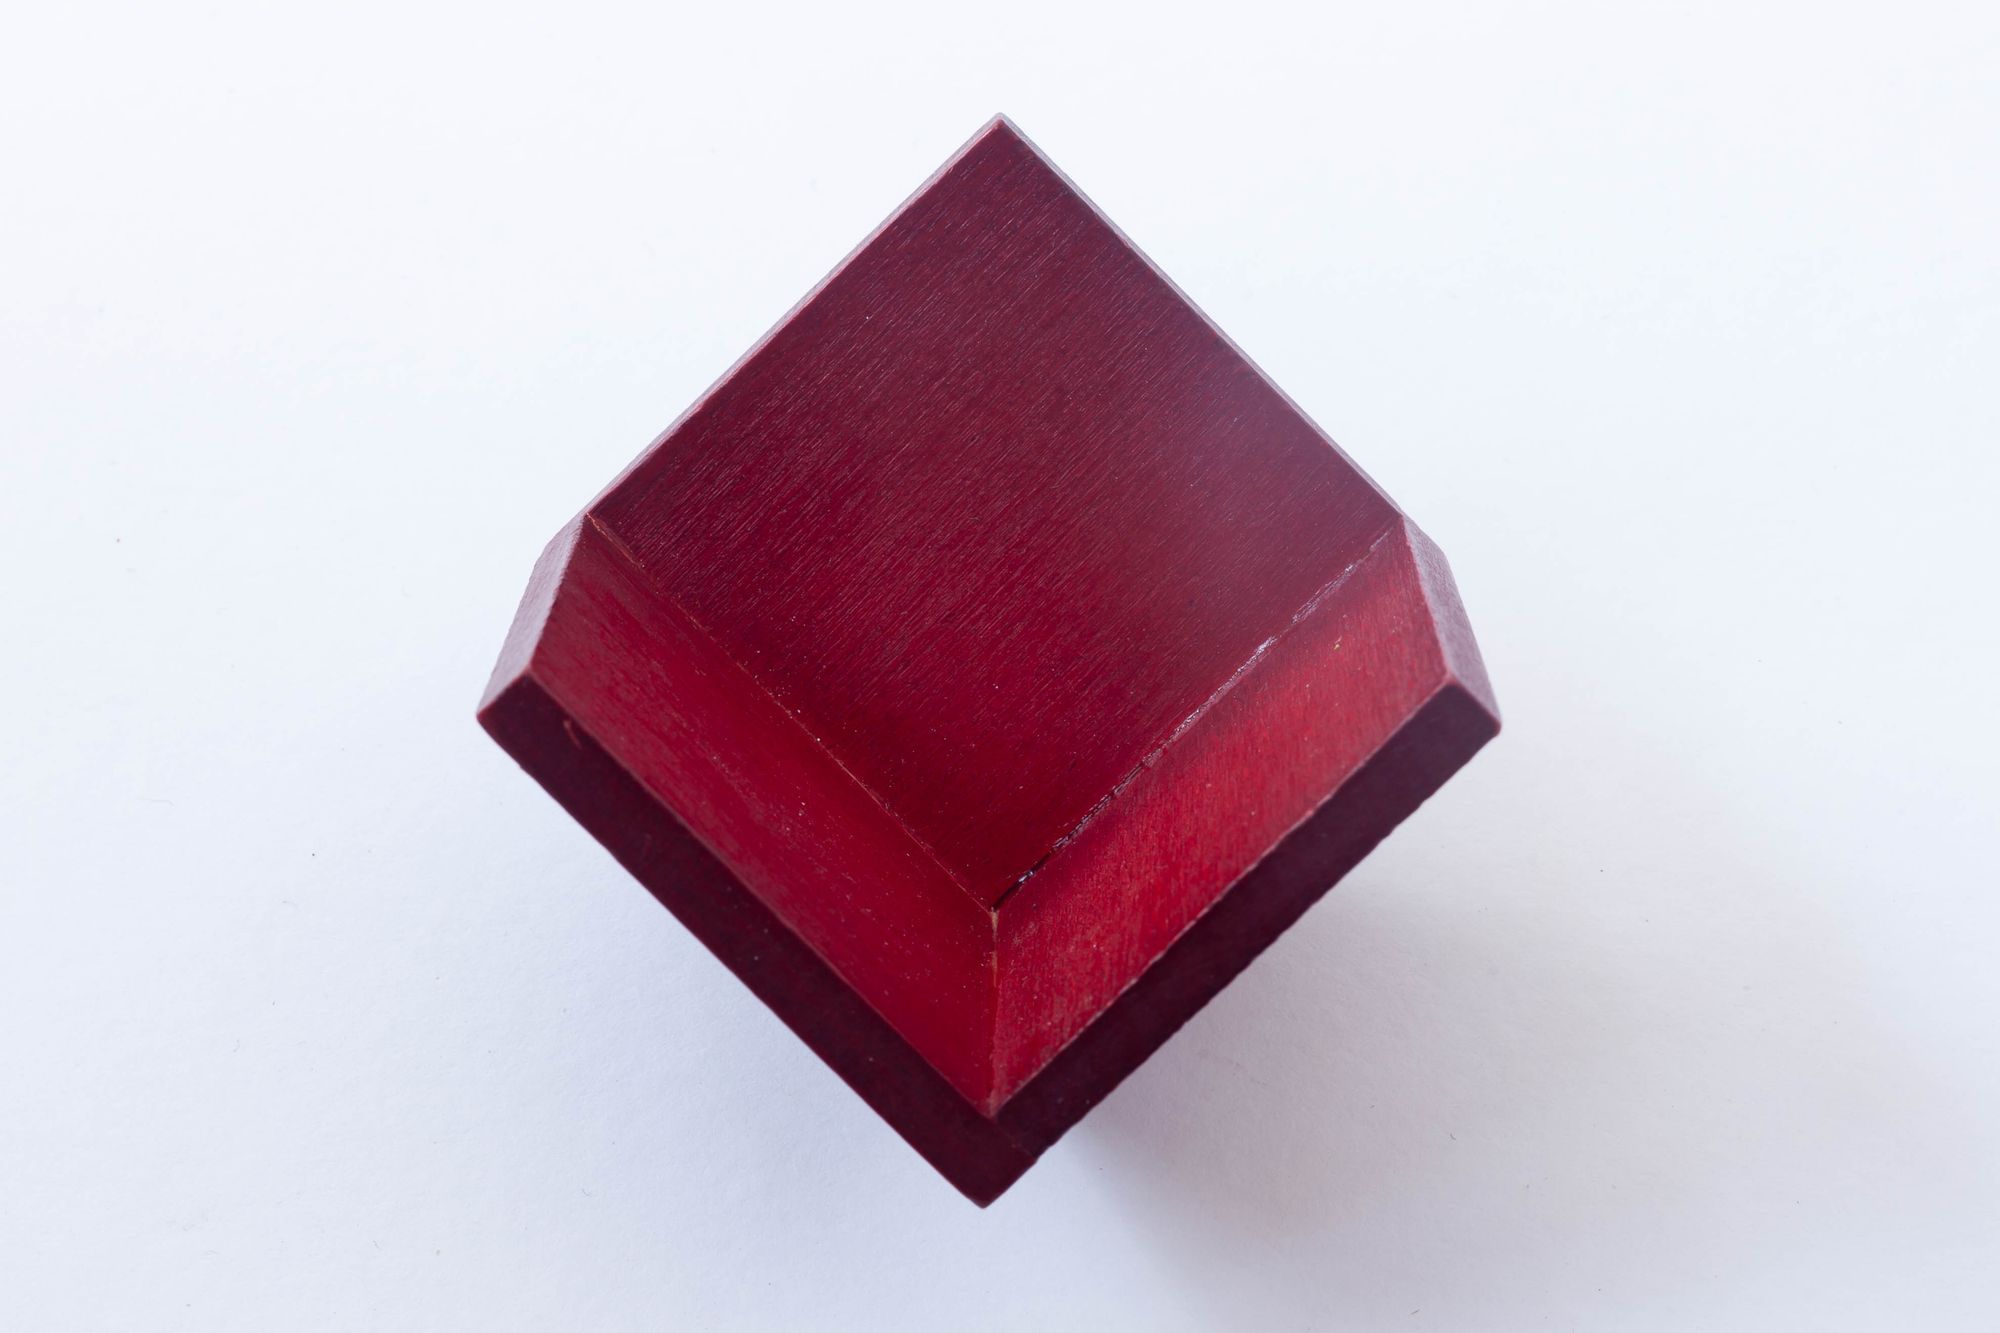
- a red wooden mount
The goal is to arrange the pieces in a way to form a solid 6x6x6 cube.
Fixing the mount
Sadly, when I first saw the puzzle on the flea market, it was broken. A side panel was detached. I made sure that it was not missing pieces, and bought it.
Fixing things is rescuing them from the garbage dump, giving them a second life.
We will be using super-glue to fix the mount.
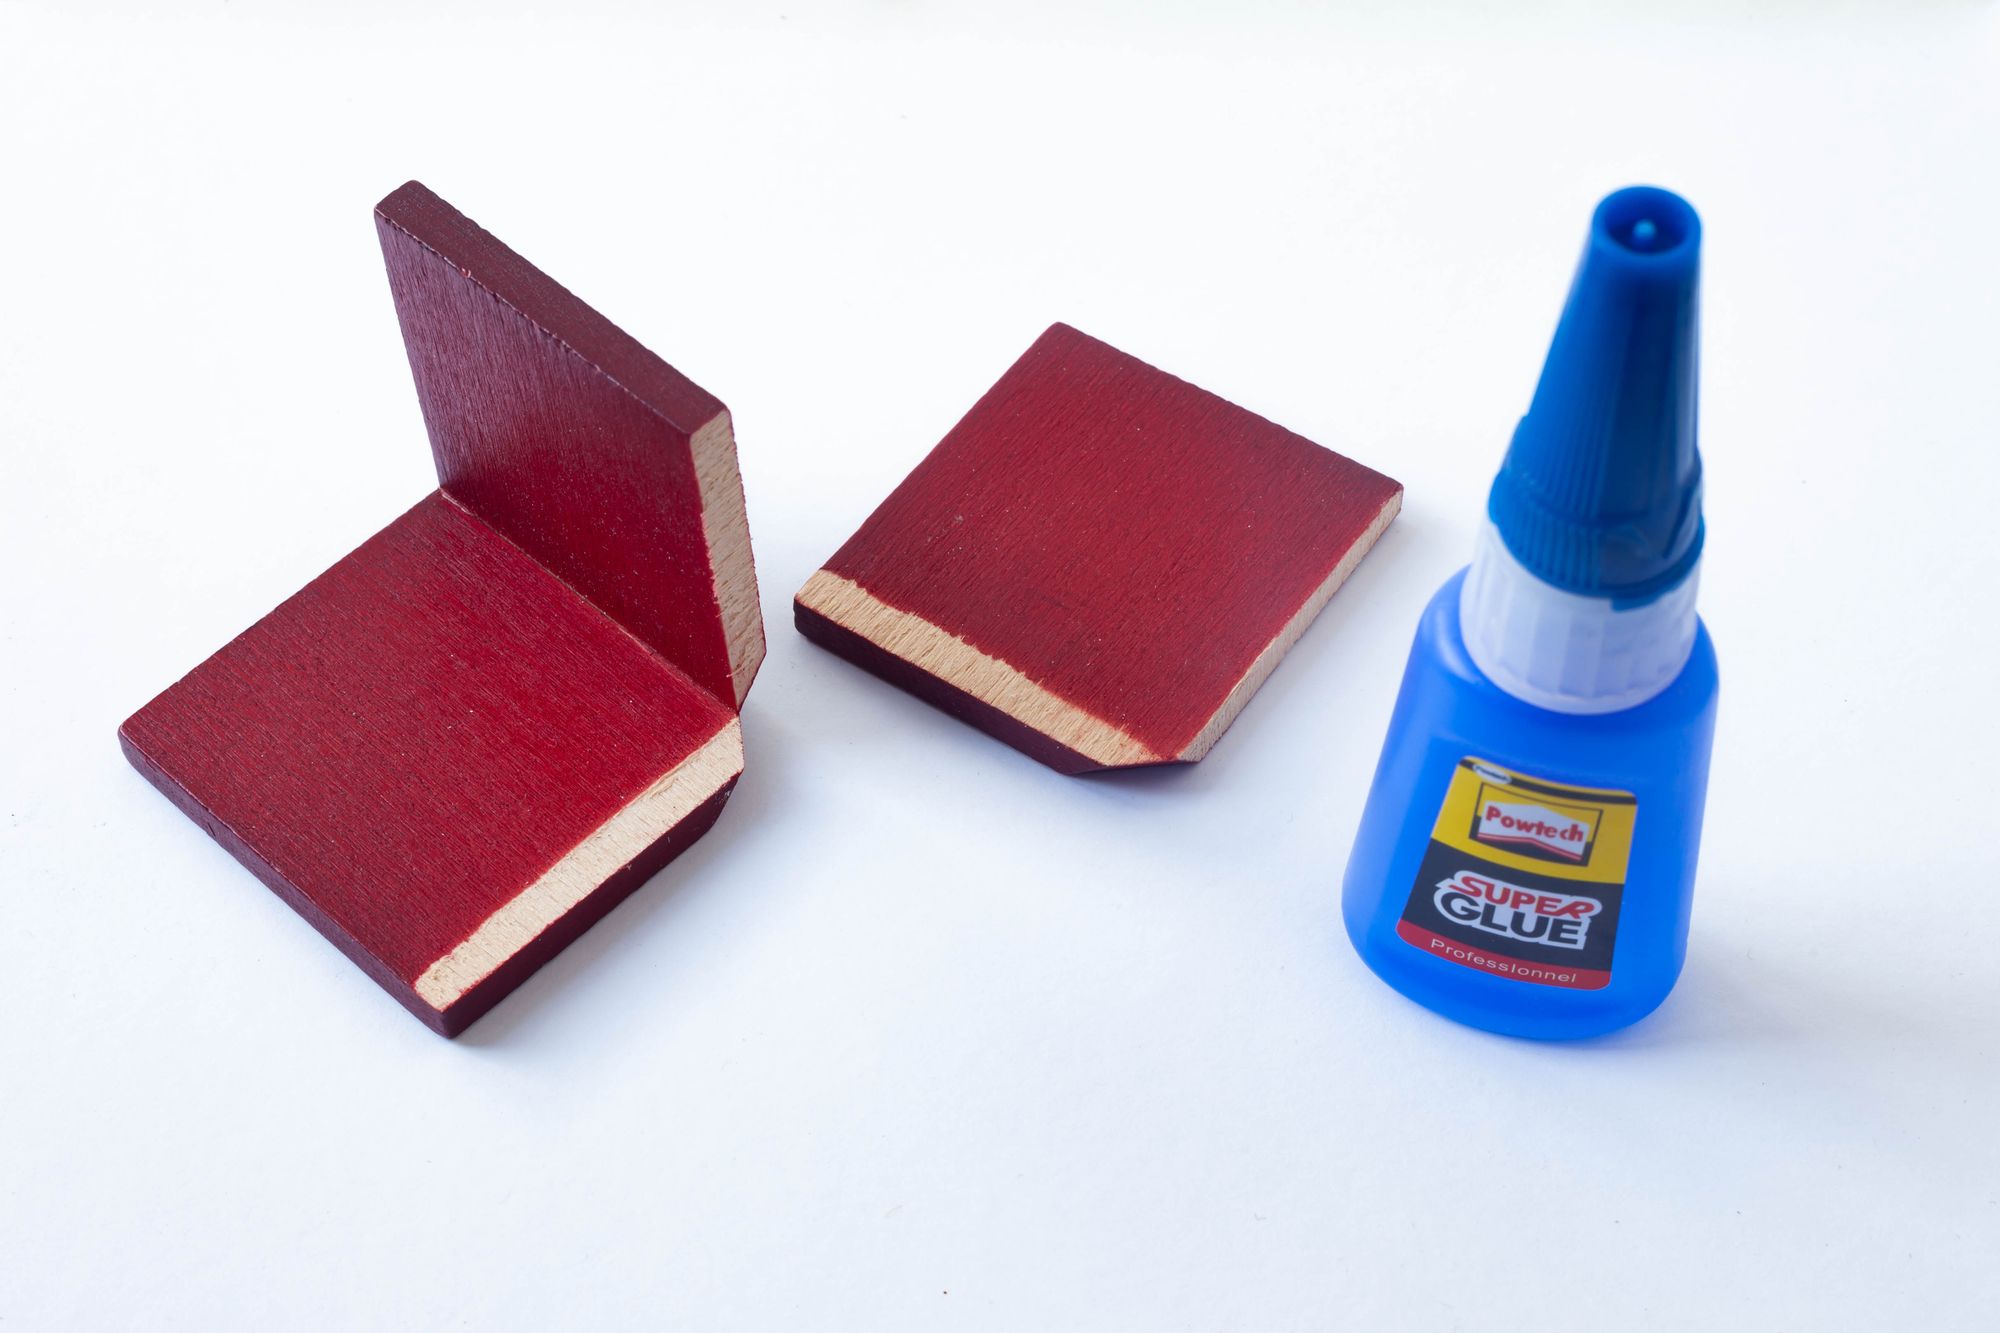
Here is the mount after letting the glue set for a few minutes. I tried not to put too much glue so that it won't overrun and make a mess.

What's next?
Once fixed, the next logical step is to solve the puzzle. This sound easy enough at first glance, but fitting the last few pieces in place will give you headache.
As usual, we will compare different approaches to solve this puzzle, manually and with the help of computers, and later we will create 3D animation of it.
See you in the next post!